Python 官方文档:入门教程 => 点击学习
目录第一种aop实现方式AfterLogLog配置文件实例调用定义接口第二种AOP实现方式第一种AOP实现方式 AfterLog package com.xxx.demo.servi
package com.xxx.demo.service1;
import org.junit.After;
import org.springframework.aop.AfterReturningAdvice;
import java.lang.reflect.Method;
public class AfterLog implements AfterReturningAdvice {
@Override
//returnValue:返回值
public void afterReturning(Object returnValue, Method method, Object[] objects, Object o1) throws Throwable {
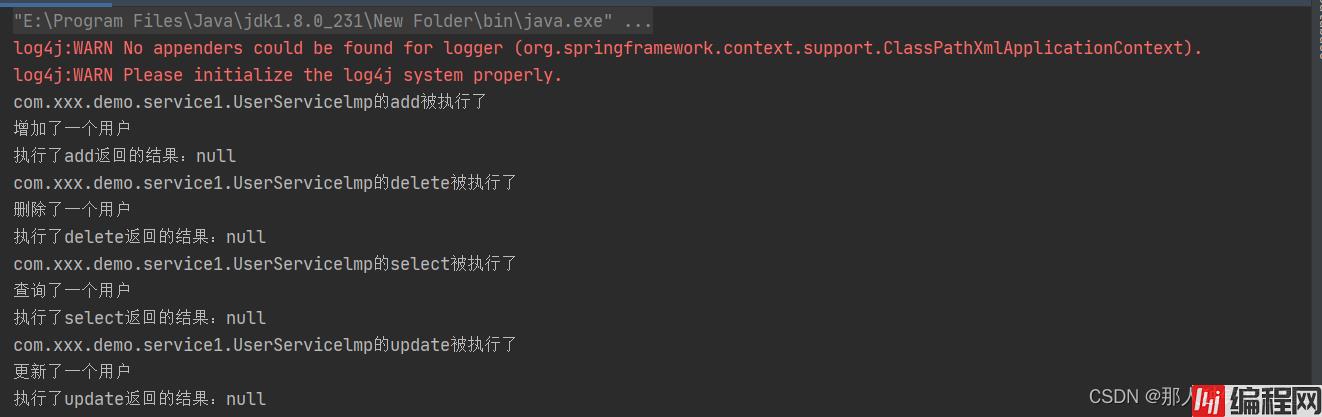
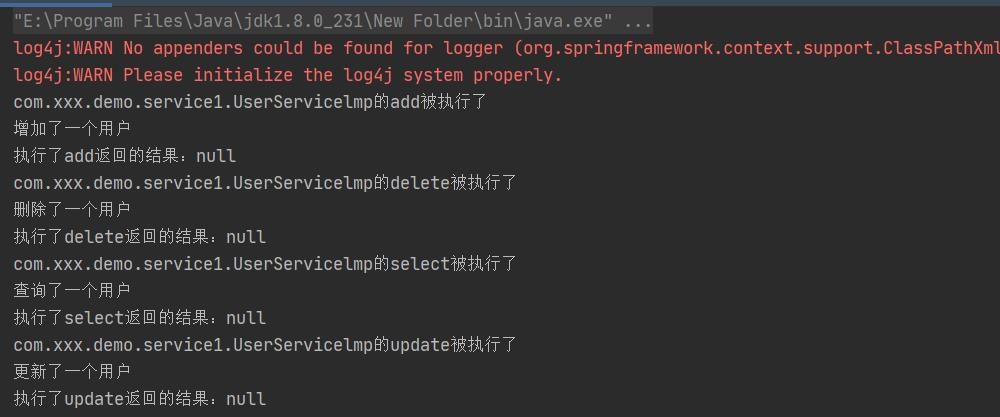
System.out.println(
"执行了"+method.getName()+"返回的结果:"+returnValue
);
}
}
package com.xxx.demo.service1;

import org.springframework.aop.MethodBeforeAdvice;

import java.lang.reflect.Method;

//前置通知
public class log implements MethodBeforeAdvice {
    @Override
    //method:要执行的目标对象的方法 args:参数 target:目标读写
    public void before(Method method, Object[] args, Object target) throws Throwable {
        System.out.println(target.getClass().getName()+"的"+method.getName()+"被执行了");
    }
}
applicationContext.xml
<?xml version="1.0" encoding="UTF-8"?>
<beans xmlns="Http://www.springframework.org/schema/beans"
       xmlns:xsi="http://www.w3.org/2001/XMLSchema-instance"
       xmlns:aop="http://www.springframework.org/schema/aop"
       xsi:schemaLocation="http://www.springframework.org/schema/beans
       https://www.springframework.org/schema/beans/spring-beans.xsd
        http://www.springframework.org/schema/aop
        https://www.springframework.org/schema/aop/spring-aop.xsd">

<!--    注册bean-->
    <bean id="userService" class="com.xxx.demo.service1.UserServicelmp"></bean>
    <bean id="log" class="com.xxx.demo.service1.log"></bean>
    <bean id="afterLog" class="com.xxx.demo.service1.AfterLog"></bean>


<!--    配置aop:需要导入aop的约束-->
    <aop:config>
        <!--        切入点:expression:表达式,execution(要执行的位置!* * * *)-->
        <aop:pointcut id="pointcut" expression="execution(* com.xxx.demo.service1.UserServicelmp.*(..))"/>

<!--        执行环绕增加  把log的类添加到切入点里面-->
        <aop:advisor advice-ref="log" pointcut-ref="pointcut"/>
        <aop:advisor advice-ref="afterLog" pointcut-ref="pointcut"></aop:advisor>
    </aop:config>
</beans>
package com.xxx.demo.service1;

import org.springframework.context.ApplicationContext;
import org.springframework.context.support.ClassPathXmlApplicationContext;

public class MyTest {
    public static void main(String[] args) {
        ApplicationContext context=new ClassPathXmlApplicationContext("applicationContext.xml");
        //动态代理代理的是接口
        UserService userService =(UserService) context.getBean("userService");
        userService.add();
        userService.delete();
        userService.select();
        userService.update();
    }
}
package com.xxx.demo.service1;

public class UserServicelmp implements UserService{
    @Override
    public void add() {
        System.out.println("增加了一个用户");
    }

    @Override
    public void delete() {
        System.out.println("删除了一个用户");
    }

    @Override
    public void update() {
        System.out.println("更新了一个用户");
    }

    @Override
    public void select() {
        System.out.println("查询了一个用户");
    }
}
<?xml version="1.0" encoding="UTF-8"?>
<beans xmlns="http://www.springframework.org/schema/beans"
       xmlns:xsi="http://www.w3.org/2001/XMLSchema-instance"
       xmlns:aop="http://www.springframework.org/schema/aop"
       xsi:schemaLocation="http://www.springframework.org/schema/beans
       https://www.springframework.org/schema/beans/spring-beans.xsd
        http://www.springframework.org/schema/aop
        https://www.springframework.org/schema/aop/spring-aop.xsd">

<!--    注册bean-->
    <bean id="userService" class="com.xxx.demo.service1.UserServicelmp"></bean>
    <bean id="log" class="com.xxx.demo.service1.log"></bean>
    <bean id="afterLog" class="com.xxx.demo.service1.AfterLog"></bean>
<!--    方式二:自定义类-->
    <bean id="diy" class="com.xxx.demo.service1.DiyPointCut"></bean>
    <aop:config>
<!--        自定义切面 ref 要引用的类-->
        <aop:aspect ref="diy">
<!--            切入点-->
            <aop:pointcut id="point" expression="execution(* com.xxx.demo.service1.UserServicelmp.*(..))"/>
<!--                通知-->
            <aop:before method="before" pointcut-ref="point"></aop:before>
            <aop:after method="after" pointcut-ref="point"></aop:after>
        </aop:aspect>
    </aop:config>
</beans>
到此这篇关于Spring框架实现AOP的两种方式详解的文章就介绍到这了,更多相关Spring实现AOP内容请搜索编程网以前的文章或继续浏览下面的相关文章希望大家以后多多支持编程网!
--结束END--
本文标题: Spring框架实现AOP的两种方式详解
本文链接: https://www.lsjlt.com/news/166760.html(转载时请注明来源链接)
有问题或投稿请发送至: 邮箱/279061341@qq.com QQ/279061341
下载Word文档到电脑,方便收藏和打印~
2024-03-01
2024-03-01
2024-03-01
2024-02-29
2024-02-29
2024-02-29
2024-02-29
2024-02-29
2024-02-29
2024-02-29
回答
回答
回答
回答
回答
回答
回答
回答
回答
回答


官方手机版

微信公众号

商务合作


0