Python 官方文档:入门教程 => 点击学习
今天小编给大家分享一下python的configparser模块怎么使用的相关知识点,内容详细,逻辑清晰,相信大部分人都还太了解这方面的知识,所以分享这篇文章给大家参考一下,希望大家阅读完这篇文章后有所收获
今天小编给大家分享一下python的configparser模块怎么使用的相关知识点,内容详细,逻辑清晰,相信大部分人都还太了解这方面的知识,所以分享这篇文章给大家参考一下,希望大家阅读完这篇文章后有所收获,下面我们一起来了解一下吧。
该模块适用于配置文件的格式与windows ini文件类似,可以包含一个或多个节(section),每个节可以有多个参数(键=值)。用于生成和修改常见配置文档,当前模块的名称在 Python 3.x 版本中变更为 configparser。
[DEFAULT]
ServerAliveInterval = 45
Compression = yes
CompressionLevel = 9
ForwardX11 = yes

[bitbucket.org]
User = hg

[topsecret.server.com]
Port = 50022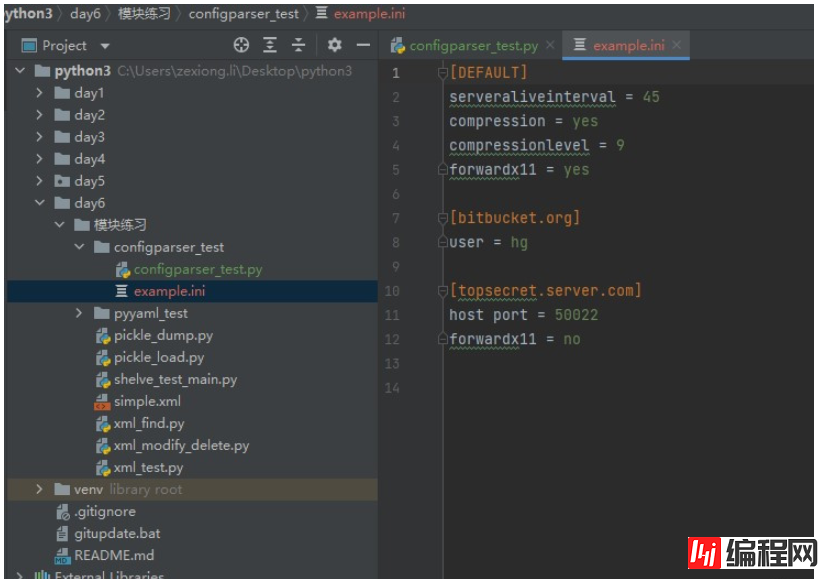
ForwardX11 = no比如,要使用configparser生成这样一个文档,这么做就行
import configparser

config = configparser.ConfigParser()

config["DEFAULT"] = {'ServerAliveInterval': '45',
                      'Compression': 'yes',
                     'CompressionLevel': '9',
                     'ForwardX11':'yes'
                     }

config['bitbucket.org'] = {'User':'hg'}

config['topsecret.server.com'] = {'Host Port':'50022','ForwardX11':'no'}

with open('example.ini', 'w') as configfile:

   config.write(configfile)
输出结果:
import configparser

config = configparser.ConfigParser()

#---------------------------查找文件内容,基于字典的形式

print(config.sections())        #  []

config.read('example.ini')

print(config.sections())        #   ['bitbucket.org', 'topsecret.server.com']

print('bytebong.com' in config) # False
print('bitbucket.org' in config) # True


print(config['bitbucket.org']["user"])  # hg

print(config['DEFAULT']['Compression']) #yes

print(config['topsecret.server.com']['ForwardX11'])  #no


print(config['bitbucket.org'])          #<Section: bitbucket.org>

for key in config['bitbucket.org']:     # 注意,有default会默认default的键
    print(key)

print(config.options('bitbucket.org'))  # 同for循环,找到'bitbucket.org'下所有键

print(config.items('bitbucket.org'))    #找到'bitbucket.org'下所有键值对

print(config.get('bitbucket.org','compression')) # yes get方法取深层嵌套的值import configparser
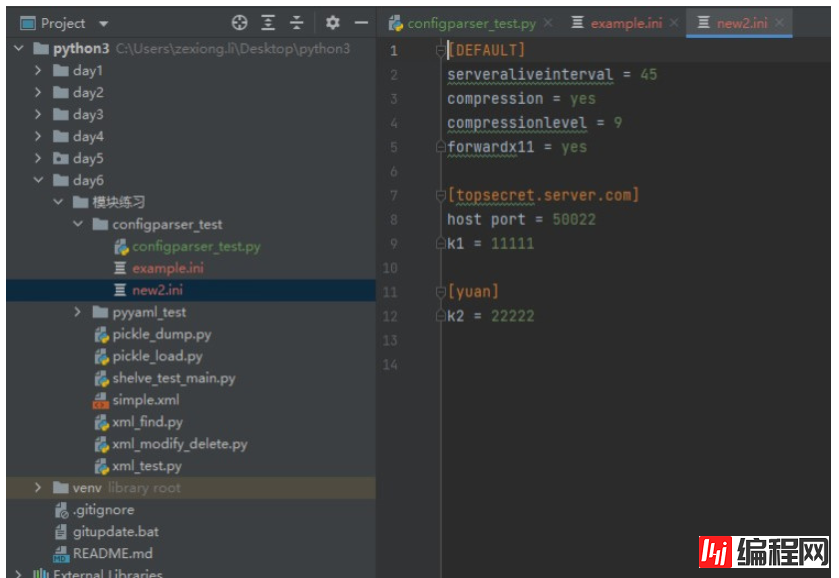
config = configparser.ConfigParser()
config.read('example.ini')
config.add_section('yuan')
config.remove_section('bitbucket.org')
config.remove_option('topsecret.server.com',"forwardx11")
config.set('topsecret.server.com','k1','11111')
config.set('yuan','k2','22222')
config.write(open('new2.ini', "w"))由于这个是写入一个新文件,这里直接查看新文件
以上就是“Python的configparser模块怎么使用”这篇文章的所有内容,感谢各位的阅读!相信大家阅读完这篇文章都有很大的收获,小编每天都会为大家更新不同的知识,如果还想学习更多的知识,请关注编程网Python频道。
--结束END--
本文标题: Python的configparser模块怎么使用
本文链接: https://www.lsjlt.com/news/99033.html(转载时请注明来源链接)
有问题或投稿请发送至: 邮箱/279061341@qq.com QQ/279061341
下载Word文档到电脑,方便收藏和打印~
2024-03-01
2024-03-01
2024-03-01
2024-02-29
2024-02-29
2024-02-29
2024-02-29
2024-02-29
2024-02-29
2024-02-29
回答
回答
回答
回答
回答
回答
回答
回答
回答
回答


官方手机版

微信公众号

商务合作


0