Python 官方文档:入门教程 => 点击学习
目录SpringBoot配置和占位符获取配置文件值@PropertySource&加载指定的配置文件@ImportResource 导入指定的配置文件springb
package com.example.springbootdemo.pojo;
import com.alibaba.fastJSON.jsON;
import org.springframework.boot.context.properties.ConfigurationProperties;
import org.springframework.context.annotation.PropertySource;
import org.springframework.stereotype.Component;


@Component

@ConfigurationProperties(prefix = "persion")
public class Persion {
    private String name;
    private Integer id;
    private Boolean bool;
    public Persion() {
    }

    public String getName() {
        return name;
    }

    public void setName(String name) {
        this.name = name;
    }

    public Integer getId() {
        return id;
    }

    public void setId(Integer id) {
        this.id = id;
    }

    public Boolean getBool() {
        return bool;
    }

    public void setBool(Boolean bool) {
        this.bool = bool;
    }

    @Override
    public String toString() {
        return JSON.toJSONString( this );
    }
}

以上方式过于麻烦,springboot推荐通过全注解方式,添加组件的方式
通过注解@Configration申明一个配置类,通过注解@Bean可以使用在方法上面,申明一个组件的生成,要是放在方法上,表明这个方法的返回值放在ioc容器中
package com.example.springbootdemo.configration;
import com.fasterxml.jackson.annotation.JsonAutoDetect;
import com.fasterxml.jackson.annotation.PropertyAccessor;
import com.fasterxml.jackson.databind.ObjectMapper;
import org.springframework.context.annotation.Bean;
import org.springframework.context.annotation.Configuration;
import org.springframework.data.Redis.connection.RedisConnectionFactory;
import org.springframework.data.redis.core.RedisTemplate;
import org.springframework.data.redis.serializer.Jackson2JsonRedisSerializer;
@Configuration
public class DataConfig {
@Bean
public RedisTemplate redisTemplate(RedisConnectionFactory factory) {
RedisTemplate template = new RedisTemplate();
template.setConnectionFactory(factory);
Jackson2JsonRedisSerializer jackson2JsonRedisSerializer = new Jackson2JsonRedisSerializer(Object.class);
ObjectMapper om = new ObjectMapper();
om.setVisibility( PropertyAccessor.ALL, JsonAutoDetect.Visibility.ANY);
om.enableDefaultTyping( ObjectMapper.DefaultTyping.NON_FINAL);
jackson2JsonRedisSerializer.setObjectMapper(om);
template.setValueSerializer(jackson2JsonRedisSerializer);
template.afterPropertiesSet();
return template;
}
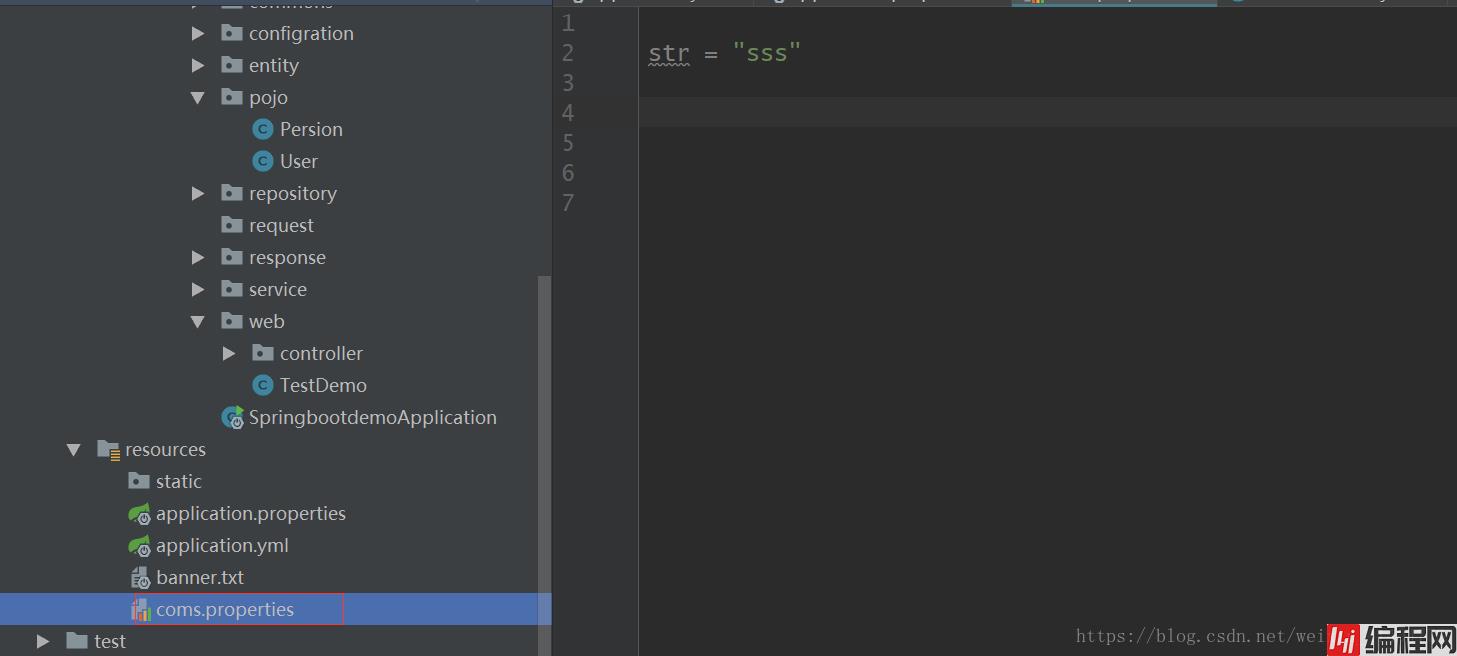
}通过占位符获取值
#通过使用占位符赋值
persion.name=张三${random.value}
persion.bool=false
persion.id=12${random.int}

person.last‐name=张三${random.uuid}
person.age=${random.int}
person.birth=2017/12/15 person.boss=false
person.maps.k1=v1 person.maps.k2=14 person.lists=a,b,c
person.dog.name=${person.hello:hello}_dog
person.dog.age=15让user类可用通过配置文件进行实例化
package com.example.springdemo.entity;
import lombok.Data;
import org.springframework.boot.context.properties.ConfigurationProperties;
import org.springframework.context.annotation.Configuration;
import org.springframework.context.annotation.PropertySource;
import org.springframework.stereotype.Component;
import org.springframework.validation.annotation.Validated;
import java.util.List;
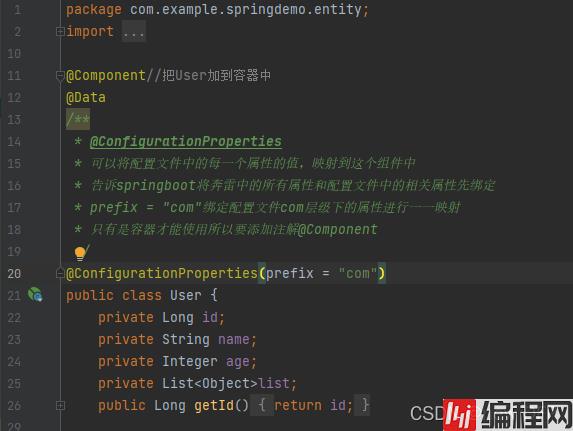
@Component//把User加到容器中
@Data
@ConfigurationProperties(prefix = "com")
public class User {
private Long id;
private String name;
private Integer age;
private List<Object>list;
public Long getId() {
return id;
}
public void setId(Long id) {
this.id = id;
}
public String getName() {
return name;
}
public void setName(String name) {
this.name = name;
}
public Integer getAge(int i) {
return age;
}
public void setAge(Integer age) {
this.age = age;
}
public String getEmail() {
return email;
}
public void setEmail(String email) {
this.email = email;
}
private String email;
public Integer getAge() {
return age;
}
public List<Object> getList() {
return list;
}
public void setList(List<Object> list) {
this.list = list;
}
}com.email=99@dfp.com
com.name=newDFP${com.cc:不存在给默认值}
com.age=${random.int}首先就是对age取随机数然后对name获取对象的数据
package com.example.springdemo;
import com.example.springdemo.entity.User;
import com.example.springdemo.mapper.UserMapper;
import com.example.springdemo.properties.Myproperties;
import org.junit.jupiter.api.Test;
import org.junit.runner.RunWith;
import org.springframework.beans.factory.annotation.Autowired;
import org.springframework.boot.test.context.SpringBootTest;
import org.springframework.context.ApplicationContext;
import org.springframework.test.context.junit4.SpringRunner;

import javax.sql.DataSource;
import java.sql.SQLException;
import java.util.List;

@SpringBootTest
@RunWith(SpringRunner.class)
class SpringdemoApplicationTests {

//如果测试类与启动入口类包名不一致,必须加该注解属性classes指定启动入口类,否则无法启动SpringBoot
        @Autowired
        private DataSource dataSource;

        @Test
        public void dataSource() {
            try {
                System.out.println(dataSource.getConnection());
            } catch (SQLException e) {
                // TODO Auto-generated catch block
                e.printStackTrace();
            }
        }
    @Autowired
    Myproperties myproperties;
    @Test
    void test(){
        System.out.println("------------------------");
        System.out.println(myproperties.getMes());
    }

    @Autowired
    UserMapper userMapper;
    @Test
    void testmybatisPlus(){
        List<User> users=userMapper.selectList(null);
        for (User user:users){
            System.out.println(user);
        }
        System.out.println("查询成功!");
        User aduuser=new User();
//        aduuser.setName("DFP");
//        aduuser.setAge(18);
//        aduuser.setEmail("DFP19053025@qq.com");
//        aduuser.setId(19053065L);
        int i=userMapper.insert(aduuser);
        if (i>0){
            System.out.println("成功加入记录!");
        }else{ System.out.println("失败加入记录!");}
        for (User user:users){
            System.out.println(user);
        }
    }

    @Autowired
    User user;
    @Test
    public void contextlodes(){
        System.out.println("测试结果输出:"+user);
    }
}
结果

因为com.cc是不存在的就回去:后面的默认值
如果com.cc存在就会取com.cc的值
com.email=99@dfp.com
com.name=newDFP+++${com.email:不存在给默认值}
com.age=${random.int}
这次的值不再是默认值了com.email是存在数据的

以上为个人经验,希望能给大家一个参考,也希望大家多多支持编程网。
--结束END--
本文标题: 使用springboot配置和占位符获取配置文件中的值
本文链接: https://www.lsjlt.com/news/140545.html(转载时请注明来源链接)
有问题或投稿请发送至: 邮箱/279061341@qq.com QQ/279061341
下载Word文档到电脑,方便收藏和打印~
2024-03-01
2024-03-01
2024-03-01
2024-02-29
2024-02-29
2024-02-29
2024-02-29
2024-02-29
2024-02-29
2024-02-29
回答
回答
回答
回答
回答
回答
回答
回答
回答
回答


官方手机版

微信公众号

商务合作


0