目录Vuex在vite&vue3的使用一、说明二、使用vue3.x之vite初体验一、项目搭建二、附项目结构三、附项目启动成功图vuex在vite&vue3的使用 注
注:本文只讲解vite打包vue3中vuex使用
最近vite十分火爆,在构建项目过程中,想要用到vuex,但是在晚上搜索教程过程中,发现大都为vue2以下或者非vite版本的使用。
在这里总结一下vite打包中vue3下使用vuex的使用方式以及遇到的一些坑。
1.创建项目(通过vite命令创建)
项目创建好之后在src创建store文件夹

2.安装vuex
npm install vuex@next --save这里注意,vite打包的项目中使用vuex需要添加@next,否则将不能使用createStore方法,如果遇到以下错误,可检查vuex版本("vuex": "^4.x"即为正确)

3.配置vuex
这里配置有很多方法,可以通过自己的业务逻辑来设置
import { createStore } from 'vuex'
export default createStore({
  state: {
    name: 'default'
  },
  mutations: {
    name: (state, newValue) => {
      state.name = newValue
    }
  },
  actions: {
    setName: (ctx, value) => {
      ctx.commit('name', value)
    }
  }
})
name为我们根据业务逻辑来定义的一个状态值setName为我们在页面中调用的一个操作函数名称mutations中的函数为变更状态的逻辑4.页面中使用vuex
<script setup>
import { ref, computed } from 'vue'
import $store from '@/store/index'
// 通过store中的name值来获取计算属性
const name = computed(() => $store.state.name)
const count = ref(0)
const handleVuex = async () => {
count.value += 1
// 向store中提交新的值,调用action中的setName函数
await $store.dispatch('setName', 'new-value' + count.value)
}
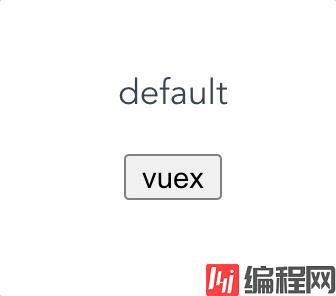
</script><template>
<div>
<p>{{ name }}</p>
<button type="button" @click="handleVuex">vuex</button>
</div>
</template>效果
对于初学者来说,vuex可能是一个进阶的使用,但是通过本文,我相信会改变你的想法
我只提供了vuex的一种使用方式,但是大同小异,大家学着使用起来吧
vite 使用
<project-name>为项目名
$ npm init vite-app <project-name>
$ cd <project-name>  //进入项目目录
$ npm install  //安装项目所需依赖
$ npm run dev  //启动项目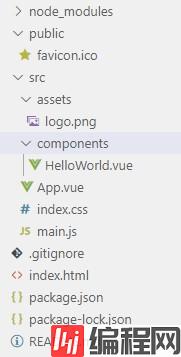
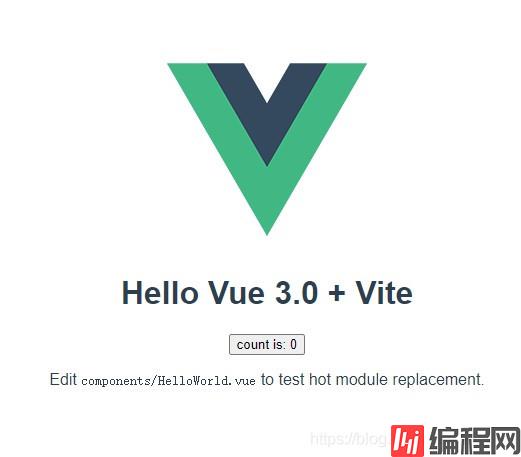
Vite启动极快,体验很好,与vue CLI相比目录结构变化不大,使用vue CLI的同学很快就能上手。
以上为个人经验,希望能给大家一个参考,也希望大家多多支持编程网。
--结束END--
本文标题: vuex在vite&vue3中的简单使用说明
本文链接: https://www.lsjlt.com/news/152926.html(转载时请注明来源链接)
有问题或投稿请发送至: 邮箱/279061341@qq.com QQ/279061341
下载Word文档到电脑,方便收藏和打印~
2024-01-12
2023-05-20
2023-05-20
2023-05-20
2023-05-20
2023-05-20
2023-05-20
2023-05-20
2023-05-20
2023-05-20
回答
回答
回答
回答
回答
回答
回答
回答
回答
回答


官方手机版

微信公众号

商务合作


0