Python 官方文档:入门教程 => 点击学习
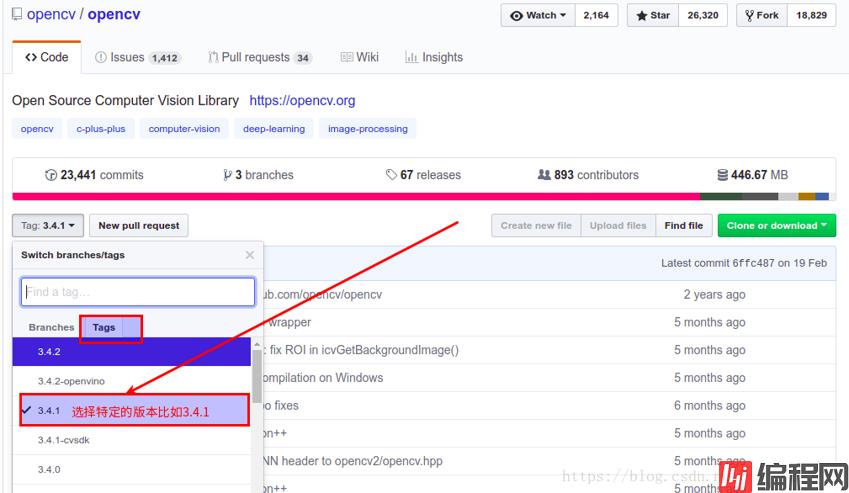
https://GitHub.com/OpenCV 需要的有两个部分:opencv 和opencv_contrib 这两个部分选择相同的版本,opencv_contrib是opencv的扩充. 安装cmake-gui (
https://GitHub.com/OpenCV

需要的有两个部分:opencv 和opencv_contrib 这两个部分选择相同的版本,opencv_contrib是opencv的扩充.

安装cmake-gui (如何安装不多介绍)
在opencv3.4.1中创建一个build文件夹,并将opencv_contrib-3.4.1(扩展库)添加到opencv3.4.1文件夹.
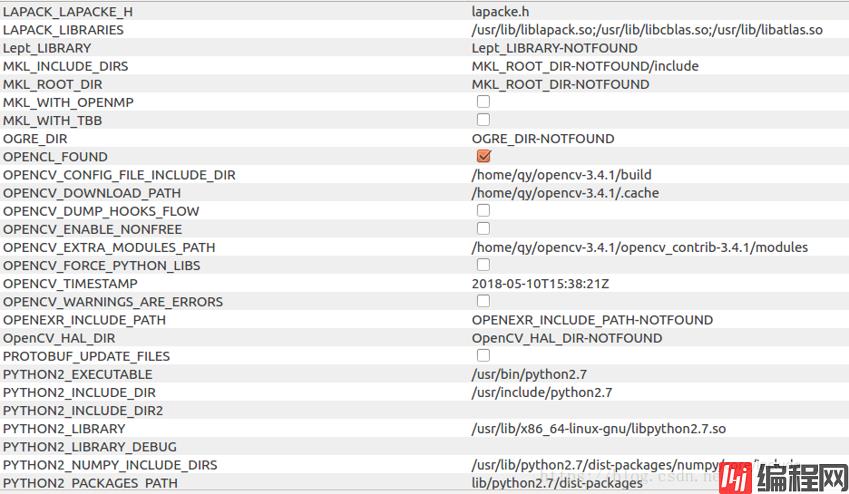
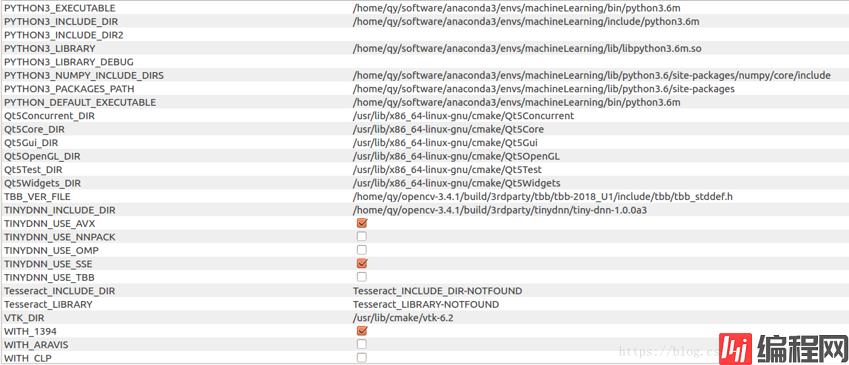
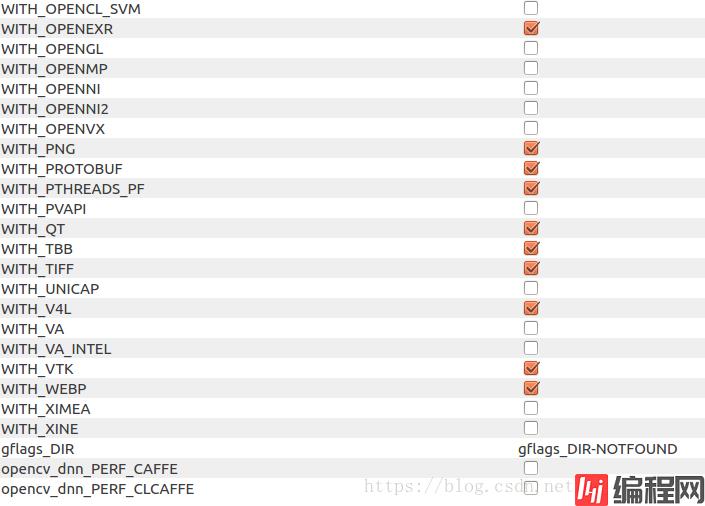
配置如下:
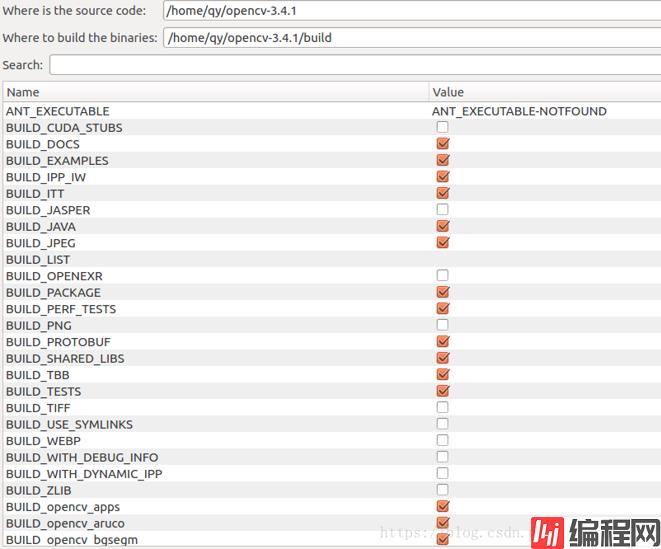


配置输出的信息:
General configuration for OpenCV 3.4.1 =====================================
  Version control:               unknown

  Extra modules:
    Location (extra):            /home/qy/opencv-3.4.1/opencv_contrib-3.4.1/modules
    Version control (extra):     unknown

  PlatfORM:
    Timestamp:                   2018-05-10T15:38:21Z
    Host:                        linux 4.4.0-122-generic x86_64
    CMake:                       3.5.1
    CMake generator:             Unix Makefiles
    CMake build tool:            /usr/bin/make
    Configuration:               Release

  CPU/HW features:
    Baseline:                    SSE SSE2 SSE3
      requested:                 SSE3
    Dispatched code generation:  SSE4_1 SSE4_2 FP16 AVX AVX2 AVX512_SKX
      requested:                 SSE4_1 SSE4_2 AVX FP16 AVX2 AVX512_SKX
      SSE4_1 (3 files):          + SSSE3 SSE4_1
      SSE4_2 (1 files):          + SSSE3 SSE4_1 POPCNT SSE4_2
      FP16 (2 files):            + SSSE3 SSE4_1 POPCNT SSE4_2 FP16 AVX
      AVX (5 files):             + SSSE3 SSE4_1 POPCNT SSE4_2 AVX
      AVX2 (9 files):            + SSSE3 SSE4_1 POPCNT SSE4_2 FP16 FMA3 AVX AVX2
      AVX512_SKX (1 files):      + SSSE3 SSE4_1 POPCNT SSE4_2 FP16 FMA3 AVX AVX2 AVX_512F AVX512_SKX

  C/C++:
    Built as dynamic libs?:      YES
    c++ Compiler:                /usr/bin/c++  (ver 5.4.0)
    C++ flags (Release):         -fsigned-char -W -Wall -Werror=return-type -Werror=non-virtual-dtor -Werror=address -Werror=sequence-point -Wformat -Werror=format-security -Wmissing-declarations -Wundef -Winit-self -Wpointer-arith -Wshadow -Wsign-promo -Wuninitialized -Winit-self -Wno-narrowing -Wno-delete-non-virtual-dtor -Wno-comment -fdiagnostics-show-option -Wno-long-long -pthread -fomit-frame-pointer -ffunction-sections -fdata-sections  -msse -msse2 -msse3 -fvisibility=hidden -fvisibility-inlines-hidden -O3 -DNDEBUG  -DNDEBUG
    C++ flags (Debug):           -fsigned-char -W -Wall -Werror=return-type -Werror=non-virtual-dtor -Werror=address -Werror=sequence-point -Wformat -Werror=format-security -Wmissing-declarations -Wundef -Winit-self -Wpointer-arith -Wshadow -Wsign-promo -Wuninitialized -Winit-self -Wno-narrowing -Wno-delete-non-virtual-dtor -Wno-comment -fdiagnostics-show-option -Wno-long-long -pthread -fomit-frame-pointer -ffunction-sections -fdata-sections  -msse -msse2 -msse3 -fvisibility=hidden -fvisibility-inlines-hidden -g  -O0 -DDEBUG -D_DEBUG
    C Compiler:                  /usr/bin/cc
    C flags (Release):           -fsigned-char -W -Wall -Werror=return-type -Werror=non-virtual-dtor -Werror=address -Werror=sequence-point -Wformat -Werror=format-security -Wmissing-declarations -Wmissing-prototypes -Wstrict-prototypes -Wundef -Winit-self -Wpointer-arith -Wshadow -Wuninitialized -Winit-self -Wno-narrowing -Wno-comment -fdiagnostics-show-option -Wno-long-long -pthread -fomit-frame-pointer -ffunction-sections -fdata-sections  -msse -msse2 -msse3 -fvisibility=hidden -O3 -DNDEBUG  -DNDEBUG
    C flags (Debug):             -fsigned-char -W -Wall -Werror=return-type -Werror=non-virtual-dtor -Werror=address -Werror=sequence-point -Wformat -Werror=format-security -Wmissing-declarations -Wmissing-prototypes -Wstrict-prototypes -Wundef -Winit-self -Wpointer-arith -Wshadow -Wuninitialized -Winit-self -Wno-narrowing -Wno-comment -fdiagnostics-show-option -Wno-long-long -pthread -fomit-frame-pointer -ffunction-sections -fdata-sections  -msse -msse2 -msse3 -fvisibility=hidden -g  -O0 -DDEBUG -D_DEBUG
    Linker flags (Release):
    Linker flags (Debug):
    ccache:                      NO
    Precompiled headers:         YES
    Extra dependencies:          dl m pthread rt
    3rdparty dependencies:       tbb

  OpenCV modules:
    To be built:                 aruco bgsegm bioinspired calib3D ccalib core cvv datasets dnn dnn_objdetect dpm face features2d flann freetype fuzzy hdf hfs highgui img_hash imGCodecs imgproc java_bindings_generator line_descriptor ml objdetect optflow phase_unwrapping photo plot python3 python_bindings_generator reg rgbd saliency shape stereo stitching structured_light superres surface_matching text tracking ts video videoio videostab viz xfeatures2d ximgproc xobjdetect xphoto
    Disabled:                    js Python2 world
    Disabled by dependency:      -
    Unavailable:                 cnn_3dobj cudaarithm cudabgsegm cudacodec cudafeatures2d cudafilters cudaimgproc cudalegacy cudaobjdetect cudaoptflow cudastereo cudawarping cudev dnn_modern java matlab ovis sfm
    Applications:                tests perf_tests examples apps
    Documentation:               NO
    Non-free alGorithms:         NO

  GUI:
    Qt:                          YES (ver 5.5.1)
      QT OpenGL support:         NO
    GTK+:                        NO
    VTK support:                 YES (ver 6.2.0)

  Media I/O:
    ZLib:                        /usr/lib/x86_64-linux-gnu/libz.so (ver 1.2.8)
    JPEG:                        libjpeg (ver 90)
    WEBP:                        /usr/lib/x86_64-linux-gnu/libwebp.so (ver encoder: 0x0202)
    PNG:                         /usr/lib/x86_64-linux-gnu/libpng.so (ver 1.2.54)
    TIFF:                        /usr/lib/x86_64-linux-gnu/libtiff.so (ver 42 / 4.0.6)
    JPEG 2000:                   /usr/lib/x86_64-linux-gnu/libjasper.so (ver 1.900.1)
    OpenEXR:                     build (ver 1.7.1)

  Video I/O:
    DC1394:                      YES (ver 2.2.4)
    FFmpeg:                      YES
      avcodec:                   YES (ver 56.60.100)
      avformat:                  YES (ver 56.40.101)
      avutil:                    YES (ver 54.31.100)
      swscale:                   YES (ver 3.1.101)
      avresample:                NO
    GStreamer:                   NO
    libv4l/libv4l2:              NO
    v4l/v4l2:                    linux/videodev2.h
    gPhoto2:                     NO

  Parallel framework:            TBB (ver 2018.0 interface 10001)

  Trace:                         YES (with Intel ITT)

  Other third-party libraries:
    Intel IPP:                   2017.0.3 [2017.0.3]
           at:                   /home/qy/opencv-3.4.1/build/3rdparty/ippicv/ippicv_lnx
    Intel IPP IW:                sources (2017.0.3)
              at:                /home/qy/opencv-3.4.1/build/3rdparty/ippicv/ippiw_lnx
    Lapack:                      YES (/usr/lib/liblapack.so /usr/lib/libcblas.so /usr/lib/libatlas.so)
    Eigen:                       YES (ver 3.2.92)
    Custom HAL:                  NO
    Protobuf:                    build (3.5.1)

  NVIDIA CUDA:                   NO

  OpenCL:                        YES (no extra features)
    Include path:                /home/qy/opencv-3.4.1/3rdparty/include/opencl/1.2
    Link libraries:              Dynamic load

  Python 3:
    Interpreter:                 /home/qy/software/anaconda3/envs/MachineLearning/bin/python3.6m (ver 3.6.5)
    Libraries:                   /home/qy/software/anaconda3/envs/machineLearning/lib/libpython3.6m.so (ver 3.6.5)
    numpy:                       /home/qy/software/anaconda3/envs/machineLearning/lib/python3.6/site-packages/numpy/core/include (ver 1.14.2)
    packages path:               /home/qy/software/anaconda3/envs/machineLearning/lib/python3.6/site-packages

  Python (for build):            /home/qy/software/anaconda3/envs/machineLearning/bin/python3.6m

  Java:
    ant:                         NO
    JNI:                         NO
    Java wrappers:               NO
    Java tests:                  NO

  Matlab:                        NO

  Install to:                    /usr/opencv34
笔者使用的是ubuntu16.04,默认地opencv会链到系统的python2.7上去(看cache可知),所以需要指定到咱下的anaconda的python3上,在配置python3的时候,cmake-gui可能比较麻烦,笔者使用的命令行如下所示,记得把python所有相关路径改到自己的anaconda下。然后在cmake-gui中进行跟新配置. 笔者的python的环境的路径为/home/qy/software/anaconda3/envs/machineLearning,machineLearning是一个子环境,安装了python3,所以只要是python3的环境就可以.
$ cd build
cmake -D BUILD_opencv_python3=yes -D BUILD_opencv_python2=no -D PYTHON3_EXECUTABLE=/home/qy/software/anaconda3/envs/machineLearning/bin/python3.6m -D PYTHON3_INCLUDE_DIR=/home/qy/software/anaconda3/envs/machineLearning/include/python3.6m -D PYTHON3_LIBRARY=/home/qy/software/anaconda3/envs/machineLearning/lib/libpython3.6m.so -D PYTHON3_NUMPY_INCLUDE_DIRS=/home/qy/software/anaconda3/envs/machineLearning/lib/python3.6/site-packages/numpy/core/include -D PYTHON3_PACKAGES_PATH=/home/qy/software/anaconda3/envs/machineLearning/lib/python3.6/site-packages -D PYTHON_DEFAULT_EXECUTABLE=/home/qy/software/anaconda3/envs/machineLearning/bin/python3.6m ..
切换到cmake-gui,点击reload cache,把上面通过命令行配置的信息在cmake-gui中进行更新

在编译之前,需要安装OpenCV的依赖项:
依赖项参考:
Https://docs.opencv.org/2.4/doc/tutorials/introduction/linux_install/linux_install.html
https://www.linuxidc.com/Linux/2017-02/141157.htm
https://www.cnblogs.com/tlnshuju/p/6767337.html
# Build tools:
sudo apt-get install -y build-essential cmake

# GUI (if you want to use GTK instead of Qt, replace 'qt5-default' with 'libgtkglext1-dev' and remove '-DWITH_QT=ON' option in CMake):
sudo apt-get install -y qt5-default libvtk6-dev

# Media I/O:
sudo apt-get install -y zlib1g-dev libjpeg-dev libwebp-dev libpng-dev libtiff5-dev libjasper-dev libopenexr-dev libgdal-dev

# Video I/O:
sudo apt-get install -y libdc1394-22-dev libavcodec-dev libavformat-dev libswscale-dev libtheora-dev libvorbis-dev libxvidcore-dev libx264-dev yasm libopencore-amrnb-dev libopencore-amrwb-dev libv4l-dev libxine2-dev

# Parallelism and linear algebra libraries:
sudo apt-get install -y libtbb-dev libeigen3-dev

# Python:
sudo apt-get install -y python-dev python-tk python-numpy python3-dev python3-tk python3-numpy
配置完成后,点击Generate,会在build文件夹中生成一系列文件.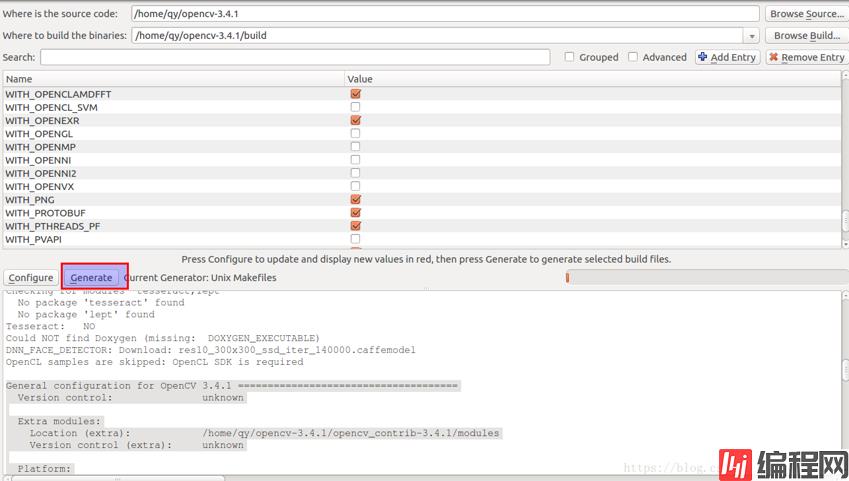
接下来使用四个线程进行编译:
make -j4
然后进行安装:
cd opencv3.4.0/build/
sudo make install
在配置中opencv的安装目录可以用默认的也可以自己设定,笔者设定是:
/usr/opencv34

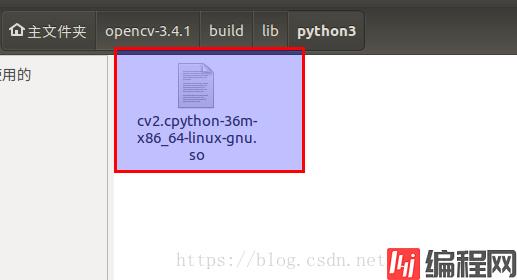
编译完成后,把编译出来的cv2.cpython-36m-x86_64-linux-gnu.so库(opencv-python)拷到anaconda的python库包下
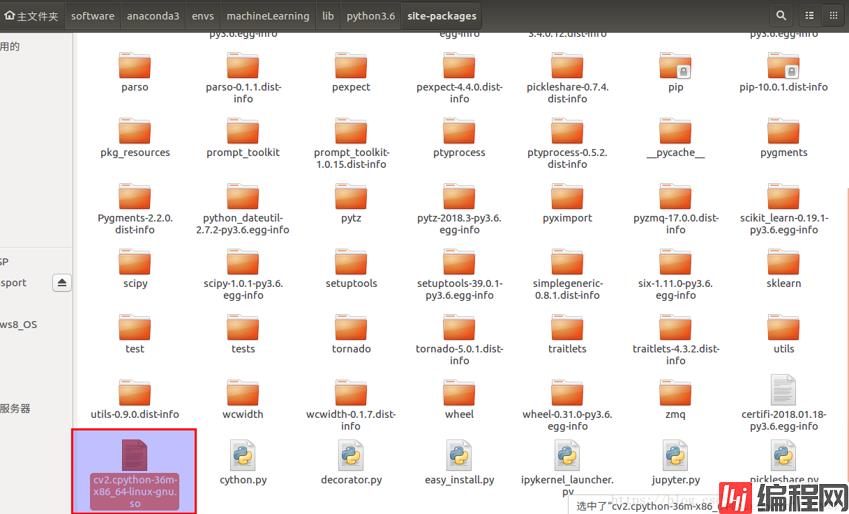
然后可以使用相应的python3 import cv2
--结束END--
本文标题: 从源码安装OpenCV,使用python
本文链接: https://www.lsjlt.com/news/185804.html(转载时请注明来源链接)
有问题或投稿请发送至: 邮箱/279061341@qq.com QQ/279061341
下载Word文档到电脑,方便收藏和打印~
2024-03-01
2024-03-01
2024-03-01
2024-02-29
2024-02-29
2024-02-29
2024-02-29
2024-02-29
2024-02-29
2024-02-29
回答
回答
回答
回答
回答
回答
回答
回答
回答
回答


官方手机版

微信公众号

商务合作


0