目录自定义相机起因利用livePusher实现使用效果图拓展实现多种自定义相机水印相机身份证相机人像相机自定义相机 起因 由于最近用uniapp调用原生相机容易出现闪退问题,找了很
由于最近用uniapp调用原生相机容易出现闪退问题,找了很多教程又是压缩图片又是优化代码,我表示并没有太大作用!!
于是开启了我的解决之路
实现自定义相机
拓展性挺强的,可以实现自定义水印、身份证拍摄、人像拍摄等 这里我简单实现一个相机功能主要用于解决闪退
Tip:这里需要创建nVue文件哦~
创建camera.nvue
<template>
	<view class="pengke-camera" :style="{ width: windowWidth, height: windowHeight }">
		<live-pusher
			id="livePusher"
			ref="livePusher"
			class="livePusher"
			mode="FHD"
			beauty="0"
			whiteness="0"
			:aspect="aspect"
			min-bitrate="1000"
			audio-quality="16KHz"
			device-position="back"
			:auto-focus="true"
			:muted="true"
			:enable-camera="true"
			:enable-mic="false"
			:zoom="false"
			@statechange="statechange"
			:style="{ width: windowWidth, height: windowHeight }"
		></live-pusher>
		<view class="menu">
			<!--底部菜单区域背景-->
			<cover-image class="menu-mask" src="/static/live-camera/bar.png"></cover-image>
			<!--返回键-->
			<cover-image class="menu-back" @tap="back" src="/static/live-camera/back.png"></cover-image>
			<!--快门键-->
			<cover-image class="menu-snapshot" @tap="snapshot" src="/static/live-camera/shutter.png"></cover-image>
			<!--反转键-->
			<cover-image class="menu-flip" @tap="flip" src="/static/live-camera/flip.png"></cover-image>
		</view>
	</view>
</template>
<script>
let _this = null;
export default {
	data() {
		return {
			poenCarmeInterval:null,//打开相机的轮询
			aspect: '2:3', //比例
			windowWidth: '', //屏幕可用宽度
			windowHeight: '', //屏幕可用高度
			camerastate: false, //相机准备好了
			livePusher: null, //流视频对象
			snapshotsrc: null, //快照
		};
	},
	onLoad(e) {
		_this = this;
		this.initCamera();
	},
	onReady() {
		this.livePusher = uni.createLivePusherContext('livePusher', this);
		this.startPreview(); //开启预览并设置摄像头
		this.poenCarme();
	},
	methods: {
		//轮询打开
		poenCarme(){
			//#ifdef APP-PLUS
			if (plus.os.name == 'Android') {
				this.poenCarmeInterval = setInterval(function() {
					console.log(_this.camerastate);
					if (!_this.camerastate) _this.startPreview();
				}, 2500);
			}
			//#endif
		},
		//初始化相机
		initCamera() {
			uni.getSystemInfo({
				success: function(res) {
					_this.windowWidth = res.windowWidth;
					_this.windowHeight = res.windowHeight;
					let zcs = _this.aliquot(_this.windowWidth,_this.windowHeight);
					_this.aspect = (_this.windowWidth/zcs)+':'+(_this.windowHeight/zcs);
					// console.log('画面比例:'+_this.aspect);
				}
			});
		},
		//整除数计算
		aliquot(x, y) {
			if (x % y == 0) return y;
			return this.aliquot(y, x % y);
		},
		//开始预览
		startPreview() {
			this.livePusher.startPreview({
				success: a => {
					console.log(a)
				}
			});
		},
		//停止预览
		stopPreview() {
			this.livePusher.stopPreview({
				success: a => {
					_this.camerastate = false;
				}
			});
		},
		//状态
		statechange(e) {
			//状态改变
			console.log(e);
			if (e.detail.code == 1007) {
				_this.camerastate = true;
			} else if (e.detail.code == -1301) {
				_this.camerastate = false;
			}
		},
		//返回
		back() {
			uni.navigateBack();
		},
		//抓拍
		snapshot() {
			//震动
			uni.vibrateShort({
			    success: function () {
			        console.log('success');
			    }
			});
			//拍照
			this.livePusher.snapshot({
				success: e => {
					_this.snapshotsrc = e.message.tempImagePath;
					_this.stopPreview();
					_this.setImage();
					uni.navigateBack();
				}
			});
		},
		//反转
		flip() {
			this.livePusher.switchCamera();
		},
		//设置
		setImage() {
			let pages = getCurrentPages();
			let prevPage = pages[pages.length - 2];
			prevPage.$vm.setImage({ path: _this.snapshotsrc});
		}
	}
};
</script>
<style lang="less">
.pengke-camera {
	justify-content: center;
	align-items: center;
	.menu {
		position: absolute;
		left: 0;
		bottom: 0;
		width: 750rpx;
		height: 180rpx;
		z-index: 98;
		align-items: center;
		justify-content: center;
		.menu-mask {
			position: absolute;
			left: 0;
			bottom: 0;
			width: 750rpx;
			height: 180rpx;
			z-index: 98;
		}
		.menu-back {
			position: absolute;
			left: 30rpx;
			bottom: 50rpx;
			width: 80rpx;
			height: 80rpx;
			z-index: 99;
			align-items: center;
			justify-content: center;
		}
		.menu-snapshot {
			width: 130rpx;
			height: 130rpx;
			z-index: 99;
		}
		.menu-flip {
			position: absolute;
			right: 30rpx;
			bottom: 50rpx;
			width: 80rpx;
			height: 80rpx;
			z-index: 99;
			align-items: center;
			justify-content: center;
		}
	}
}
</style>
这里用了一些图片作为图标布局画面美观,例如返回图标,拍摄图标
在点击拍照的时候跳转到camera页面即可 在需要使用的页面中编写setImage方法,即可拿到返回过来的图片临时路径 再通过uniapp自带的上传图片api进行上传至服务器即可 这样就避免了调用原生相机
setImage(e){
//e.path即是图片临时路径
uni.uploadFile({
	url: '上传接口的路径',
	filePath: e.path,
	name: 'imageFile',
	success: function(res) {
		//服务器返回的图片地址url
	},
	error: function(err) {
		console.log(err)
	}
}
如果既要实现从相册选又要手机拍呢?该如何实现 这里相册选调用的uniapp的api, 手机拍跳转到自定义相机页面即可
这里可以写一个弹窗,让它选择,如果选择了从相册选图片则
uni.chooseImage({
	count: size, //默认9
	sizeType: ['original', 'compressed'], //可以指定是原图还是压缩图,默认二者都有
	sourceType: ['album'], //从相册选择
	success: function (res) {
		console.log(res)//拿到临时路径再向后端发送上传请求....
	}
});
如果用相机拍则跟上方步骤一致
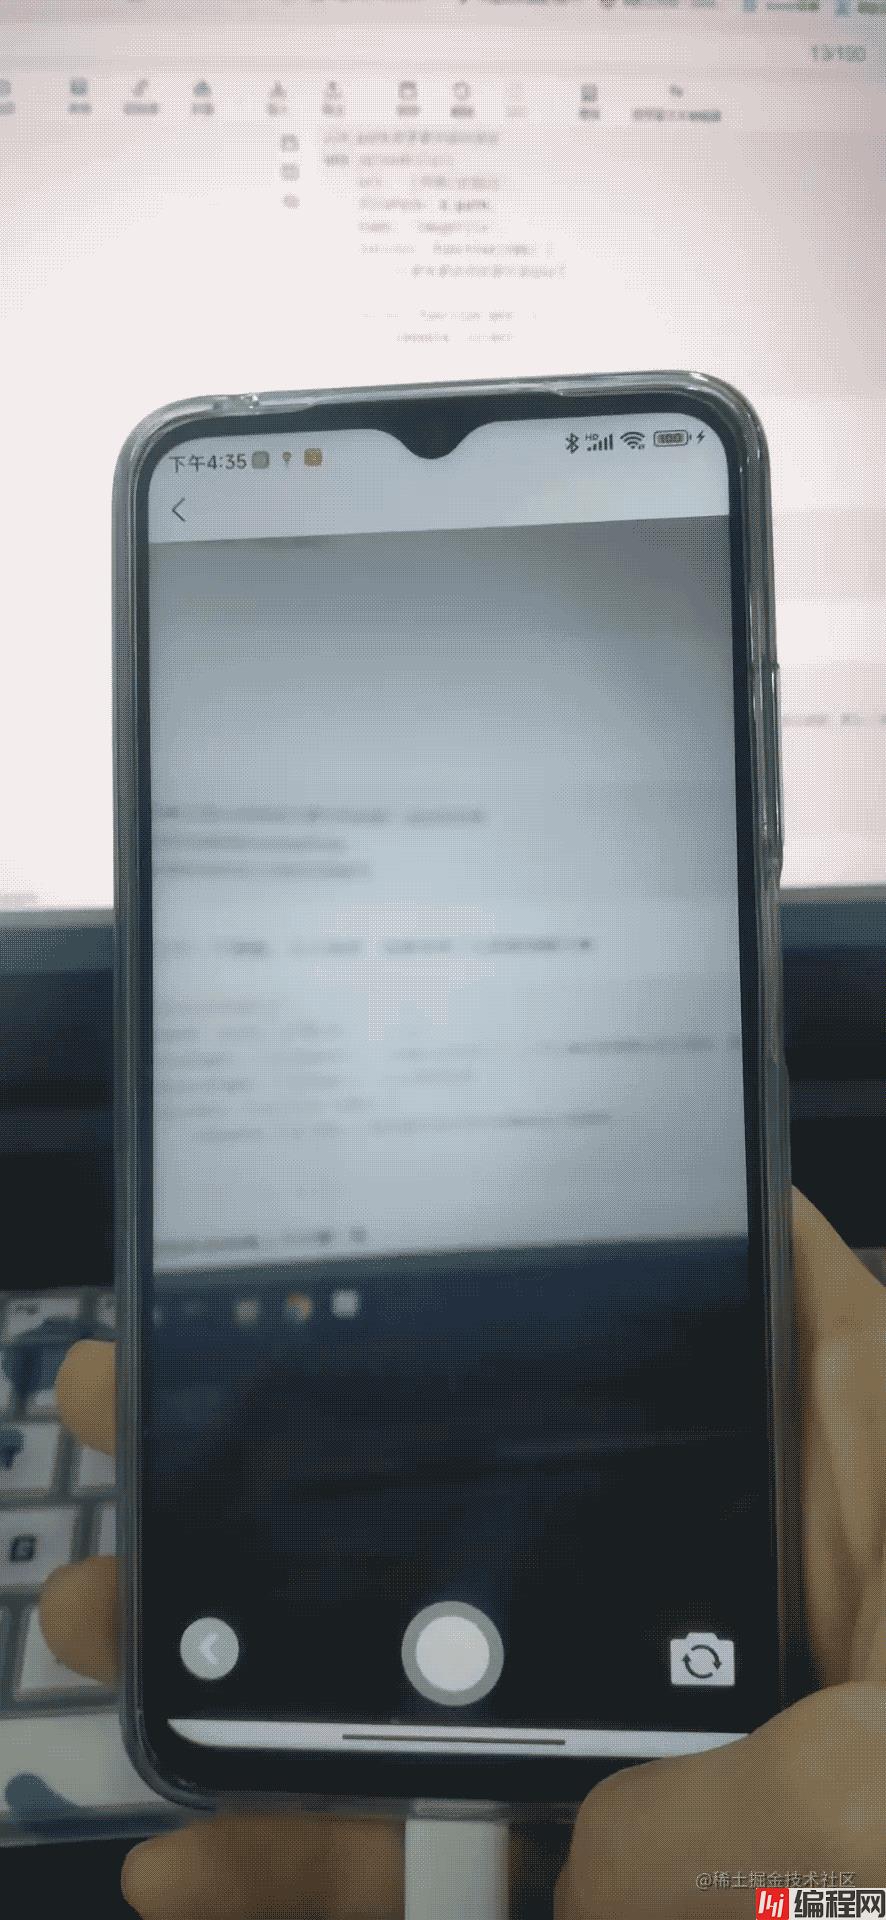
这里的话我贴上效果图,如果需要就在我的博客资源中获取吧
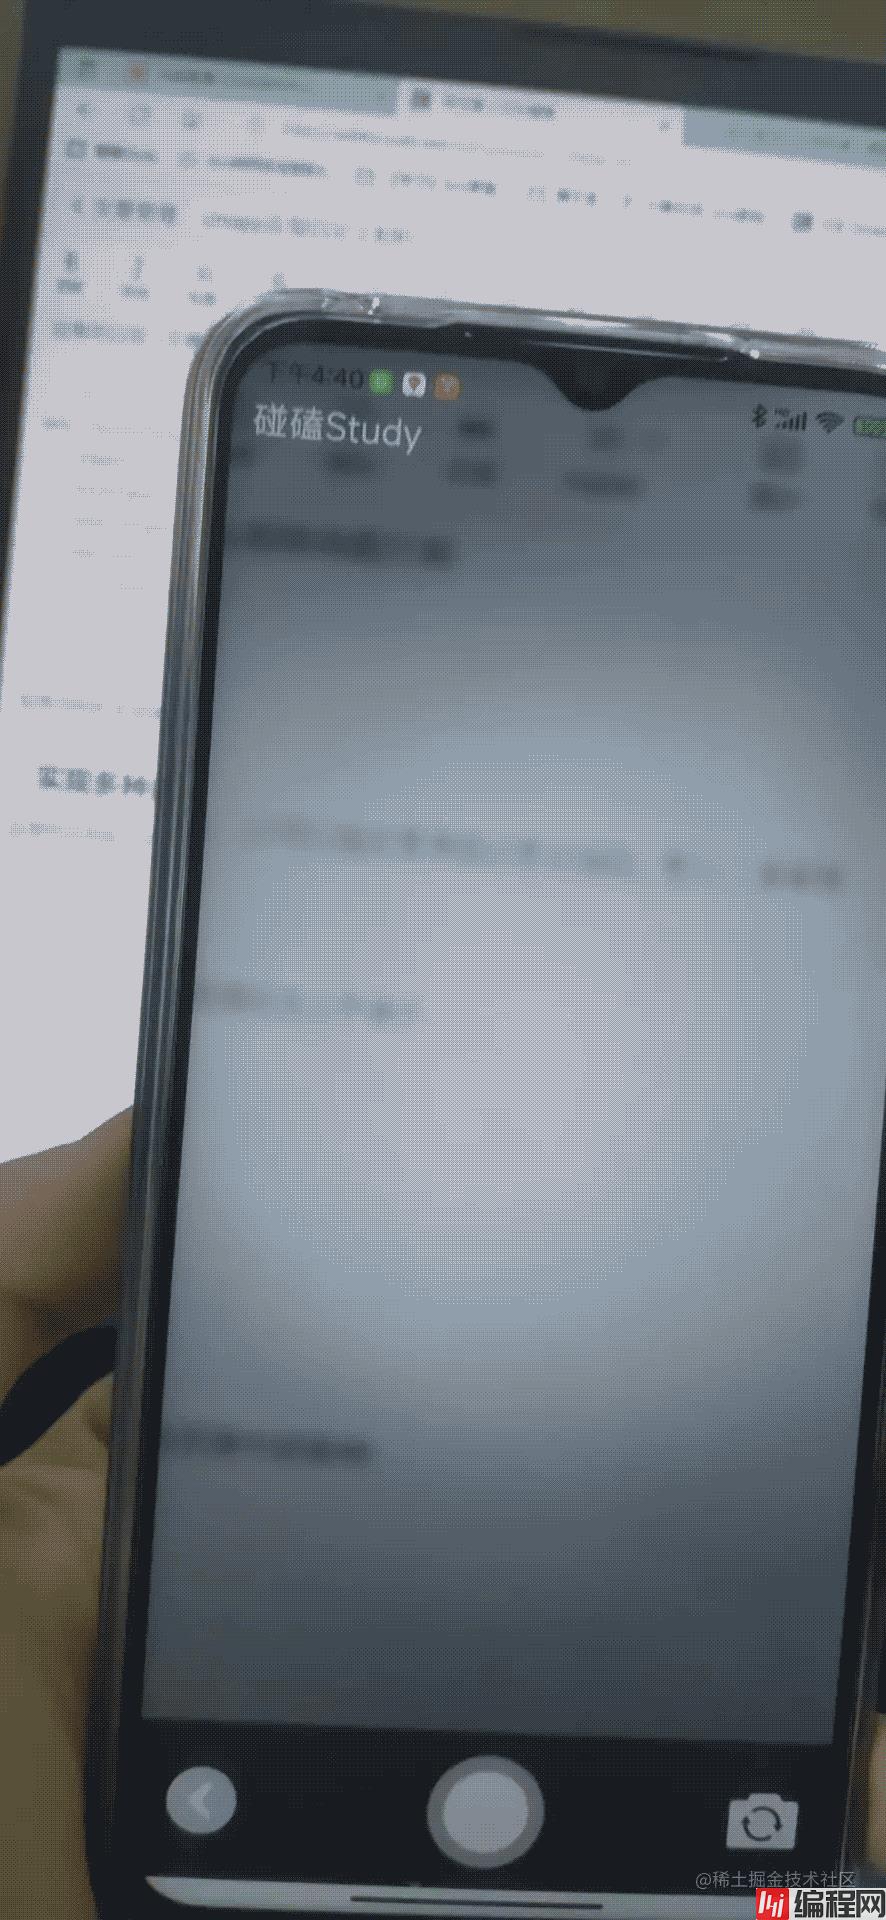


这样我就成功解决了闪退问题~
以上就是uniapp自定义相机实现示例详解的详细内容,更多关于uniapp自定义相机的资料请关注编程网其它相关文章!
--结束END--
本文标题: uniapp自定义相机实现示例详解
本文链接: https://www.lsjlt.com/news/199136.html(转载时请注明来源链接)
有问题或投稿请发送至: 邮箱/279061341@qq.com QQ/279061341
下载Word文档到电脑,方便收藏和打印~
2024-01-12
2023-05-20
2023-05-20
2023-05-20
2023-05-20
2023-05-20
2023-05-20
2023-05-20
2023-05-20
2023-05-20
回答
回答
回答
回答
回答
回答
回答
回答
回答
回答


官方手机版

微信公众号

商务合作


0