Python 官方文档:入门教程 => 点击学习
目录前言一、异步方法调用1、导入依赖2、创建异步执行任务线程池3、创建业务层接口和实现类二、测试定时任务1.导入依赖2.编写测试类,开启扫描定时任务3.测试三、实现定时发送邮件案例1
Quartz是一个完全由java编写的开源作业调度框架、它的简单易用受到业内人士的一致好评。本篇记录怎么用SpringBoot使用Quartz
看一个案例
 <dependency>
            <groupId>org.springframework.boot</groupId>
            <artifactId>spring-boot-starter-WEB</artifactId>
        </dependency>

        <dependency>
            <groupId>org.springframework.boot</groupId>
            <artifactId>spring-boot-devtools</artifactId>
            <scope>runtime</scope>
            <optional>true</optional>
        </dependency>
        <dependency>
            <groupId>org.springframework.boot</groupId>
            <artifactId>spring-boot-configuration-processor</artifactId>
            <optional>true</optional>
        </dependency>
        <dependency>
            <groupId>org.projectlombok</groupId>
            <artifactId>lombok</artifactId>
            <optional>true</optional>
        </dependency>
        <dependency>
            <groupId>org.springframework.boot</groupId>
            <artifactId>spring-boot-starter-test</artifactId>
            <scope>test</scope>
</dependency>这里我们使用springboot自带的线程池
package com.lzl.config;

import org.springframework.context.annotation.Bean;
import org.springframework.context.annotation.Configuration;
import org.springframework.scheduling.annotation.AsyncConfigurer;
import org.springframework.scheduling.concurrent.ThreadPoolTaskExecutor;
import java.util.concurrent.Executor;


@Configuration
public class AsyncExcutorPoolConfig implements AsyncConfigurer {

    @Bean("asyncExecutor")
    @Override
    public Executor getAsyncExecutor() {
        //Spring自带的线程池(最常用)
        ThreadPoolTaskExecutor taskExecutor = new ThreadPoolTaskExecutor();
        //线程:IO密集型 和 CPU密集型
        //线程设置参数
        taskExecutor.setCorePoolSize(8);//核心线程数,根据电脑的核数
        taskExecutor.setMaxPoolSize(16);//最大线程数一般为核心线程数的2倍
        taskExecutor.setWaitForTasksToCompleteOnShutdown(true);//任务执行完成后关闭

        return taskExecutor;
    }
}
注意注解不要少
package com.lzl.Service;


public interface AsyncService {
    void testAsync1();

    void testAsync2();
}
package com.lzl.Service.impl;
import com.lzl.Service.AsyncService;
import org.springframework.scheduling.annotation.Async;
import org.springframework.stereotype.Service;
@Service
public class AsyncImpl implements AsyncService {
@Async
@Override
public void testAsync1() {
try {
Thread.sleep(3000);
} catch (InterruptedException e) {
e.printStackTrace();
}
System.out.println("精准是唯一重要的标准!");
}
@Async("asyncExecutor")//开启异步执行
@Override
public void testAsync2() {
try {
Thread.sleep(3000);
} catch (InterruptedException e) {
e.printStackTrace();
}
System.out.println("效率是成功的核心关键!");
}
}
4、创建业务层接口和实现类
package com.lzl.task;

import com.lzl.Service.AsyncService;
import org.springframework.beans.factory.annotation.Autowired;
import org.springframework.web.bind.annotation.RequestMapping;
import org.springframework.web.bind.annotation.RestController;


@RestController
@RequestMapping("/login")
public class LoginController {
    @Autowired
    private AsyncService service;

    @RequestMapping("/Async1")
    public String testAsync1(){
        service.testAsync1();
        return "牛逼!";
    }
    @RequestMapping("/Async2")
    public String testAsync2(){
        service.testAsync2();
        return "不牛逼!";
    }
}
在启动类开启异步
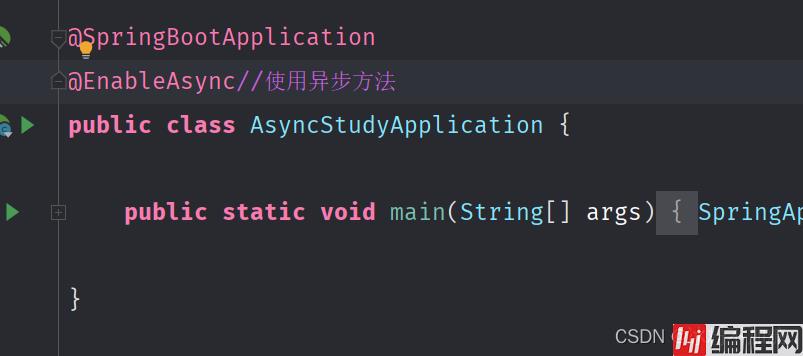
整体目录结构如下:

测试:
运行项目,访问controller
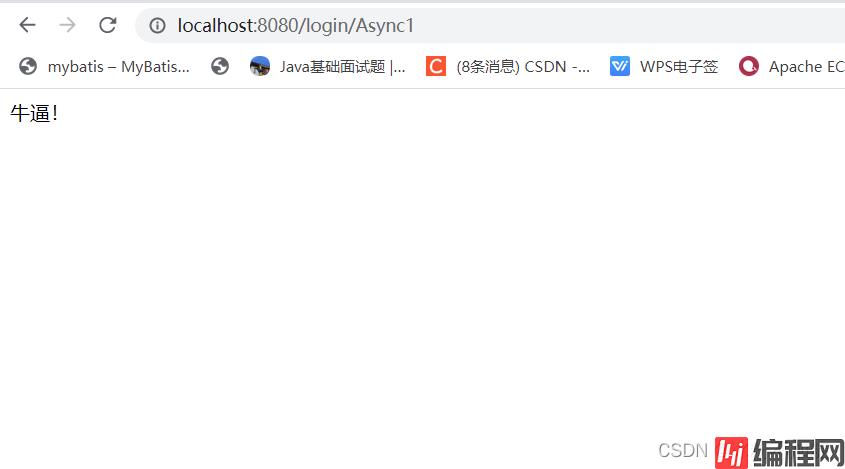
访问controller时,页面直接出现返回值,控制台过了两秒打印文字,证明异步执行成功!

		<dependency>
            <groupId>org.springframework.boot</groupId>
            <artifactId>spring-boot-starter-web</artifactId>
        </dependency>
        <dependency>
            <groupId>org.springframework.boot</groupId>
            <artifactId>spring-boot-devtools</artifactId>
            <scope>runtime</scope>
            <optional>true</optional>
        </dependency>
        <dependency>
            <groupId>org.springframework.boot</groupId>
            <artifactId>spring-boot-configuration-processor</artifactId>
            <optional>true</optional>
        </dependency>
        <dependency>
            <groupId>org.projectlombok</groupId>
            <artifactId>lombok</artifactId>
            <optional>true</optional>
        </dependency>
        <dependency>
            <groupId>org.springframework.boot</groupId>
            <artifactId>spring-boot-starter-test</artifactId>
            <scope>test</scope>
</dependency>package com.lzl.task;
import org.springframework.context.annotation.Configuration;
import org.springframework.scheduling.annotation.Async;
import org.springframework.scheduling.annotation.Scheduled;
import java.util.Date;
//任务类
@Configuration
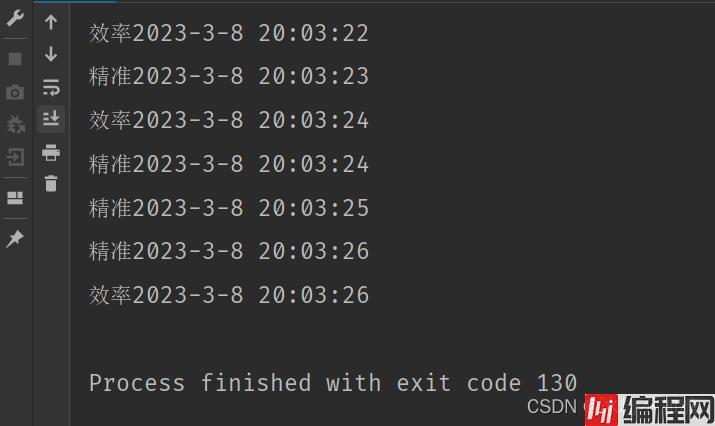
public class Tasks {
@Async
@Scheduled(cron = "*/2 * * * * ?")
public void task1(){
System.out.println("效率"+new Date().toLocaleString());
}
@Async
@Scheduled(cron = "*/1 * * * * ?")
public void task2(){
System.out.println("精准"+new Date().toLocaleString());
}
}
这里以QQ邮箱为例,这个功能类似于通过邮箱找回密码类似,需要我们进行授权码操作
登陆QQ邮箱,找到帐户,下拉

看到如下图:
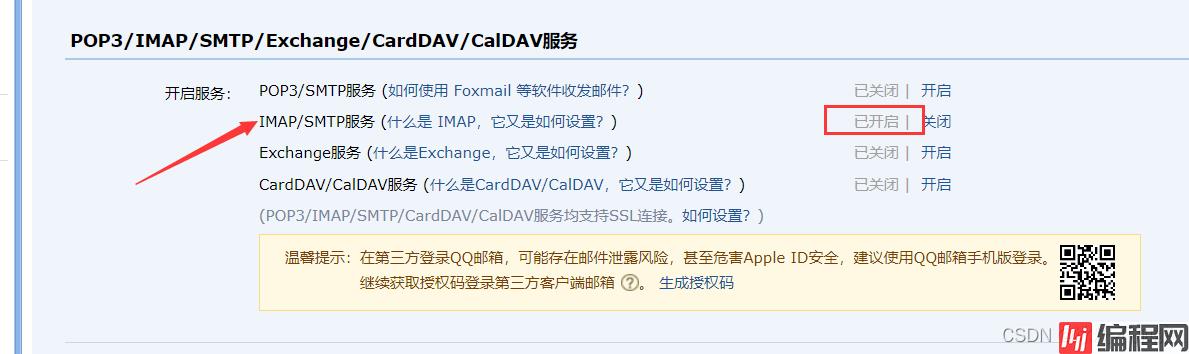
我这里已经开启了,按照步骤操作,会有一个授权码,保存好下边步骤要用,此处不再演示
		<dependency>
            <groupId>org.springframework.boot</groupId>
            <artifactId>spring-boot-starter-web</artifactId>
        </dependency>
        <!-- 邮箱 -->
        <dependency>
            <groupId>org.springframework.boot</groupId>
            <artifactId>spring-boot-starter-mail</artifactId>
        </dependency>
        <dependency>
            <groupId>org.springframework.boot</groupId>
            <artifactId>spring-boot-devtools</artifactId>
            <scope>runtime</scope>
            <optional>true</optional>
        </dependency>
        <dependency>
            <groupId>org.springframework.boot</groupId>
            <artifactId>spring-boot-configuration-processor</artifactId>
            <optional>true</optional>
        </dependency>
        <dependency>
            <groupId>org.projectlombok</groupId>
            <artifactId>lombok</artifactId>
            <optional>true</optional>
        </dependency>
        <dependency>
            <groupId>org.springframework.boot</groupId>
            <artifactId>spring-boot-starter-test</artifactId>
            <scope>test</scope>
</dependency>package com.lzl.utils;
import javax.mail.*;
import javax.mail.internet.InternetAddress;
import javax.mail.internet.MimeMessage;
import java.util.Properties;
import java.util.Random;
public class EmailUtil {
private static final String USER = "@qq.com"; // 发件人邮箱地址
private static final String PASSWord = ""; // qq邮箱的客户端授权码(需要发短信获取)
public static boolean sendMail(String to, String text, String title) {
try {
final Properties props = new Properties();
props.put("mail.smtp.auth", "true");
props.put("mail.smtp.host", "smtp.qq.com");
// 发件人的账号
props.put("mail.user", USER);
//发件人的密码
props.put("mail.password", PASSWORD);
// 构建授权信息,用于进行SMTP进行身份验证
Authenticator authenticator = new Authenticator() {
@Override
protected PasswordAuthentication getPasswordAuthentication() {
// 用户名、密码
String userName = props.getProperty("mail.user");
String password = props.getProperty("mail.password");
return new PasswordAuthentication(userName, password);
}
};
// 使用环境属性和授权信息,创建邮件会话
Session mailSession = Session.getInstance(props, authenticator);
// 创建邮件消息
MimeMessage message = new MimeMessage(mailSession);
// 设置发件人
String username = props.getProperty("mail.user");
InternetAddress fORM = new InternetAddress(username);
message.setFrom(form);
// 设置收件人
InternetAddress toAddress = new InternetAddress(to);
message.setRecipient(Message.RecipientType.TO, toAddress);
// 设置邮件标题
message.setSubject(title);
// 设置邮件的内容体
message.setContent(text, "text/html;charset=UTF-8");
// 发送邮件
Transport.send(message);
return true;
} catch (Exception e) {
e.printStackTrace();
}
return false;
}
//随机生成num个数字验证码
public static String getValidateCode(int num) {
Random random = new Random();
String validateCode = "";
for (int i = 0; i < num; i++) {
//0 - 9 之间 随机生成 num 次
int result = random.nextInt(10);
validateCode += result;
}
return validateCode;
}
//测试
public static void main(String[] args) throws Exception {
//给指定邮箱发送邮件
EmailUtil.sendMail("729953102@qq.com", "你好,这是一封测试邮件,无需回复。", "测试邮件随机生成的验证码是:" + getValidateCode(6));
System.out.println("发送成功");
}
}
package com.lzl.task;

import com.lzl.utils.EmailUtil;
import org.springframework.context.annotation.Configuration;
import org.springframework.scheduling.annotation.Scheduled;


@Configuration
public class TaskEmail {
    //指定时间进行发送邮件
    @Scheduled(cron = "10 49 11 * * ?")
    public void sendMail(){
        EmailUtil.sendMail("自己的邮箱@qq.com", "效率,是成功的核心关键!", "测试邮件随机生成的验证码是:" + EmailUtil.getValidateCode(6));
    }
}package com.lzl;
import org.springframework.boot.SpringApplication;
import org.springframework.boot.autoconfigure.SpringBootApplication;
import org.springframework.scheduling.annotation.EnableAsync;
import org.springframework.scheduling.annotation.EnableScheduling;
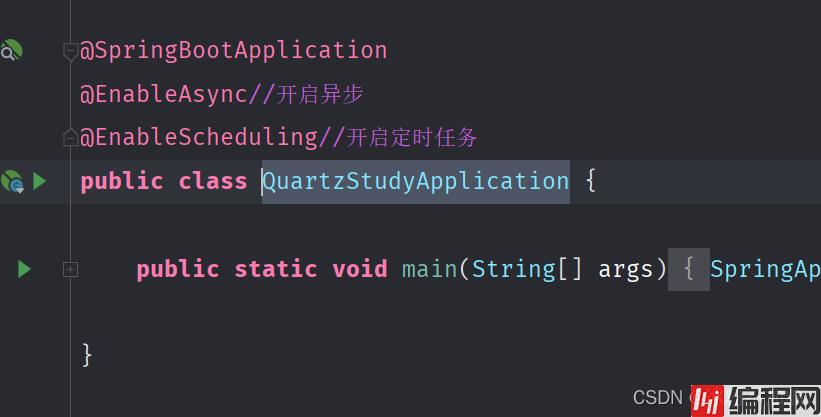
@SpringBootApplication
@EnableAsync//开启异步
@EnableScheduling//开启定时任务
public class QuartzStudyApplication {
public static void main(String[] args) {
SpringApplication.run(QuartzStudyApplication.class, args);
}
}测试:
此处不再演示
定时任务在很多业务场景中经常会用到,好记性不如烂笔头,本篇只是简单的记录一下
到此这篇关于SpringBoot整合Quartz以及异步调用的文章就介绍到这了,更多相关SpringBoot整合Quartz内容请搜索编程网以前的文章或继续浏览下面的相关文章希望大家以后多多支持编程网!
--结束END--
本文标题: SpringBoot整合Quartz及异步调用的案例
本文链接: https://www.lsjlt.com/news/199184.html(转载时请注明来源链接)
有问题或投稿请发送至: 邮箱/279061341@qq.com QQ/279061341
下载Word文档到电脑,方便收藏和打印~
2024-03-01
2024-03-01
2024-03-01
2024-02-29
2024-02-29
2024-02-29
2024-02-29
2024-02-29
2024-02-29
2024-02-29
回答
回答
回答
回答
回答
回答
回答
回答
回答
回答


官方手机版

微信公众号

商务合作


0