目录第一步: 需要创建一个colorConfig.ts文件,用于配置主题信息 (我创建的目录是src/config/colorConfig.ts)第二步,根据接口获取当前主题信息,并
之前在项目中用了Sass的多主题切换,感觉太麻烦,后面发现直接用CSS的很方便,所以整理一下,希望可以帮到大家,也是对自己的积累。
colorConfig.ts文件的主要定义的内容
const COLOR_MAP = {
   // 第一套主题颜色
  theme1: {
    color1: '#FFCDD2', // 主要背景
    color2: '#E1BEE7', // 文字颜色
    color3: '#70767f', // 按钮颜色(灰色)
    color4: '#EF9A9A',
    color5: '#F06292', //弹框背景灰色
    color6: '#7986CB', //主要内容区域背景
    color7: '#64B5F6', //选中状态
  },
  // 第二套主题颜色
  theme2: {
    color1: '#FF7043', // 主要背景
    color2: '#4E342E', // 文字颜色
    color3: '#263238', // 按钮颜色(灰色)
    color4: '#FF6E40',
    color5: '#DD2C00', //弹框背景灰色
    color6: '#616161', //主要内容区域背景
    color7: '#212121', //选中状态
  },
  // 第三套主题颜色
  theme3: {
    color1: '#E65100', // 主要背景
    color2: '#FF6D00', // 文字颜色
    color3: '#1B5E20', // 按钮颜色(灰色)
    color4: '#827717',
    color5: '#00C853', //弹框背景灰色
    color6: '#0091EA', //主要内容区域背景
    color7: '#00BFA5', //选中状态
  }
}


export type THEME_TYPE = keyof (typeof COLOR_MAP)
type THEME_ITEM = keyof (typeof COLOR_MAP['theme1'])


export function changeTheme (theme: THEME_TYPE = 'theme1'): void {
  const themeList = Object.keys(COLOR_MAP[theme]) as THEME_ITEM[]
  themeList.forEach((v: THEME_ITEM) => {
    document.body.style.setProperty(`--${v}`, COLOR_MAP[theme][v])
  })
} // 在App.Vue中引入主题模块
import { changeTheme } from '@/config/colorConfig'
// 在created读取缓存信息
created () {
const theme = localStorage.getItem('theme') || 'theme1'
// 将主题获取到的主题存到vuex中,记录当前的主题信息,默认主题一 theme1
store.commit('common/setTheme', theme)
changeTheme(theme)
// 如果主题信息存储在后端,此时需要获取主题信息 (不建议使用)
getThemeInfo()
}
async getThemeInfo() {
// 入参
const requestData = {
method: 'xxxx',
params: { method: 'xxx' }
}
const response = await this.$axiOS({
method: 'POST',
url: `${this.$baseUrl}/xxxx/xxxx/`,
data: requestData
}).catch(() => {
// 接口响应失败默认主题一
store.commit('common/setTheme', 'theme1')
changeTheme('theme1')
})
let { code, data } = response?.data || {}
// 根据code码获取接口响应状态
if (code === '0000') {
const theme = data?.theme
// 将主题获取到的主题存到vuex中,记录当前的主题信息,默认主题一 theme1
store.commit('common/setTheme', theme ? theme : 'theme1')
changeTheme(theme ? theme : 'theme1')
} else {
// 接口响应失败默认主题一
store.commit('common/setTheme', 'theme1')
changeTheme('theme1')
}
} import { changeTheme, THEME_TYPE } from '@/config/colorConfig'
// 主题切换
themeChange(themeVal): void {
changeTheme(themeVal as THEME_TYPE)
store.commit('common/setTheme', themeVal)
// 存储到缓存中
localStorage.setItem('theme', themeVal)
// 也可以通过接口调用将themeVal,保存到后端
}
#app {
width: 100%;
height: 100%;
background-color: var(--color1);
box-sizing: border-box;
color: var(--color2);
font-size: 1rem;
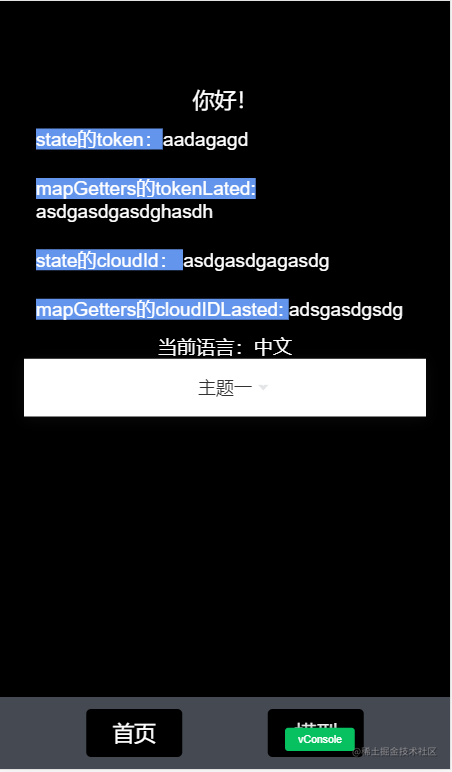
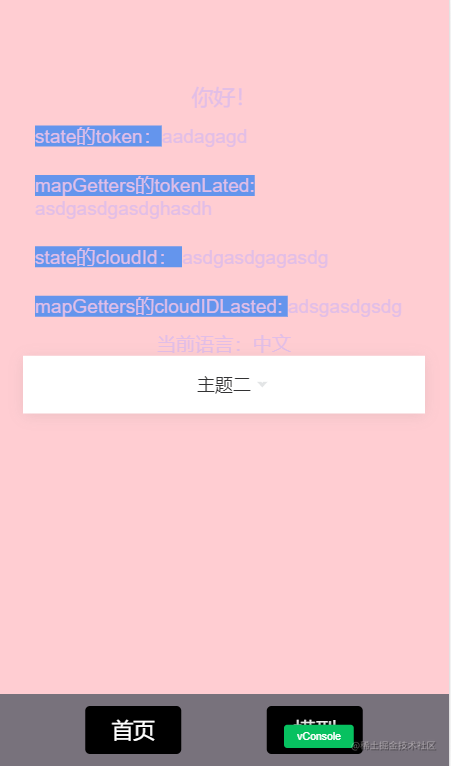
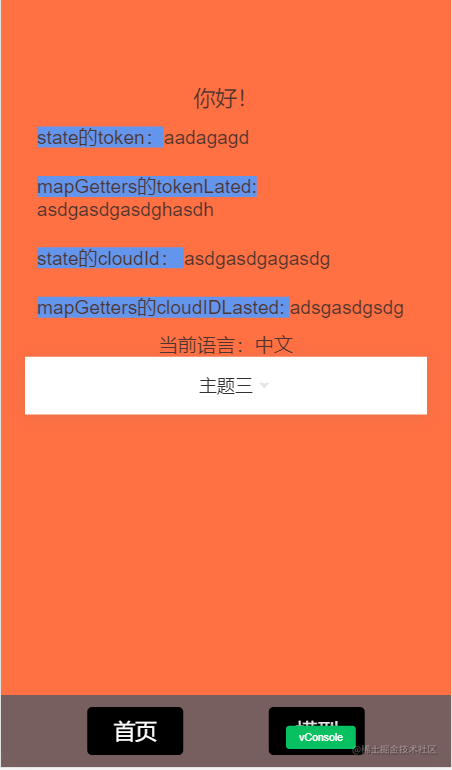
}效果图如下图所示
到此这篇关于基于Vue2.0和typescript实现多主题切换的示例的文章就介绍到这了,更多相关Vue Typescript多主题切换内容请搜索编程网以前的文章或继续浏览下面的相关文章希望大家以后多多支持编程网!
--结束END--
本文标题: 基于Vue2.0和Typescript实现多主题切换的示例
本文链接: https://www.lsjlt.com/news/210395.html(转载时请注明来源链接)
有问题或投稿请发送至: 邮箱/279061341@qq.com QQ/279061341
下载Word文档到电脑,方便收藏和打印~
2024-01-12
2023-05-20
2023-05-20
2023-05-20
2023-05-20
2023-05-20
2023-05-20
2023-05-20
2023-05-20
2023-05-20
回答
回答
回答
回答
回答
回答
回答
回答
回答
回答


官方手机版

微信公众号

商务合作


0