目录引言原理效果预览本次demo实现:效果图:下期预告小Tips完整代码目录:index.html代码sketchpad.js代码引言 去年经历了个虚拟人的项目,其中我参与了前端的部
去年经历了个虚拟人的项目,其中我参与了前端的部分,一个用electron写的编辑器,UI部分用的vue3+tsx的写法(这种组合是不是没见过?我也是第一次见,惊得我当时还发了个沸点)

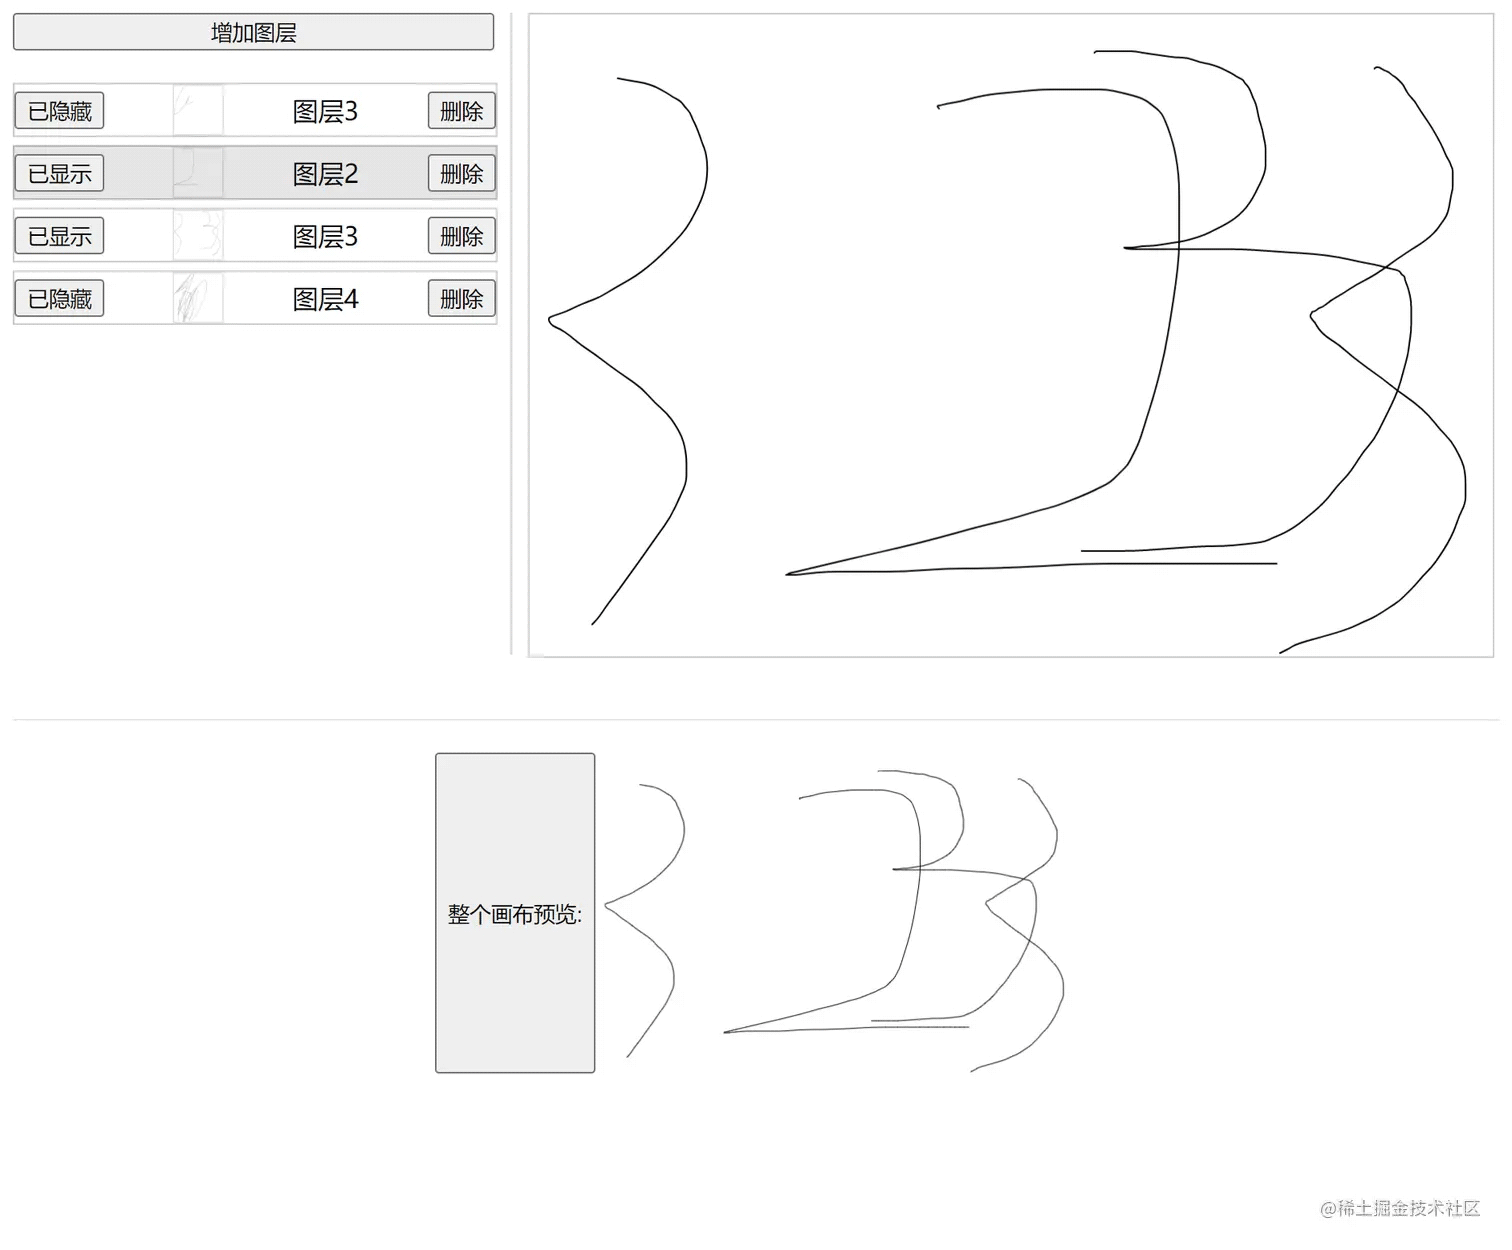
我所负责的部分是让用户可以对贴图进行修改,其中就涉及到了图层功能(类似Photoshop),而我当时选用的fabric是没有图层的,因此我就得考虑如何实现图层
fabric本身有提供group功能,本意是让你将画布上的一些元素组合起来,这也将成为本次图层功能的基础 既以一个group代表一个图层,画布下第一层children只有图层(group),而在group中,才是用户实际绘制的内容
(别嫌我的样式丑,我已经下班了,没有UI能够PUSH我!)
首先fabric是需要到官方上下载的,在选择你需要的模块后再进行打包
虽然npm上也可以下载,但那不是官方的包,是有网友打包好以后上传的,其中没有包含橡皮擦模块,很可能会不符合你的需求
所以我个人建议你可以自行去官网上打包,然后传到你的私有npm库里,然后就可以通过npm来管理了
fabric自定义打包下载地址:Custom Fabric build — Fabric.js javascript canvas Library (fabricjs.com)
fabric的事件文档:Event inspector | Fabric.js Demos (fabricjs.com)
接下来的demo将会通过直接引入的方式来使用fabric,虽然我平时写项目都是ts,但练手demo我个人建议还是js,问就是省事

<!DOCTYPE html>
<html lang="en">
<head>
    <meta charset="UTF-8">
    <meta Http-equiv="X-UA-Compatible" content="IE=edge">
    <meta name="viewport" content="width=device-width, initial-scale=1.0">
    <title>Document</title>
    <style>
        .content {
            display: flex;
        }
        .preview {
            margin-top: 40px;
            padding-top: 20px;
            width: 100%;
            display: flex;
            justify-content: center;
            border-top: 1px solid rgba(0,0,0,0.1);
        }
        .preview > img {
            width: 300px;
            height: 200px;
        }
        .layer-list {
            width: 300px;
            display: flex;
            flex-direction: column;
            padding-right: 10px;
            margin-right: 10px;
            box-sizing: content-box;
            border-right: 1px solid rgba(0,0,0, 0.2);
        }
        .layer {
            width: 300px;
            display: flex;
            justify-content: space-between;
            align-items: center;
            margin-bottom: 5px;
            border: 1px solid rgba(0,0,0, 0.2);
        }
        .layer > img {
            width: 30px;
            height: 30px;
            border: 1px solid rgba(0,0,0,0.1);
        }
    </style>
</head>
<body>
    <div id="app">
        <div class="content">
            <!-- 左侧的图层列表 -->
            <div class="layer-list">
                <button style="margin-bottom: 20px;" @click="addLayer">增加图层</button>
                <div @click="changeCurrentLayer(item.id)" class="layer" :style="currentLayer === item.id ? 'background-color: rgba(0,0,0, 0.1)' : '' " v-for="item of layers" :key="item.id">
                    <button @click="changeVisible(item.id)">{{ item.show ? '已显示' : '已隐藏'}}</button>
                    <img :src="item.data">
                    <span>{{ item.name }}</span>
                    <button @click="deleteLayer(item.id)">删除</button>
                </div>
            </div>
            <!-- 右侧的画板 -->
            <div class="sketchpad-layout"  style="width: 600px;">
                <canvas id="sketchpad" width="600" height="400" style="border: 1px solid #ccc;"></canvas>
            </div>
        </div>
        <!-- 对整张画布进行图片预览 -->
        <div class="preview">
            <button @click="updatePreview">整个画布预览:</button>
            <img :src="preview">
        </div>
    </div>
    <!-- 使用Vue3来进行ui的渲染,懒得操作dom了 -->
    <script src="https://unpkg.com/vue@3/dist/vue.global.js"></script>
    <!-- 打包好的fabric文件 -->
    <script src="./fabric.js"></script>
    <!-- sketchpad里面就是将fabric封装了一层 -->
    <script src="./sketchpad.js"></script>
    <script>
        const { createApp } = Vue

        const LayerData = {

            name: '图层名称',

            id: '1111',

            show: true,

            data: '',
        }
        createApp({
            data() {
                return {
                    layers: [],// 图层数组,方便管理
                    sketchpad: null,// 画板
                    currentLayer: '',// 当前图层的id
                    preview: '',// 预览图的base64数据
                }
            },
            methods: {

                changeVisible(id) {
                    const index = this.layers.findIndex(v => v.id === id);
                    if (index > -1) {
                        this.layers[index].show = !this.layers[index].show;
                    }
                    this.sketchpad.changeLayerVisible(id)
                },

                deleteLayer(id) {
                    const index = this.layers.findIndex(v => v.id === id);
                    if (index > -1) {
                        this.layers.splice(index, 1)
                        this.sketchpad.deleteLayer(id)
                    }
                },

                addLayer() {
                    const item = {
                        ...LayerData
                    }
                    item.id = new Date().getTime()
                    item.name = `图层${this.layers.length + 1}`
                    this.layers.push(item)
                    this.sketchpad.addLayer(item.id)
                    this.changeCurrentLayer(item.id)
                },

                changeCurrentLayer(id) {
                    this.currentLayer = id
                    this.sketchpad.changeCurrentLayer(id)
                },

                updatePreview() {
                    this.preview = this.sketchpad.getImage()
                },

                onChangeData(id, data) {
                    const index = this.layers.findIndex(v => v.id === id);
                    if (index > -1) {
                        this.layers[index].data = data;
                    }
                }
            },
            mounted() {
                this.sketchpad = new Sketchpad('sketchpad', {
                    change: this.onChangeData
                });
                this.addLayer()
            }
        }).mount('#app')
    </script>
</body>
</html>console.log('Sketchpad load');
class Sketchpad {
instance = null;
currentLayer = '';
width = 600;
height = 600
listeners = {
change: (id, data) => {}
}
constructor(id, listeners) {
this.instance = new fabric.Canvas(id);
this.width = this.instance.width;
this.height = this.instance.height;
this.instance.isDrawingMode = true;
this.listeners.change = listeners.change
this.instance.on('object:added', ((options) => {
if (options.target.type === 'group') return;
const groups = this.instance.getObjects()
groups.forEach(v => {
if (v.layerId === this.currentLayer && v.type === 'group') {
v.addWithUpdate(options.target);
this.instance.remove(options.target);
this.listeners.change(v.layerId, v.toDataURL({
width: this.width,
height: this.height
}))
}
})
}))
console.log('Sketchpad init')
}
addLayer(id) {
const group = new fabric.Group([], {
width: this.width,
height: this.width,
});
// 在这里增加一个自定义属性 layerId ,用于区分图层
group.layerId = id
this.instance.add(group)
this.currentLayer = id;
this.listeners.change(id, group.toDataURL({
width: this.width,
height: this.height
}))
}
changeLayerVisible(id) {
const groups = this.instance.getObjects()
groups.forEach(v => {
if (v.layerId === id && v.type === 'group') {
v.visible = !v.visible;
this.instance.renderAll() // 刷新画布,改变group的visible属性,必须通过刷新画布,才能应用新属性值
}
})
}
changeCurrentLayer(id) {
this.currentLayer = id
}
deleteLayer(id) {
const groups = this.instance.getObjects()
groups.forEach(v => {
if (v.layerId === id && v.type === 'group') {
this.instance.remove(v)
this.instance.renderAll() // 刷新画布
}
})
}
getImage() {
return this.instance.toDataURL()
}
}
将以上这两个文件代码直接复制粘贴到编辑器里,然后再去打包个fabric.js也放进编辑器里,就可以运行啦
以上就是fabric.js图层功能独立显隐 添加 删除 预览实现详解的详细内容,更多关于fabric.js图层功能实现的资料请关注编程网其它相关文章!
--结束END--
本文标题: fabric.js图层功能独立显隐 添加 删除 预览实现详解
本文链接: https://www.lsjlt.com/news/212389.html(转载时请注明来源链接)
有问题或投稿请发送至: 邮箱/279061341@qq.com QQ/279061341
下载Word文档到电脑,方便收藏和打印~
2024-01-12
2023-05-20
2023-05-20
2023-05-20
2023-05-20
2023-05-20
2023-05-20
2023-05-20
2023-05-20
2023-05-20
回答
回答
回答
回答
回答
回答
回答
回答
回答
回答


官方手机版

微信公众号

商务合作


0