sqlite数据库是Android系统内嵌的数据库,小巧强大,能够满足大多数SQL语句的处理工作,而SQLite数据库仅仅是个文件而已。虽然SQLite的有点很多,但并不是如同
sqlite数据库是Android系统内嵌的数据库,小巧强大,能够满足大多数SQL语句的处理工作,而SQLite数据库仅仅是个文件而已。虽然SQLite的有点很多,但并不是如同PC端的Mysql般强大,而且android系统中不允许通过JDBC操作远程数据库,所以只能通过WEBservice等手段于PHP、servlet交互获取数据。
基础
SQLiteDatabase类,代表了一个数据库对象,通过SQLiteDatabase来操作管理数据库。
一些基本的用法:
static SQLiteDatabase openDatabase(String path,SQLiteDatabase.CUrsorFactory factory,int flag); static SQLiteDatabase openOrCreateDatabase(File file,SQLiteDatabase.CursorFactory factory); static SQLiteDatabase openOrCreateDatabase(String path,SQLiteDatabse.CursorFactory factory);通过这些静态方法可以很方便的打开和新建一个数据库。
execSQL(String sql,Object[] bindArgs) execSQL(String sql) rawQuery(String sql,String[] selectionArgs); beginTransaction() endTransaction()这些函数可以完成SQL功能,对于查询出来的结果是用Cursor表示的,类似于JDBC中的ResultSet类,在这些类中通过方法move(int offset)、moveToFirst()、moveToLast()、moveToNext()、moveToPosition(int position)、moveToPrivious()获取需要的结果行。
下面通过一个实例来说明一下SQLiteDatabase的基本使用:
main.xml:
<LinearLayout xmlns:android="Http://schemas.android.com/apk/res/android"
  xmlns:tools="http://schemas.android.com/tools"
  android:layout_width="match_parent"
  android:layout_height="match_parent"
  android:orientation="vertical"
  tools:context=".Main" >
  <LinearLayout
    android:layout_width="match_parent"
    android:layout_height="wrap_content"
    android:orientation="horizontal" >
    <TextView
      android:layout_width="wrap_content"
      android:layout_height="wrap_content"
      android:gravity="center"
      android:text="key" />
    <EditText
      android:id="@+id/keys"
      android:layout_width="100sp"
      android:layout_height="wrap_content" />
    <TextView
      android:layout_width="wrap_content"
      android:layout_height="wrap_content"
      android:gravity="center"
      android:text="value" />
    <EditText
      android:id="@+id/values"
      android:layout_width="100sp"
      android:layout_height="wrap_content" />
    <Button
      android:id="@+id/btn"
      android:layout_width="100sp"
      android:layout_height="wrap_content"
      android:text="submit" />
  </LinearLayout>
  <LinearLayout
    android:layout_width="match_parent"
    android:layout_height="wrap_content" >
    <ListView
      android:id="@+id/lv"
      android:layout_width="match_parent"
      android:layout_height="wrap_content" />
  </LinearLayout>
</LinearLayout>
用于填充数据的mytextview.xml:
<?xml version="1.0" encoding="utf-8"?>
<LinearLayout xmlns:android="http://schemas.android.com/apk/res/android"
  android:layout_width="match_parent"
  android:layout_height="wrap_content"
  android:orientation="horizontal" >
  <TextView
    android:id="@+id/lisTKEy"
    android:layout_width="wrap_content"
    android:layout_height="wrap_content"
    android:layout_gravity="left" />
  <TextView
    android:id="@+id/listvalue"
    android:layout_width="wrap_content"
    android:layout_height="wrap_content"
    android:layout_marginLeft="300sp" />
</LinearLayout>
Main.java
package com.app.main;
import android.annotation.SuppressLint;
import android.app.Activity;
import android.database.Cursor;
import android.database.sqlite.SQLiteDatabase;
import android.os.Bundle;
import android.view.View;
import android.view.View.OnClickListener;
import android.widget.Button;
import android.widget.CursorAdapter;
import android.widget.EditText;
import android.widget.ListView;
import android.widget.SimpleCursorAdapter;
public class Main extends Activity {
  EditText ed1 = null;
  EditText ed2 = null;
  Button btn = null;
  ListView lv = null;
  SQLiteDatabase db = null;
  @Override
  protected void onCreate(Bundle savedInstanceState) {
    super.onCreate(savedInstanceState);
    setContentView(R.layout.main);
    ed1 = (EditText) this.findViewById(R.id.keys);
    ed2 = (EditText) this.findViewById(R.id.values);
    btn = (Button) this.findViewById(R.id.btn);
    lv = (ListView) this.findViewById(R.id.lv);
    db = SQLiteDatabase.openOrCreateDatabase(this.getFilesDir().toString()
        + "/my.db3", null);
    btn.setOnClickListener(new OnClickListener() {
      @Override
      public void onClick(View view) {
        String key = ed1.getText().toString();
        String value = ed2.getText().toString();
        try {
          insertData(db, key, value);
          Cursor cursor = db.rawQuery("select * from tb_info", null);
          inflateListView(cursor);
        } catch (Exception e) {
          String sql = "create table tb_info(_id integer primary key autoincrement,db_key varchar(20),db_value varchar(50))";
          db.execSQL(sql);
          insertData(db, key, value);
          Cursor cursor = db.rawQuery("select * from tb_info", null);
          inflateListView(cursor);
        }
      }
    });
  }
  // 向数据库中插入数据
  private void insertData(SQLiteDatabase db, String key, String value) {
    db.execSQL("insert into tb_info values (null,?,?)", new String[] { key,
        value });
    System.out.println("------------------");
  }
  // 向ListView中填充数据
  @SuppressLint("Newapi")
  public void inflateListView(Cursor cursor) {
    SimpleCursorAdapter adapter = new SimpleCursorAdapter(Main.this,
        R.layout.mytextview, cursor, new String[] { "db_key",
            "db_value" },
        new int[] { R.id.listkey, R.id.listvalue },
        CursorAdapter.FLAG_REGISTER_CONTENT_OBSERVER);
    lv.setAdapter(adapter);
  }
  @Override
  protected void onDestroy() {
    super.onDestroy();
    if (db != null && db.isOpen()) {
      db.close();
    }
  }
}
实现的效果:
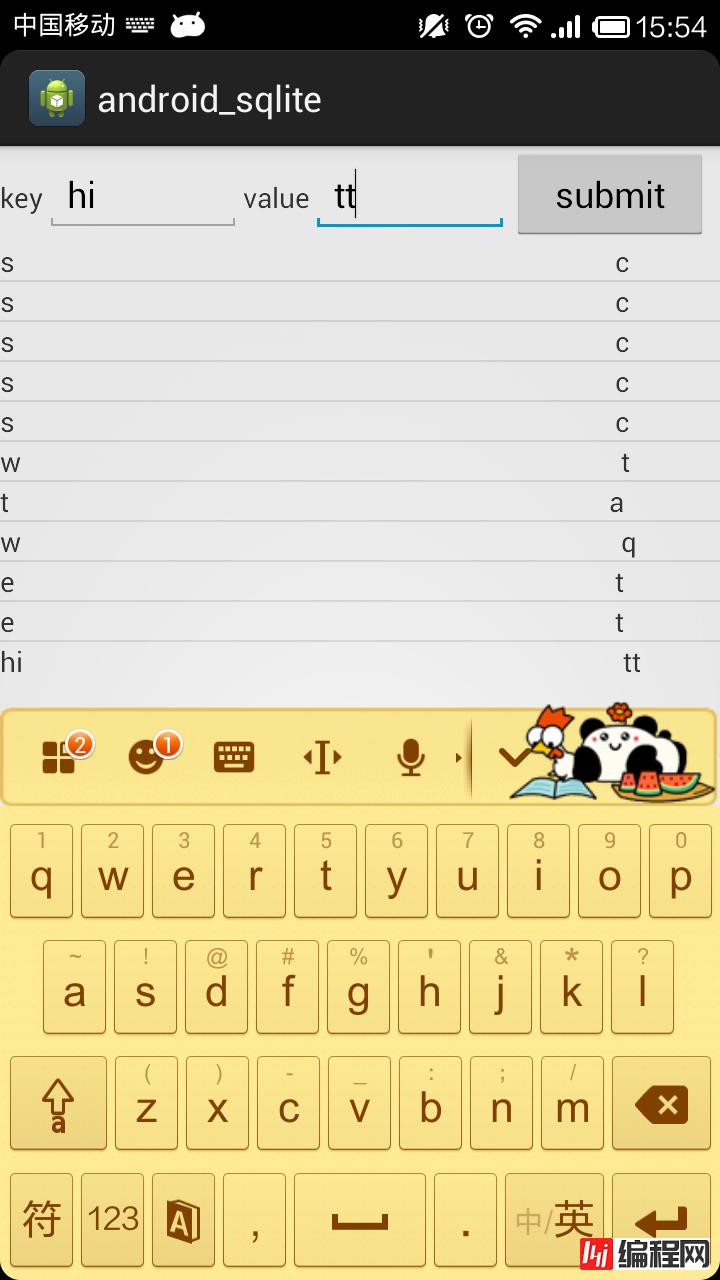
需要特别指出,在用SimpleCursorAdapter封装Cursor的时候,要求底层数据库表的主键列的列名为_id,因为SimpleCursorAdapter只能识别主键列名为_id的表。
进阶
直接使用SQLiteDatabase的openOrCreateDatabase可以直接打开或者是新建一个SQLiteDatabase,但是这里存在一个缺点。在每次执行SQL语句的时候都需要在try catch语句中进行,如果在try中直接操作的数据库或者表不存在,就需要在catch中重新创建表并且执行CRUD操作,并且有关数据库的每一个方法都要这么做,重复的代码太多了,所以实际的开发中大都选用SQLiteOpenHelper类。
主要方法:
synchronized SQLiteDatabase getReadableDatabase():以读写的方式打开数据库。 synchronized SQLiteDatabase getWritableDatabase();以写的方式打开数据库。 abstract void onCreate(SQLiteDatabase db) 当第一次创建数据库的时候回调该方法。 abstract void onUprade(SQLiteDatabase db,int oldversion,int newVersion) 数据库版本更新的时候回调该方法。 abstract void close() 关闭所有打开的SQLiteDatabase.
使用方法:
1)继承SQLiteOpenHelper。在构造方法中的参数String name就是数据库的名称。
2)重写onCreate和onUpgrade方法。
mysqliteOpenHelper类:
package com.app.db;
import android.content.Context;
import android.database.sqlite.SQLiteDatabase;
import android.database.sqlite.SQLiteDatabase.CursorFactory;
import android.database.sqlite.SQLiteOpenHelper;
public class MySQLiteOpenHelper extends SQLiteOpenHelper {
  String createSQL = "create table tb_test(_id integer primary key autoincrement ,name,age )";
  public MySQLiteOpenHelper(Context context, String name,
      CursorFactory factory, int version) {
    super(context, name, factory, version);
  }
  @Override
  public void onCreate(SQLiteDatabase db) {
    db.execSQL(createSQL);
  }
  @Override
  public void onUpgrade(SQLiteDatabase arg0, int arg1, int arg2) {
  }
}
Main.java
package com.app.main;
import android.app.Activity;
import android.database.Cursor;
import android.database.sqlite.SQLiteDatabase;
import android.os.Bundle;
import android.view.Menu;
import android.widget.Toast;
import com.app.db.MySQLiteOpenHelper;
public class Main extends Activity {
  @Override
  protected void onCreate(Bundle savedInstanceState) {
    super.onCreate(savedInstanceState);
    setContentView(R.layout.main);
    MySQLiteOpenHelper helper = new MySQLiteOpenHelper(this, "my.db3",
        null, 1);
    String insertSQL = "insert into tb_test values(null,'wx',18)";
    SQLiteDatabase db = helper.getReadableDatabase();
    db.execSQL(insertSQL);
    Cursor cursor = db.rawQuery("select * from tb_test", null);
    cursor.moveToFirst();
    int id = cursor.getInt(0);
    Toast.makeText(this, id+"",Toast.LENGTH_SHORT).show();
  }
  @Override
  public boolean onCreateOptionsMenu(Menu menu) {
    getMenuInflater().inflate(R.menu.main, menu);
    return true;
  }
}
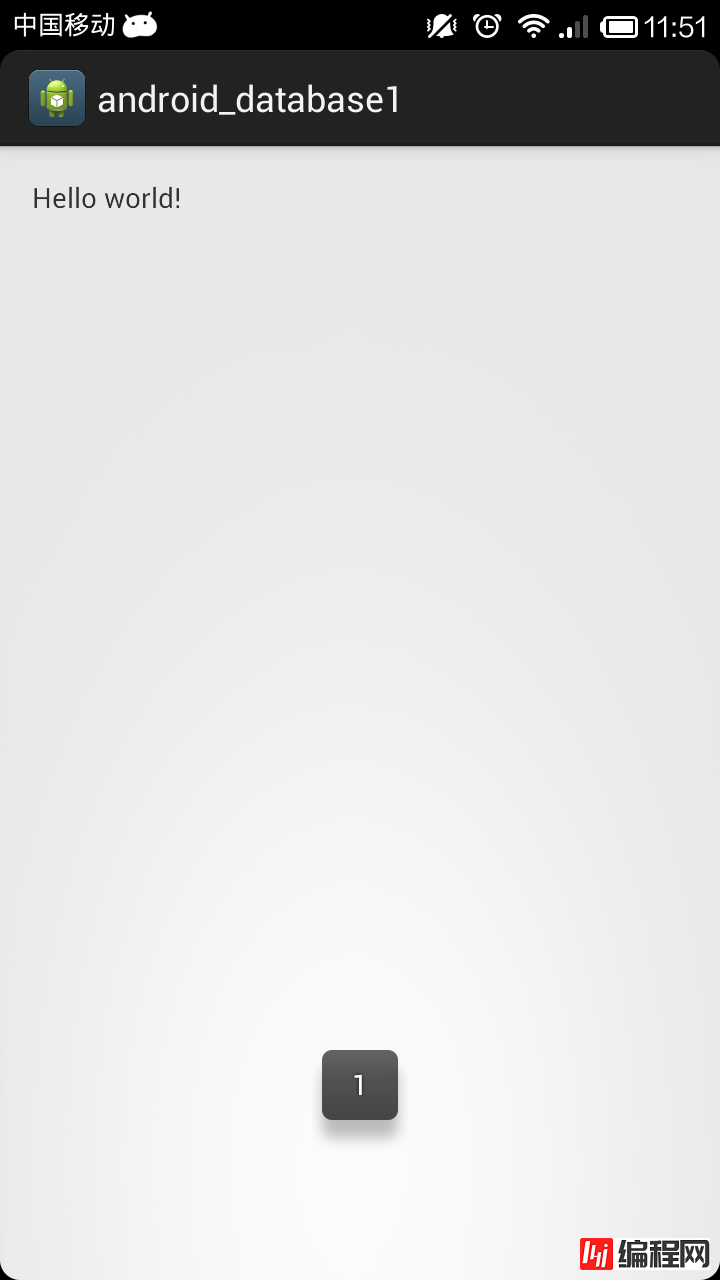
实现效果:
--结束END--
本文标题: 实例讲解Android App使用自带的SQLite数据库的基本方法
本文链接: https://www.lsjlt.com/news/25232.html(转载时请注明来源链接)
有问题或投稿请发送至: 邮箱/279061341@qq.com QQ/279061341
下载Word文档到电脑,方便收藏和打印~
2024-01-21
2023-10-28
2023-10-28
2023-10-27
2023-10-27
2023-10-27
2023-10-27
回答
回答
回答
回答
回答
回答
回答
回答
回答
回答


官方手机版

微信公众号

商务合作


0