这篇文章主要介绍了servlet如果实现简单的权限管理和敏感词过滤功能,具有一定借鉴价值,感兴趣的朋友可以参考下,希望大家阅读完这篇文章之后大有收获,下面让小编带着大家一起了解一下。一、如何实现权限管理1.思路当用户访问某个资源时,我们必须
这篇文章主要介绍了servlet如果实现简单的权限管理和敏感词过滤功能,具有一定借鉴价值,感兴趣的朋友可以参考下,希望大家阅读完这篇文章之后大有收获,下面让小编带着大家一起了解一下。
当用户访问某个资源时,我们必须对其权限控制,所以得用到servlet中过滤器来对请求做一次预处理,判断该用户是否有权限访问该资源,如果有则放行;如果没有则返回拒绝访问的通知。
那么我们如何判断该用户是否有权限访问呢?
这就要求我们在用户登录的时候保存其登录状态。
可我们知道Http请求是无状态的,即这次请求无法知道上一次请求的内容,那如何保存这个登录状态呢?
这就需要要用到Session/Cookie机制(这里我就不多介绍了,感兴趣的可以去百度,当然我在手把手教你用Java实现一套简单的鉴权服务(SpringBoot,SSM)(万字长文)这篇博文中说的很详细了,感兴趣的同学可以去看看)。
既然如此,那么我们在登录成功的时候就把用户的信息存入到服务器的session中,等用户下次访问的时候,我们就知道是哪位用户以及这位用户有没有权限访问了。
至此我们便实现了简单的权限控制。
但是这里有个地方需要注意,就是过滤器在拦截时需要排除一些路径,比如登录页面,比如静态资源。这个有很多方法,我采取的是我认为比较简单的方法,具体实现在下文。
①登录页面
<!DOCTYPE html><html><head> <meta charset="UTF-8"> <title>后台管理-登陆</title> <meta http-equiv="X-UA-Compatible" content="IE=edge,chrome=1"> <meta http-equiv="Access-Control-Allow-Origin" content="*"> <meta name="viewport" content="width=device-width, initial-scale=1, maximum-scale=1"> <meta name="apple-mobile-WEB-app-status-bar-style" content="black"> <meta name="apple-mobile-web-app-capable" content="yes"> <meta name="fORMat-detection" content="telephone=no"> <link rel="stylesheet" href="/static/lib/layui-v2.6.3/CSS/layui.css" rel="external nofollow" media="all"> <!--[if lt IE 9]> <script src="https://cdn.staticfile.org/HTML5shiv/r29/html5.min.js"></script> <script src="https://cdn.staticfile.org/respond.js/1.4.2/respond.min.js"></script> <![endif]--> <style> .main-body {top:50%;left:50%;position:absolute;-webkit-transform:translate(-50%,-50%);-moz-transform:translate(-50%,-50%);-ms-transform:translate(-50%,-50%);-o-transform:translate(-50%,-50%);transform:translate(-50%,-50%);overflow:hidden;} .login-main .login-bottom .center .item input {display:inline-block;width:227px;height:22px;padding:0;position:absolute;border:0;outline:0;font-size:14px;letter-spacing:0;} .login-main .login-bottom .center .item .icon-1 {background:url(../static/images/icon-login.png) no-repeat 1px 0;} .login-main .login-bottom .center .item .icon-2 {background:url(../static/images/icon-login.png) no-repeat -54px 0;} .login-main .login-bottom .center .item .icon-3 {background:url(../static/images/icon-login.png) no-repeat -106px 0;} .login-main .login-bottom .center .item .icon-4 {background:url(../static/images/icon-login.png) no-repeat 0 -43px;position:absolute;right:-10px;cursor:pointer;} .login-main .login-bottom .center .item .icon-5 {background:url(../static/images/icon-login.png) no-repeat -55px -43px;} .login-main .login-bottom .center .item .icon-6 {background:url(../static/images/icon-login.png) no-repeat 0 -93px;position:absolute;right:-10px;margin-top:8px;cursor:pointer;} .login-main .login-bottom .tip .icon-nocheck {display:inline-block;width:10px;height:10px;border-radius:2px;border:solid 1px #9abcda;position:relative;top:2px;margin:1px 8px 1px 1px;cursor:pointer;} .login-main .login-bottom .tip .icon-check {margin:0 7px 0 0;width:14px;height:14px;border:none;background:url(../static/images/icon-login.png) no-repeat -111px -48px;} .login-main .login-bottom .center .item .icon {display:inline-block;width:33px;height:22px;} .login-main .login-bottom .center .item {width:288px;height:35px;border-bottom:1px solid #dae1e6;margin-bottom:35px;} .login-main {width:428px;position:relative;float:left;} .login-main .login-top {height:117px;background-color:#148be4;border-radius:12px 12px 0 0;font-family:SourceHanSansCN-Regular;font-size:30px;font-weight:400;font-stretch:normal;letter-spacing:0;color:#fff;line-height:117px;text-align:center;overflow:hidden;-webkit-transform:rotate(0);-moz-transform:rotate(0);-ms-transform:rotate(0);-o-transform:rotate(0);transform:rotate(0);} .login-main .login-top .bg1 {display:inline-block;width:74px;height:74px;background:#fff;opacity:.1;border-radius:0 74px 0 0;position:absolute;left:0;top:43px;} .login-main .login-top .bg2 {display:inline-block;width:94px;height:94px;background:#fff;opacity:.1;border-radius:50%;position:absolute;right:-16px;top:-16px;} .login-main .login-bottom {width:428px;background:#fff;border-radius:0 0 12px 12px;padding-bottom:53px;} .login-main .login-bottom .center {width:288px;margin:0 auto;padding-top:40px;padding-bottom:15px;position:relative;} .login-main .login-bottom .tip {clear:both;height:16px;line-height:16px;width:288px;margin:0 auto;} body {background:url(../static/images/loginbg.png) 0% 0% / cover no-repeat;position:static;font-size:12px;} input::-webkit-input-placeholder {color:#a6aebf;} input::-moz-placeholder { color:#a6aebf;} input:-moz-placeholder { color:#a6aebf;} input:-ms-input-placeholder { color:#a6aebf;} input:-webkit-autofill { -webkit-box-shadow:0 0 0 1000px white inset !important;} html {height:100%;} .login-main .login-bottom .tip {clear:both;height:16px;line-height:16px;width:288px;margin:0 auto;} .login-main .login-bottom .tip .login-tip {font-family:MicrosoftYaHei;font-size:12px;font-weight:400;font-stretch:normal;letter-spacing:0;color:#9abcda;cursor:pointer;} .login-main .login-bottom .tip .forget-passWord {font-stretch:normal;letter-spacing:0;color:#1391ff;text-decoration:none;position:absolute;right:62px;} .login-main .login-bottom .login-btn {width:288px;height:40px;background-color:#1E9FFF;border-radius:16px;margin:24px auto 0;text-align:center;line-height:40px;color:#fff;font-size:14px;letter-spacing:0;cursor:pointer;border:none;} .login-main .login-bottom .center .item .validateImg {position:absolute;right:1px;cursor:pointer;height:36px;border:1px solid #e6e6e6;} .footer {left:0;bottom:0;color:#fff;width:100%;position:absolute;text-align:center;line-height:30px;padding-bottom:10px;text-shadow:#000 0.1em 0.1em 0.1em;font-size:14px;} .padding-5 {padding:5px !important;} .footer a,.footer span {color:#fff;} @media screen and (max-width:428px) {.login-main {width:360px !important;} .login-main .login-top {width:360px !important;} .login-main .login-bottom {width:360px !important;} } </style></head><body><div class="main-body"> <div class="login-main"> <div class="login-top"> <span>LayuiMini后台登录</span> <span class="bg1"></span> <span class="bg2"></span> </div> <form class="layui-form login-bottom" action="/login" method="post"> <div class="center"> <div class="item"> <span class="icon icon-2"></span> <input type="text" name="uname" lay-verify="required" placeholder="请输入登录账号" maxlength="24"/> </div> <div class="item"> <span class="icon icon-3"></span> <input type="password" name="pwd" lay-verify="required" placeholder="请输入密码" maxlength="20"> <span class="bind-password icon icon-4"></span> </div> </div> <div class="tip"> <span class="icon-nocheck"></span> <span class="login-tip">保持登录</span> <a href="javascript:" rel="external nofollow" class="forget-password">忘记密码?</a> </div> <div class="layui-form-item" > <button class="login-btn" type="submit" lay-submit="" lay-filter="login">立即登录</button> </div> </form> </div></div><div class="footer"> ©版权所有 2014-2018 叁贰柒工作室<span class="padding-5">|</span><a target="_blank" href="http://www.miitbeian.Gov.cn" rel="external nofollow" >粤ICP备16006642号-2</a></div><script src="/static/lib/layui-v2.6.3/layui.js" charset="utf-8"></script><script> //原本想用JSON的post发送,结果发现后端数据得自己解析,为了降低难度,直接用form表单的post提交,这样后端直接拿数据即可(不然还得解析Json数据) // layui.use(['form','Jquery'], function () { // var $ = layui.jquery, // form = layui.form, // layer = layui.layer; // // // 登录过期的时候,跳出ifram框架 // if (top.location != self.location) top.location = self.location; // // $('.bind-password').on('click', function () { // if ($(this).hasClass('icon-5')) { // $(this).removeClass('icon-5'); // $("input[name='pwd']").attr('type', 'password'); // } else { // $(this).addClass('icon-5'); // $("input[name='pwd']").attr('type', 'text'); // } // }); // // $('.icon-nocheck').on('click', function () { // if ($(this).hasClass('icon-check')) { // $(this).removeClass('icon-check'); // } else { // $(this).addClass('icon-check'); // } // }); // // // 进行登录操作 // form.on('submit(login)', function (data) { // data = data.field; // if (data.uname == '') { // layer.msg('用户名不能为空'); // return false; // } // if (data.pwd == '') { // layer.msg('密码不能为空'); // return false; // } // $.ajax({ // url:'/login', // method:'post', // data:data, // dataType:'JSON', // success:function(res){ // if (res.msg==='登录成功'){ // layer.msg('登录成功', function () { // window.location = '../index.html'; // }); // }else { // layer.msg("登录失败"); // } // }, // error:function (data) { // } // }) ; // // // return false; // }); // });</script></body></html>因为上面我并没有给出图片,css等静态资源,所以直接复制是没有我这里的效果的。
下面这样也是可以的,
<!DOCTYPE html><htmllang="en"><head> <meta charset="UTF-8"> <title>用户登录</title></head><body><form action="/login" method="post"> 用户名:<input type="text" name="uname"> 密码:<input type="password" name="pwd"> <input type="submit" value="login"></form> </body></html>②登录Servlet类
具体验证的逻辑我这里就不放了。这里登录成功会将用户名存入session,并自动跳转首页。
package com.dreamchaser.loginTest.servlet;import com.dreamchaser.loginTest.mapper.UserMapper;import javax.servlet.ServletException;import javax.servlet.ServletOutputStream;import javax.servlet.http.HttpServlet;import javax.servlet.http.HttpServletRequest;import javax.servlet.http.HttpServletResponse;import java.io.IOException;public class LoginServlet extends HttpServlet { static UserMapper userMapper=UserMapper.getUserMapper(); @Override protected void doPost(HttpServletRequest request, HttpServletResponse response) throws ServletException, IOException { doGet(request,response); } @Override protected void doGet(HttpServletRequest req, HttpServletResponse resp) throws ServletException, IOException { String uname=req.getParameter("uname"); String pwd=req.getParameter("pwd"); ServletOutputStream outputStream = resp.getOutputStream(); String result; if (pwd.equals(userMapper.getPwdByName(uname))){ req.getSession().setAttribute("user",uname); resp.sendRedirect("/index.html"); }else { //响应 result="登录失败"; outputStream.write(result.getBytes()); } }}③UserFilter过滤器
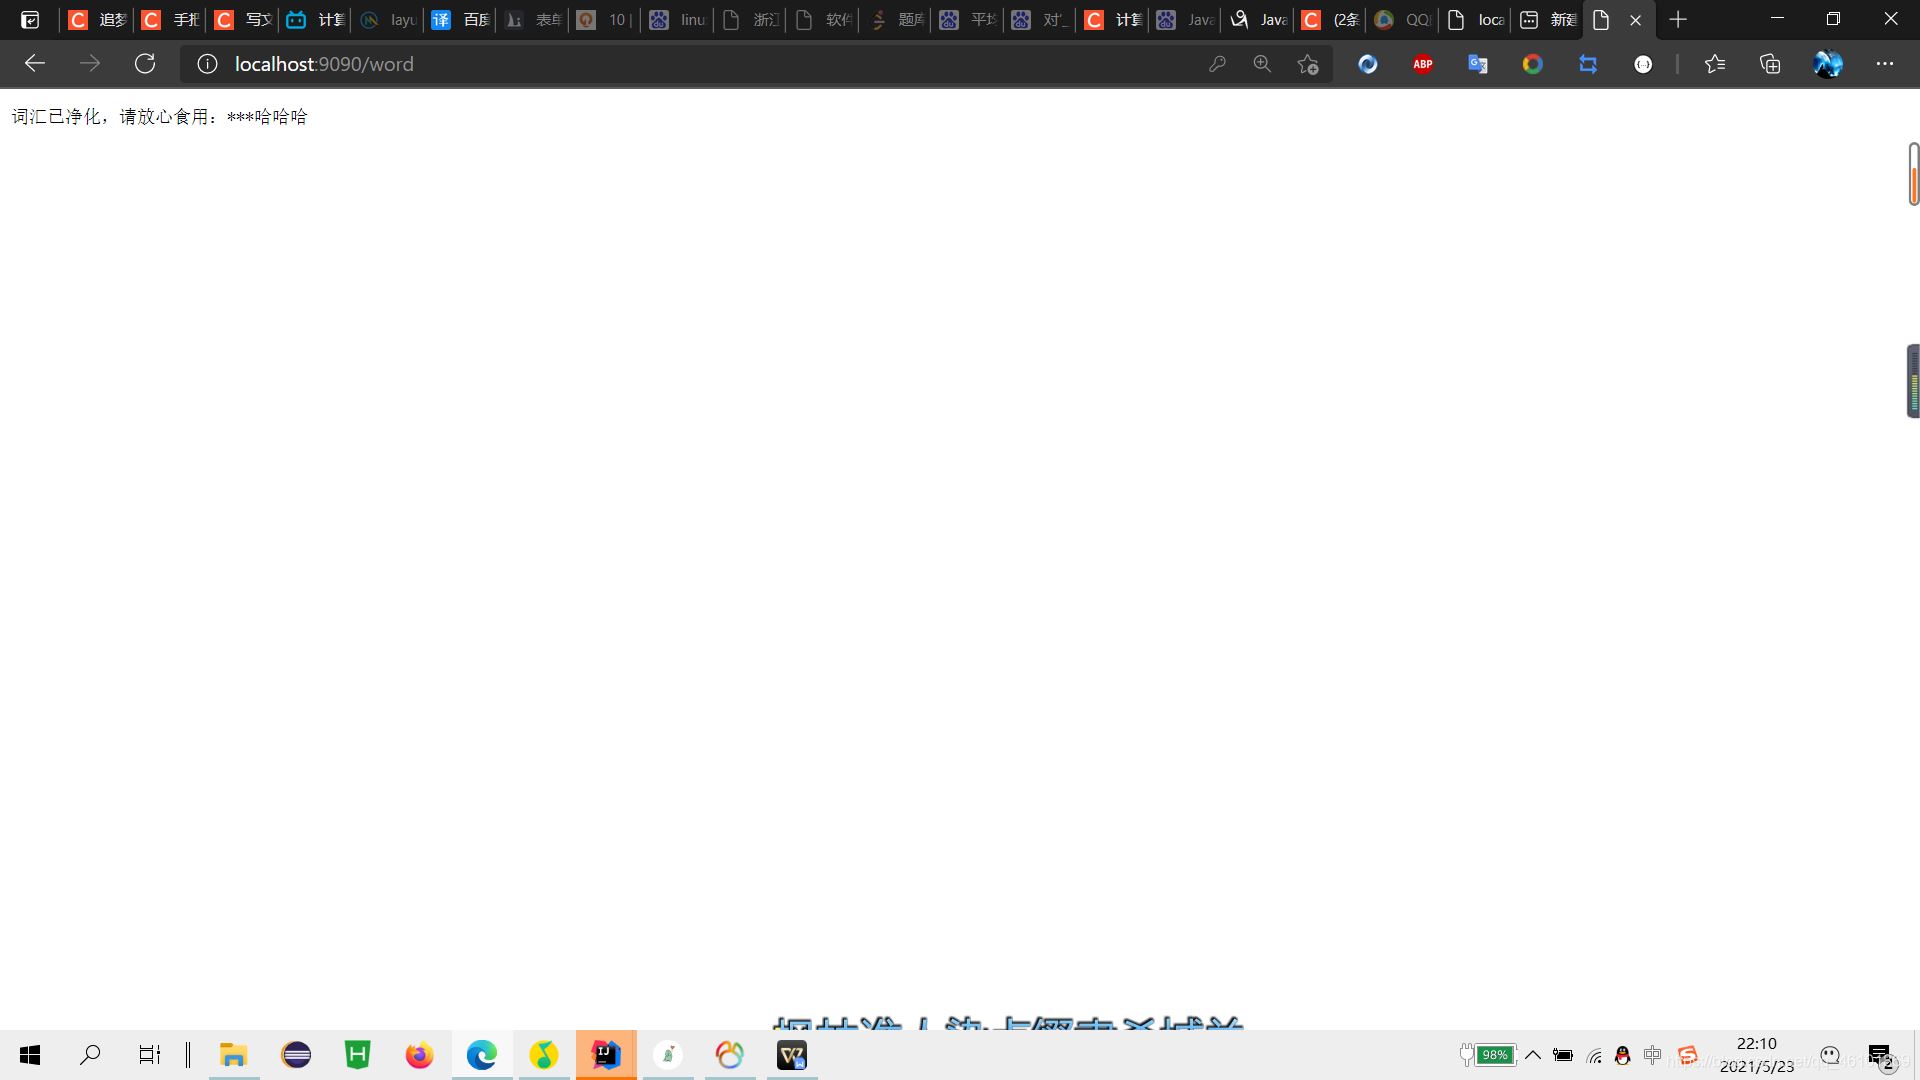
因为该过滤器配置的路径是public class WordServlet extends HttpServlet { @Override protected void doPost(HttpServletRequest request, HttpServletResponse response) throws ServletException, IOException { doGet(request,response); } @Override protected void doGet(HttpServletRequest req, HttpServletResponse resp) throws ServletException, IOException { //因为servlet并没有setParameter方法(这是故意的),所以过滤后word无法通过getparameter来获取 //所以一般有两种方法一种把它放在attribute里,一种重写Request类,不过这会很麻烦 String word= String.valueOf(req.getAttribute("word")); ServletOutputStream outputStream = resp.getOutputStream(); String result="词汇已净化,请放心食用:"+word; outputStream.write(result.getBytes()); }}
③WordFilter过滤器类
静态常量sensitiveWords中存放的是需要过滤的字符串,harmoNIOusWord是过滤后的词汇。
这里就是对需要过滤的借口提前进行处理,把敏感词换成注入“***”这样的字符串,然后存放在attribute中。
package com.dreamchaser.loginTest.filter;import javax.servlet.*;import javax.servlet.http.HttpServletRequest;import javax.servlet.http.HttpServletResponse;import java.io.IOException;public class WordFilter implements Filter { static final String[] sensitiveWords={"敏感词1","脏话","骂人"}; static final String harmoniousWord="***"; @Override public void doFilter(ServletRequest req, ServletResponse resp, FilterChain chain) throws IOException, ServletException { req.setCharacterEncoding("utf-8"); // 将req resp 转为子接口的类型 HttpServletRequest request = (HttpServletRequest)req; HttpServletResponse response = (HttpServletResponse)resp; String word=req.getParameter("word"); for (String s:sensitiveWords){ word=word.replaceAll(s,harmoniousWord); } request.setAttribute("word",word); chain.doFilter(req, resp); }}web.xml配置项
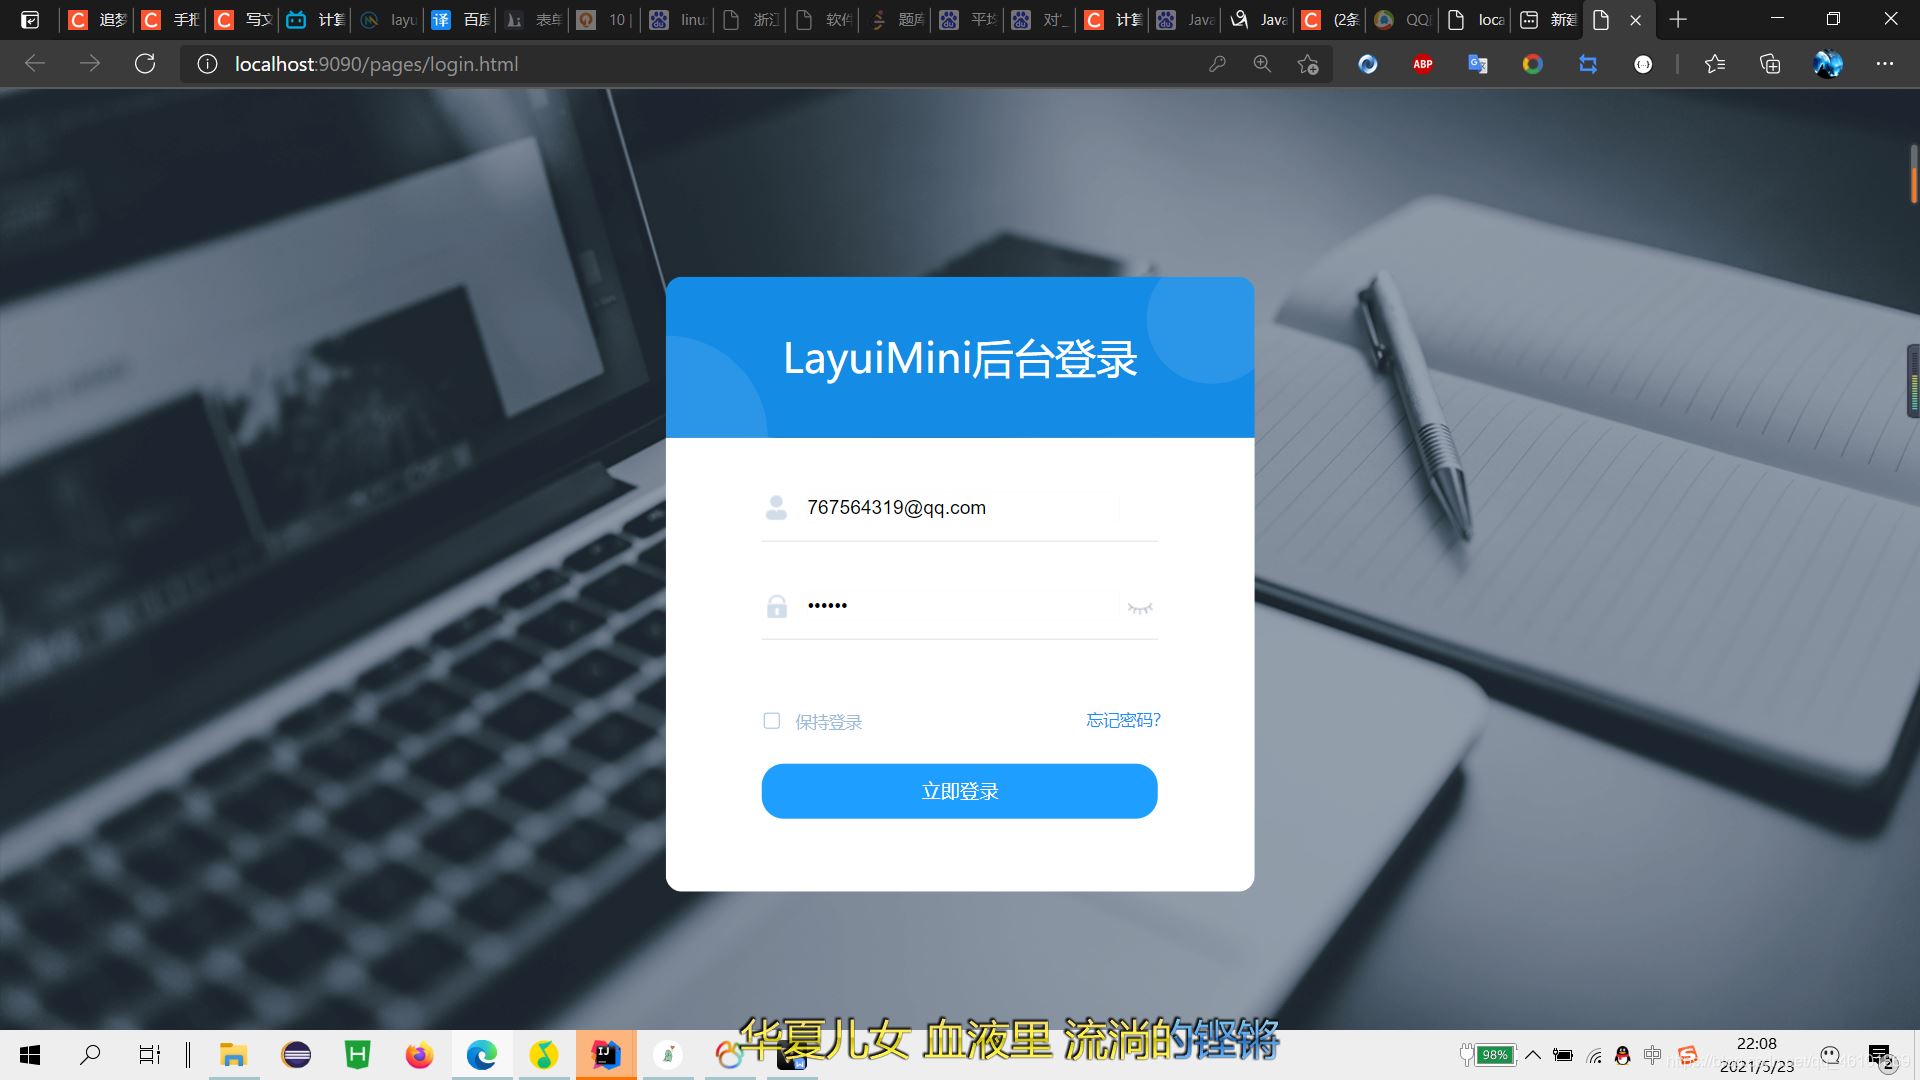
<servlet> <servlet-name>WordServlet</servlet-name> <servlet-class>com.dreamchaser.loginTest.servlet.WordServlet</servlet-class> </servlet> <servlet-mapping> <servlet-name>WordServlet</servlet-name> <url-pattern>/word</url-pattern> </servlet-mapping> <filter> <filter-name>WordFilter</filter-name> <filter-class>com.dreamchaser.loginTest.filter.WordFilter</filter-class> </filter> <filter-mapping> <filter-name>WordFilter</filter-name> <url-pattern>/word</url-pattern> </filter-mapping>自动跳转至登录页
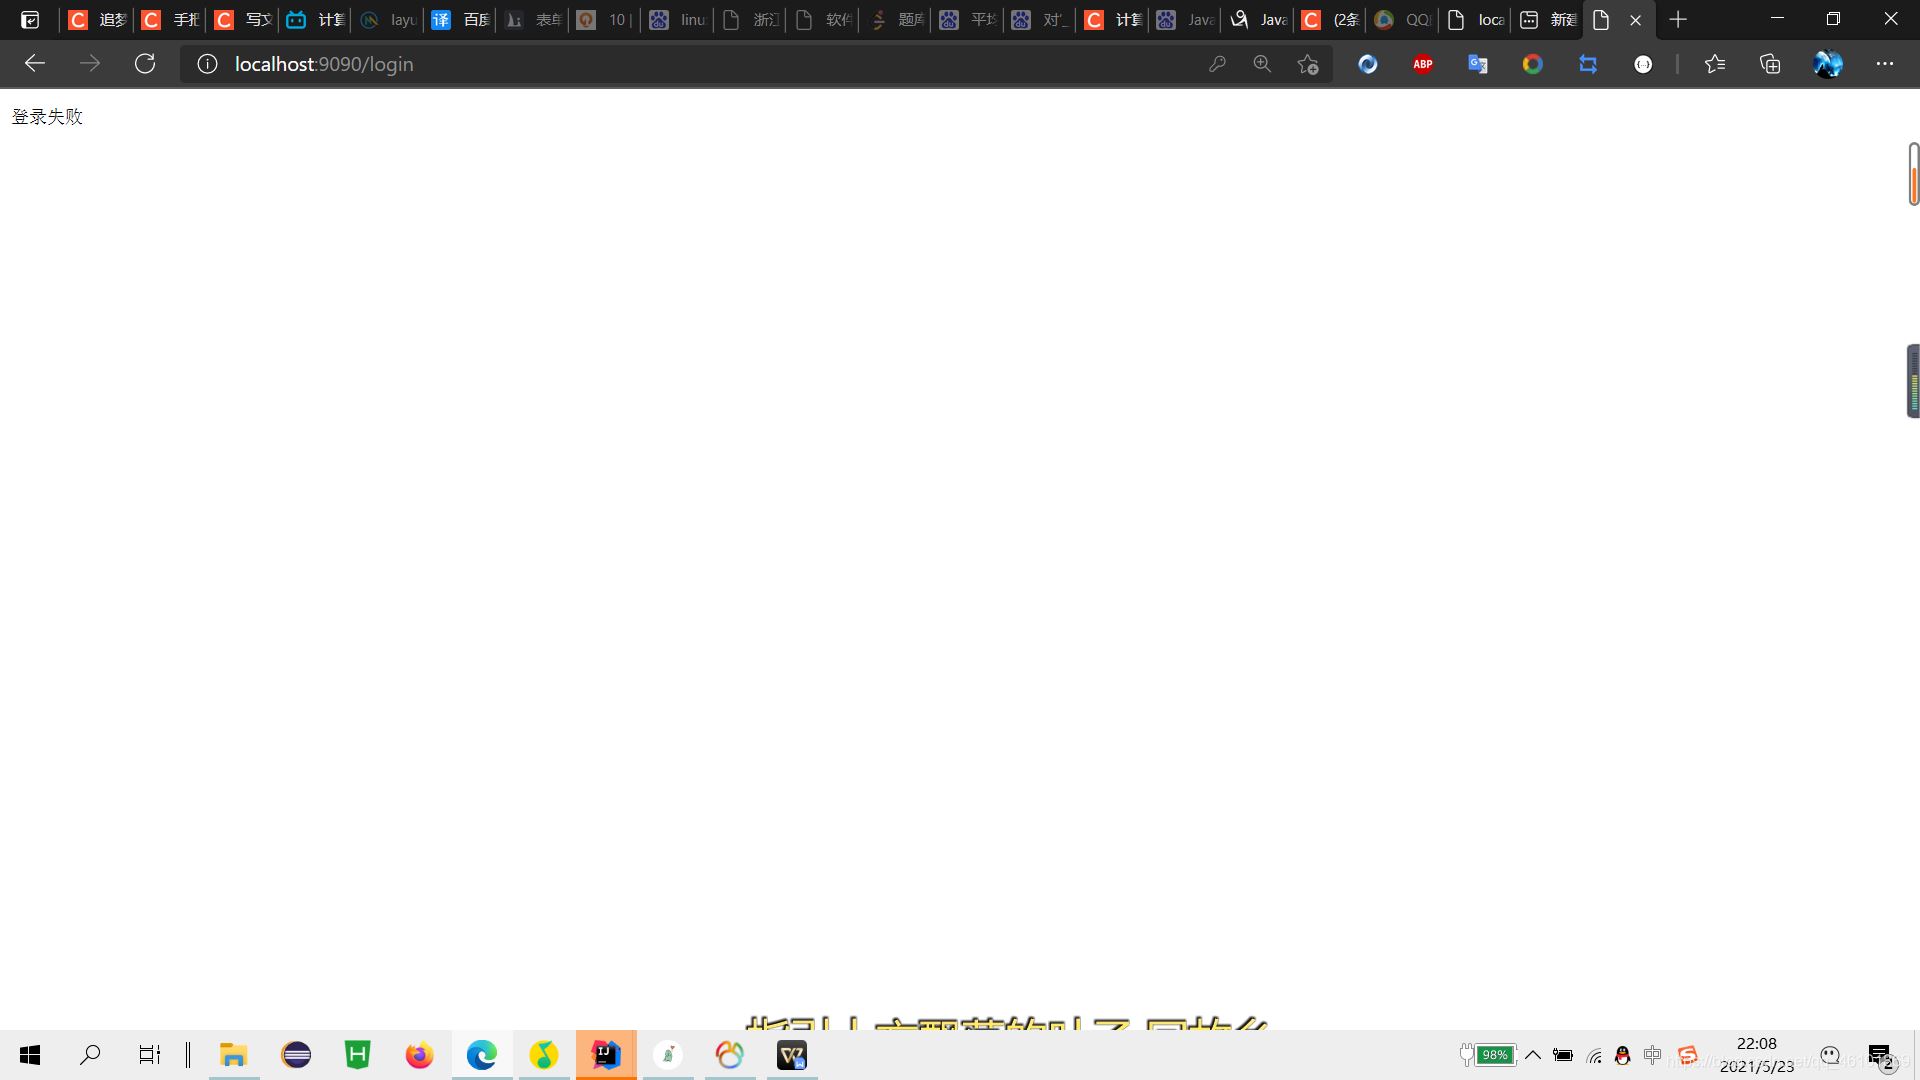
密码错误,登录失败
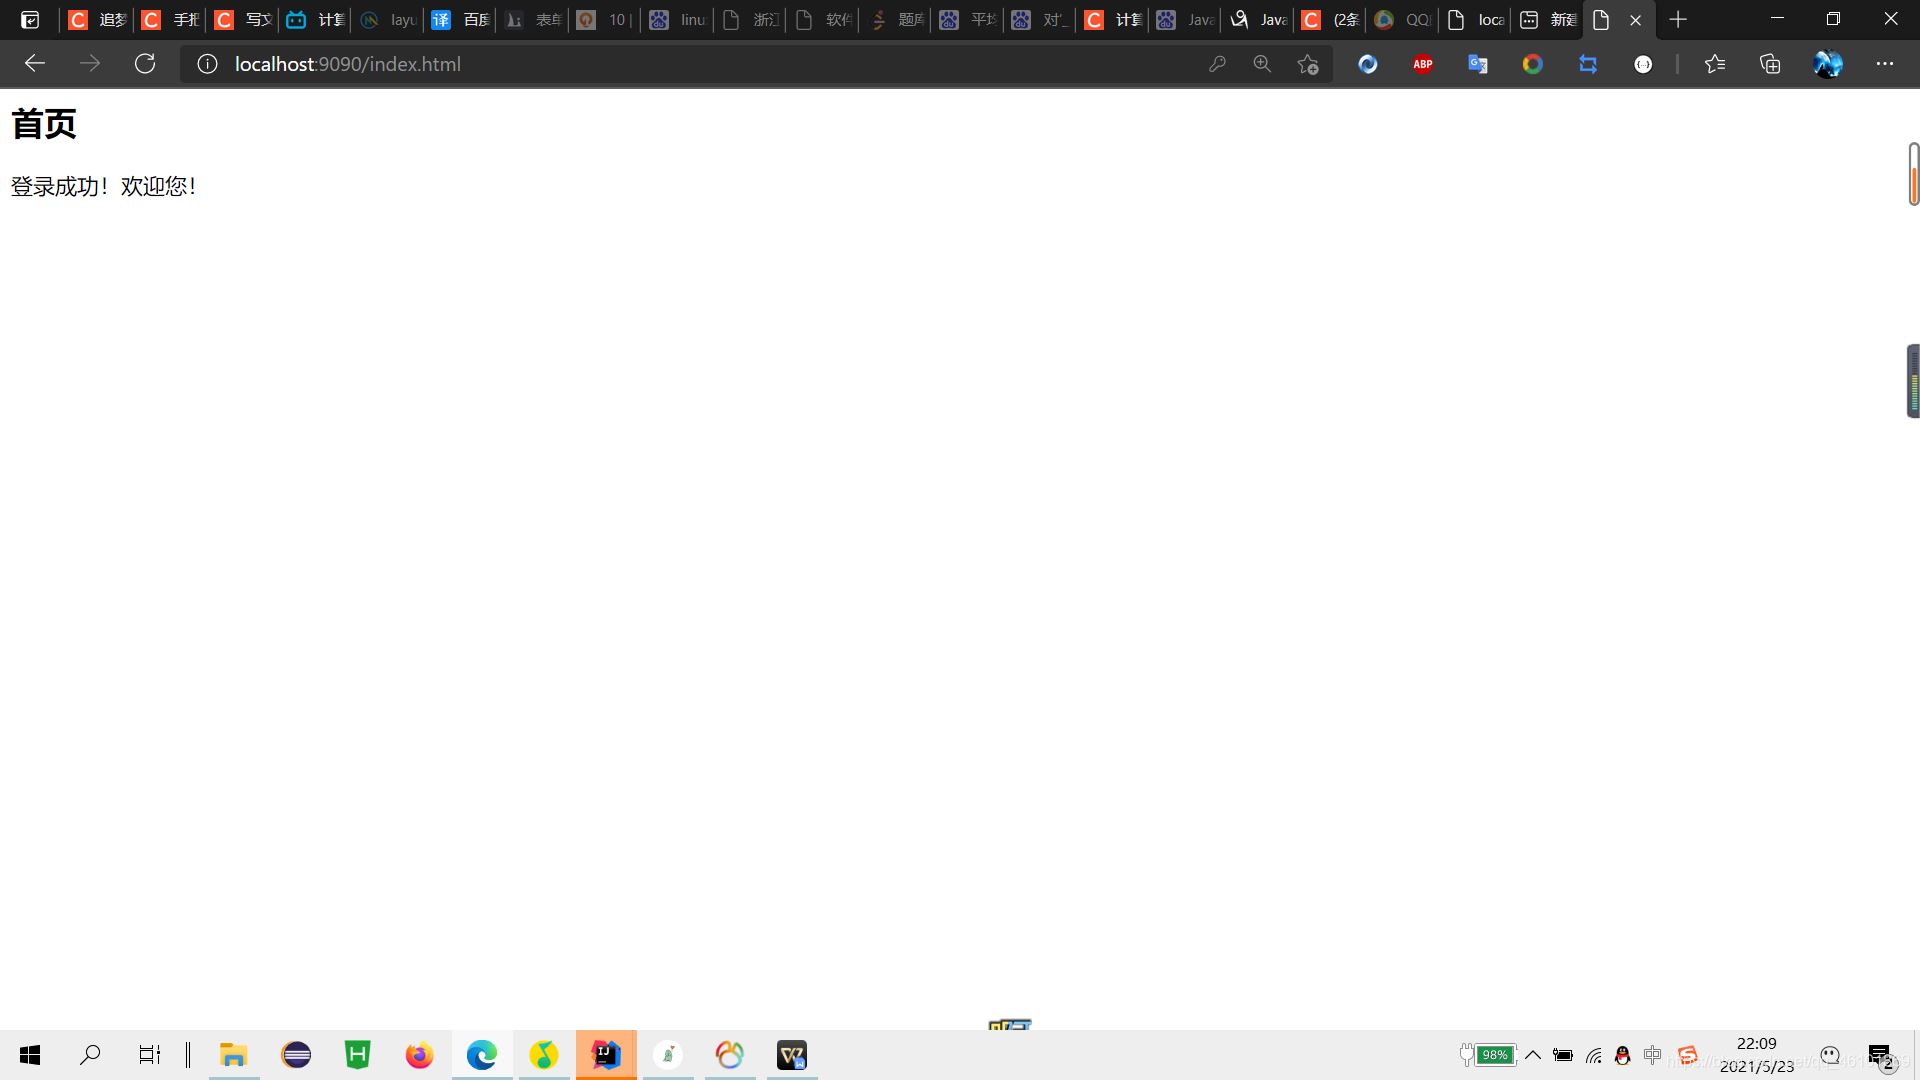
密码正确,自动跳转首页
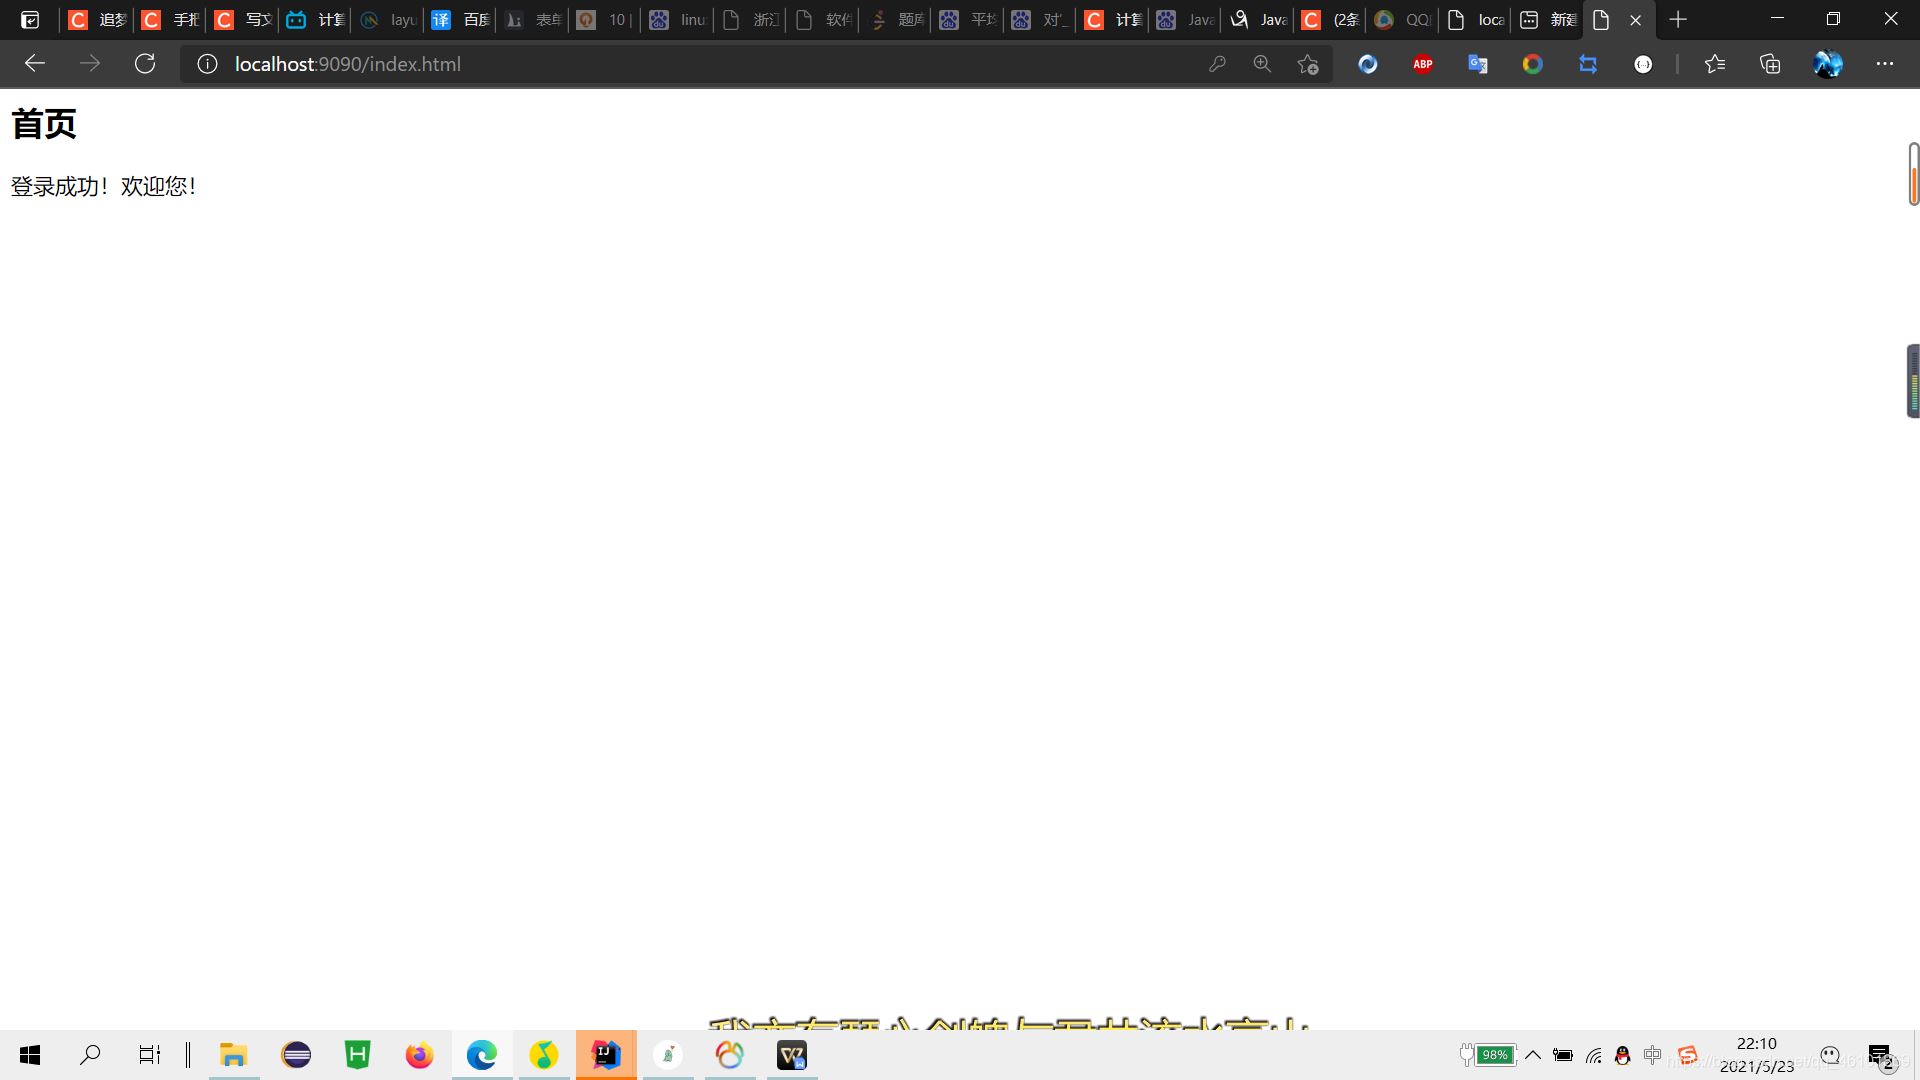
刷新首页,不会跳转
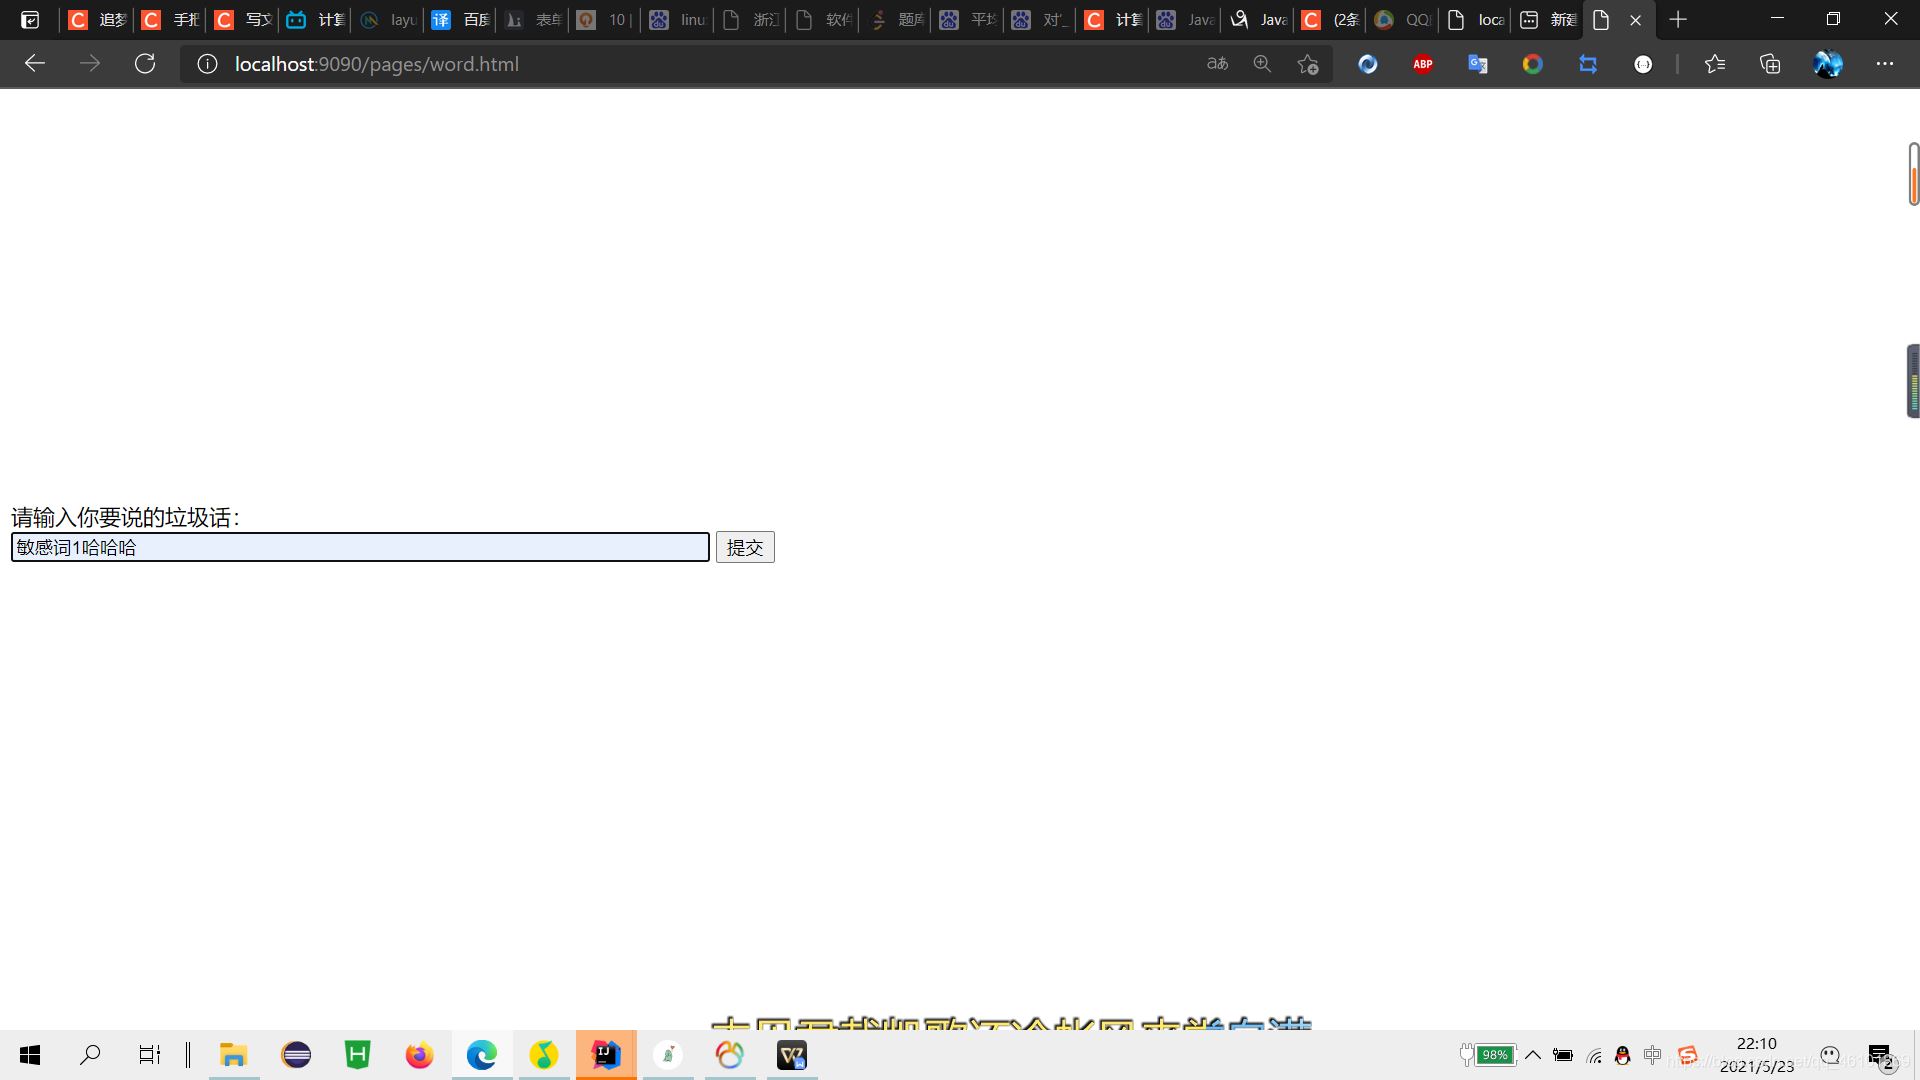
敏感词过滤
处理后返回结果
感谢你能够认真阅读完这篇文章,希望小编分享的“servlet如果实现简单的权限管理和敏感词过滤功能”这篇文章对大家有帮助,同时也希望大家多多支持编程网,关注编程网精选频道,更多相关知识等着你来学习!
--结束END--
本文标题: servlet如果实现简单的权限管理和敏感词过滤功能
本文链接: https://www.lsjlt.com/news/278379.html(转载时请注明来源链接)
有问题或投稿请发送至: 邮箱/279061341@qq.com QQ/279061341
下载Word文档到电脑,方便收藏和打印~
2024-05-10
2024-05-10
2024-05-10
2024-05-10
2024-05-10
2024-05-10
2024-05-10
2024-05-10
2024-05-10
2024-05-10
回答
回答
回答
回答
回答
回答
回答
回答
回答
回答


官方手机版

微信公众号

商务合作


0