Android学习(小知识点) 一、欢迎使用界面 二、隐藏标题栏和状态栏+自定义标题栏 三、Butter+EditText模板 四、Scrol
Android学习(小知识点)
一、欢迎使用界面
二、隐藏标题栏和状态栏+自定义标题栏
三、Butter+EditText模板
四、ScrollView布局使用
五、弹窗
六、menu创建
附加:
Android之RecyclerView(新手模板)
Android之SharedPreferences轻量级存储
Android之LitePal数量级存储
Android之图表MAPAndroidChart(模板)
一、欢迎使用界面 点击我回到顶部目录
 new Thread(new Runnable() {
            @Override
            public void run() {
                try {
                    Thread.sleep(1500);
                    Intent intent = new Intent(StarActrvity.this,MainActivity.class);
                    startActivity(intent);
                    finish();
                } catch (InterruptedException e) {
                    e.printStackTrace();
                }
            }
        }).start();
二、隐藏标题栏和状态栏+自定义标题栏 点击我回到顶部目录
1,隐藏电量栏(放在onCreate()里面)
 getWindow().setFlags(WindowManager.LayoutParams.FLAG_FULLSCREEN,
                WindowManager.LayoutParams.FLAG_FULLSCREEN);
2,隐藏单个Activity标题栏(放在onCreate()里面)
if (getSupportActionBar() != null) getSupportActionBar().hide();
3,隐藏本项目所有标题栏
把styles.xml里面的
换成:
4,自定义标题栏
三、Butter+EditText模板 点击我回到顶部目录
1,在drawable中新建XML文件 style.xml
2,Button模板
android:layout_margin="6dp"
 android:background="#@drawable/style"
 android:text="按钮"
 android:textSize="20sp"
3,EditText模板
1,EdiText属性
android:layout_margin="4dp"
android:layout_width="match_parent"
android:layout_height="60dp"
android:background="@drawable/style"
android:textSize="20sp"
四、ScrollView布局使用 点击我回到顶部目录
1,该布局可以向下无线延伸,但是该布局里面只能且仅有1个LinearLayout布局
		  		这里每个人的都不一样
       										元件或布局,写在此处。。。
五、弹窗 点击我回到顶部目录
1,文本
AlertDialog alertDialog1 = new AlertDialog.Builder(this)
        .setTitle("这是标题")//标题
        .setMessage("这是内容")//内容
        .setIcon(R.mipmap.ic_launcher)//图标
        .create();
alertDialog1.show();
2,文本+按钮
AlertDialog alertDialog2 = new AlertDialog.Builder(this)
        .setTitle("这是标题")
        .setMessage("有多个按钮")
        .setIcon(R.mipmap.ic_launcher)
        .setPositiveButton("确定", new DialogInterface.OnClickListener() {//添加"Yes"按钮
            @Override
            public void onClick(DialogInterface dialogInterface, int i) {
                Toast.makeText(AlertDialogActivity.this, "这是确定按钮", Toast.LENGTH_SHORT).show();
            }
        })
        .setNegativeButton("取消", new DialogInterface.OnClickListener() {//添加取消
            @Override
            public void onClick(DialogInterface dialogInterface, int i) {
                Toast.makeText(AlertDialogActivity.this, "这是取消按钮", Toast.LENGTH_SHORT).show();
            }
        })
        .setNeutralButton("普通按钮", new DialogInterface.OnClickListener() {//添加普通按钮
            @Override
            public void onClick(DialogInterface dialogInterface, int i) {
                Toast.makeText(AlertDialogActivity.this, "这是普通按钮按钮", Toast.LENGTH_SHORT).show();
            }
        })
        .create();
alertDialog2.show();
3,列表形式
final String[] items3 = new String[]{"苹果", "香蕉", "菠萝", "西瓜"};//创建item
AlertDialog alertDialog3 = new AlertDialog.Builder(this)
        .setTitle("选择您喜欢的水果")
        .setIcon(R.mipmap.ic_launcher)
        .setItems(items3, new DialogInterface.OnClickListener() {//添加列表
            @Override
            public void onClick(DialogInterface dialogInterface, int i) {
                Toast.makeText(AlertDialogActivity.this, "点的是:" + items3[i], Toast.LENGTH_SHORT).show();
            }
        })
        .create();
 alertDialog3.show();
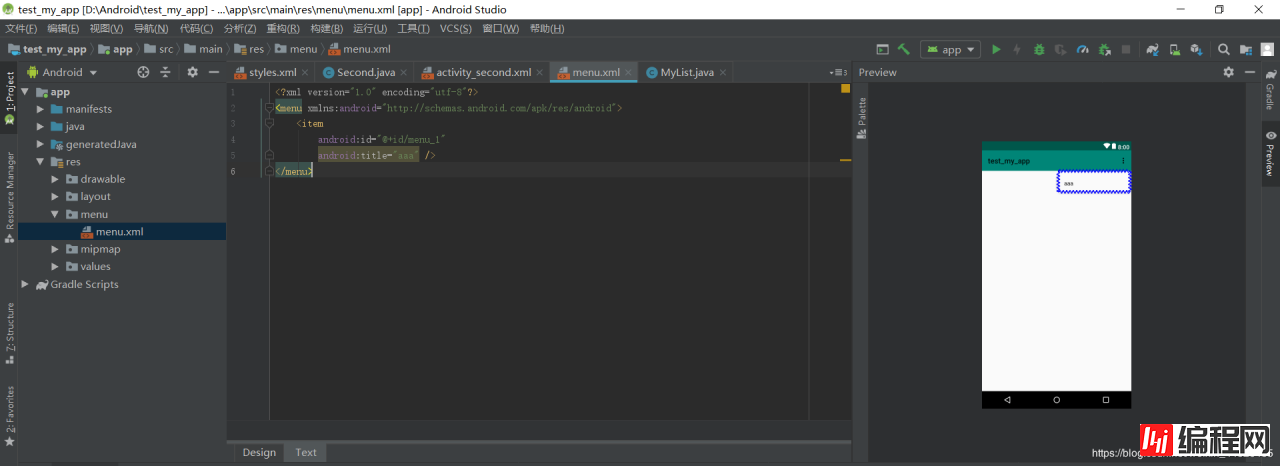
六、menu创建 点击我回到顶部目录
--结束END--
本文标题: Android学习(小知识点)
本文链接: https://www.lsjlt.com/news/28952.html(转载时请注明来源链接)
有问题或投稿请发送至: 邮箱/279061341@qq.com QQ/279061341
下载Word文档到电脑,方便收藏和打印~
2024-01-21
2023-10-28
2023-10-28
2023-10-27
2023-10-27
2023-10-27
2023-10-27
回答
回答
回答
回答
回答
回答
回答
回答
回答
回答


官方手机版

微信公众号

商务合作


0