这篇文章将为大家详细讲解有关PHP怎么利用phpMailer实现邮件发送功能,小编觉得挺实用的,因此分享给大家做个参考,希望大家阅读完这篇文章后可以有所收获。一、安装环境PHPMailer 需要 PHP 的 Sockets 扩展支持另外登录
这篇文章将为大家详细讲解有关PHP怎么利用phpMailer实现邮件发送功能,小编觉得挺实用的,因此分享给大家做个参考,希望大家阅读完这篇文章后可以有所收获。
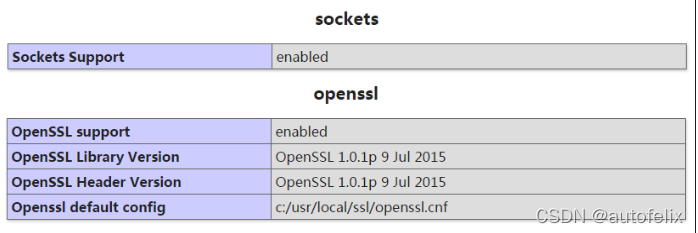
PHPMailer 需要 PHP 的 Sockets 扩展支持
另外登录 QQ 邮箱 SMTP 服务器则必须通过 SSL 加密的, PHP 还得包含 openssl 的支持
地址: https://GitHub.com/PHPMailer/PHPMailer/
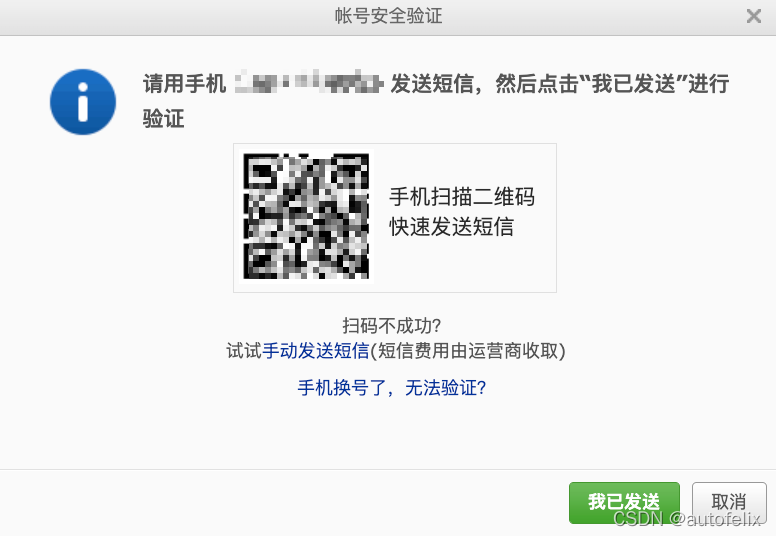
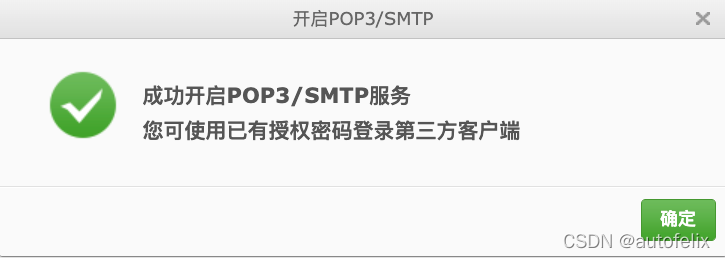
所有的主流邮箱都支持 SMTP 协议,但并非所有邮箱都默认开启
您可以在邮箱的设置里面手动开启
第三方服务在提供了账号和密码之后就可以登录 SMTP 服务器
通过它来控制邮件的中转方式
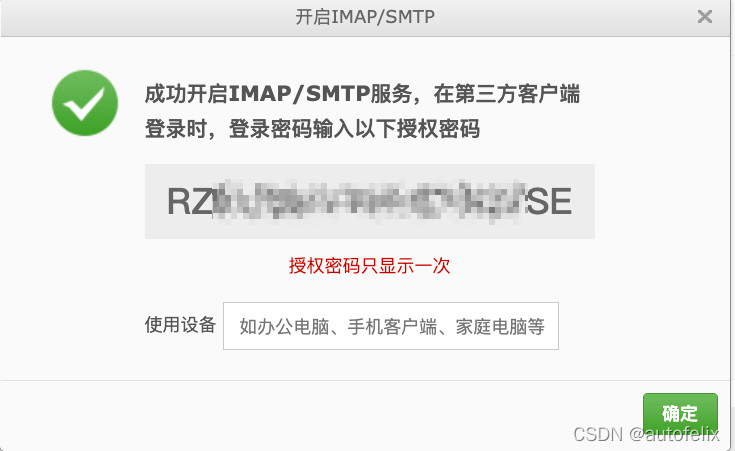
SMTP 服务器认证密码,需要妥善保管

<?php // 引入PHPMailer的核心文件require_once("PHPMailer/class.phpmailer.php");require_once("PHPMailer/class.smtp.php"); // 实例化PHPMailer核心类$mail = new PHPMailer(); // 是否启用smtp的debug进行调试 开发环境建议开启 生产环境注释掉即可 默认关闭debug调试模式$mail->SMTPDebug = 1; // 使用smtp鉴权方式发送邮件$mail->iSSMTP(); // smtp需要鉴权 这个必须是true$mail->SMTPAuth = true; // 链接qq域名邮箱的服务器地址$mail->Host = 'smtp.qq.com'; // 设置使用ssl加密方式登录鉴权$mail->SMTPSecure = 'ssl'; // 设置ssl连接smtp服务器的远程服务器端口号$mail->Port = 465; // 设置发送的邮件的编码$mail->CharSet = 'UTF-8'; // 设置发件人昵称 显示在收件人邮件的发件人邮箱地址前的发件人姓名$mail->FromName = '发件人昵称'; // smtp登录的账号 任意邮箱即可$mail->Username = 'xxxxxxx@163.com'; // smtp登录的密码 使用生成的授权码$mail->PassWord = '**********'; // 设置发件人邮箱地址 同登录账号$mail->From = 'xxxxxxx@qq.com'; // 邮件正文是否为html编码 注意此处是一个方法$mail->isHTML(true); // 设置收件人邮箱地址$mail->addAddress('xxxxxxxxx@qq.com'); // 添加多个收件人 则多次调用方法即可$mail->addAddress('xxxxxxxxx@163.com'); // 添加该邮件的主题$mail->Subject = '邮件主题'; // 添加邮件正文$mail->Body = '<h2>Hello, i am autofelix</h2>'; // 为该邮件添加附件$mail->addAttachment('./附件.pdf'); // 发送邮件 返回状态$status = $mail->send();先使用composer进行安装:composer require phpmailer/phpmailer ^6.5
使用
<?phpuse PHPMailer\PHPMailer\PHPMailer;use PHPMailer\PHPMailer\SMTP;use PHPMailer\PHPMailer\Exception; class mail { public function send() { //Create an instance; passing `true` enables exceptions $mail = new PHPMailer(true); try { //Server settings $mail->SMTPDebug = SMTP::DEBUG_SERVER; //Enable verbose debug output $mail->isSMTP(); //Send using SMTP $mail->Host = 'smtp.example.com'; //Set the SMTP server to send through $mail->SMTPAuth = true; //Enable SMTP authentication $mail->Username = 'user@example.com'; //SMTP username $mail->Password = 'secret'; //SMTP password $mail->SMTPSecure = PHPMailer::ENCRYPTION_SMTPS; //Enable implicit TLS encryption $mail->Port = 465; //tcp port to connect to; use 587 if you have set `SMTPSecure = PHPMailer::ENCRYPTION_STARTTLS` //Recipients $mail->setFrom('from@example.com', 'Mailer'); $mail->addAddress('joe@example.net', 'Joe User'); //Add a recipient $mail->addAddress('ellen@example.com'); //Name is optional $mail->addReplyTo('info@example.com', 'InfORMation'); $mail->addCC('cc@example.com'); $mail->addBCC('bcc@example.com'); //Attachments $mail->addAttachment('/var/tmp/file.tar.gz'); //Add attachments $mail->addAttachment('/tmp/image.jpg', 'new.jpg'); //Optional name //Content $mail->isHTML(true); //Set email format to HTML $mail->Subject = 'Here is the subject'; $mail->Body = 'This is the HTML message body <b>in bold!</b>'; $mail->AltBody = 'This is the body in plain text for non-HTML mail clients'; $mail->send(); echo 'Message has been sent'; } catch (Exception $e) { echo "Message could not be sent. Mailer Error: {$mail->ErrorInfo}"; } }}关于“PHP怎么利用PHPMailer实现邮件发送功能”这篇文章就分享到这里了,希望以上内容可以对大家有一定的帮助,使各位可以学到更多知识,如果觉得文章不错,请把它分享出去让更多的人看到。
--结束END--
本文标题: PHP怎么利用PHPMailer实现邮件发送功能
本文链接: https://www.lsjlt.com/news/325837.html(转载时请注明来源链接)
有问题或投稿请发送至: 邮箱/279061341@qq.com QQ/279061341
下载Word文档到电脑,方便收藏和打印~
2024-02-29
2024-02-29
2024-02-29
2024-02-29
2024-02-29
2024-02-29
2024-02-29
2024-02-29
2024-02-29
2024-02-29
回答
回答
回答
回答
回答
回答
回答
回答
回答
回答


官方手机版

微信公众号

商务合作


0