文章目录 前言效果展示原理说明服务器端代码说明微信小程序代码说明代码链接总结更新日志2023/5/13 14:42更新 前言 我在前一段时间突发奇想,就使用java来调用chatgpt的接口,然后写了一个简单小程序,也上了热
我在前一段时间突发奇想,就使用java来调用chatgpt的接口,然后写了一个简单小程序,也上了热榜第一,java调用chatgpt接口,实现专属于自己的人工智能助手,事实上,这个程序毛病挺多的,最不能让人接受的一点就是返回速度非常缓慢(即使使用非常好的外网服务器)。
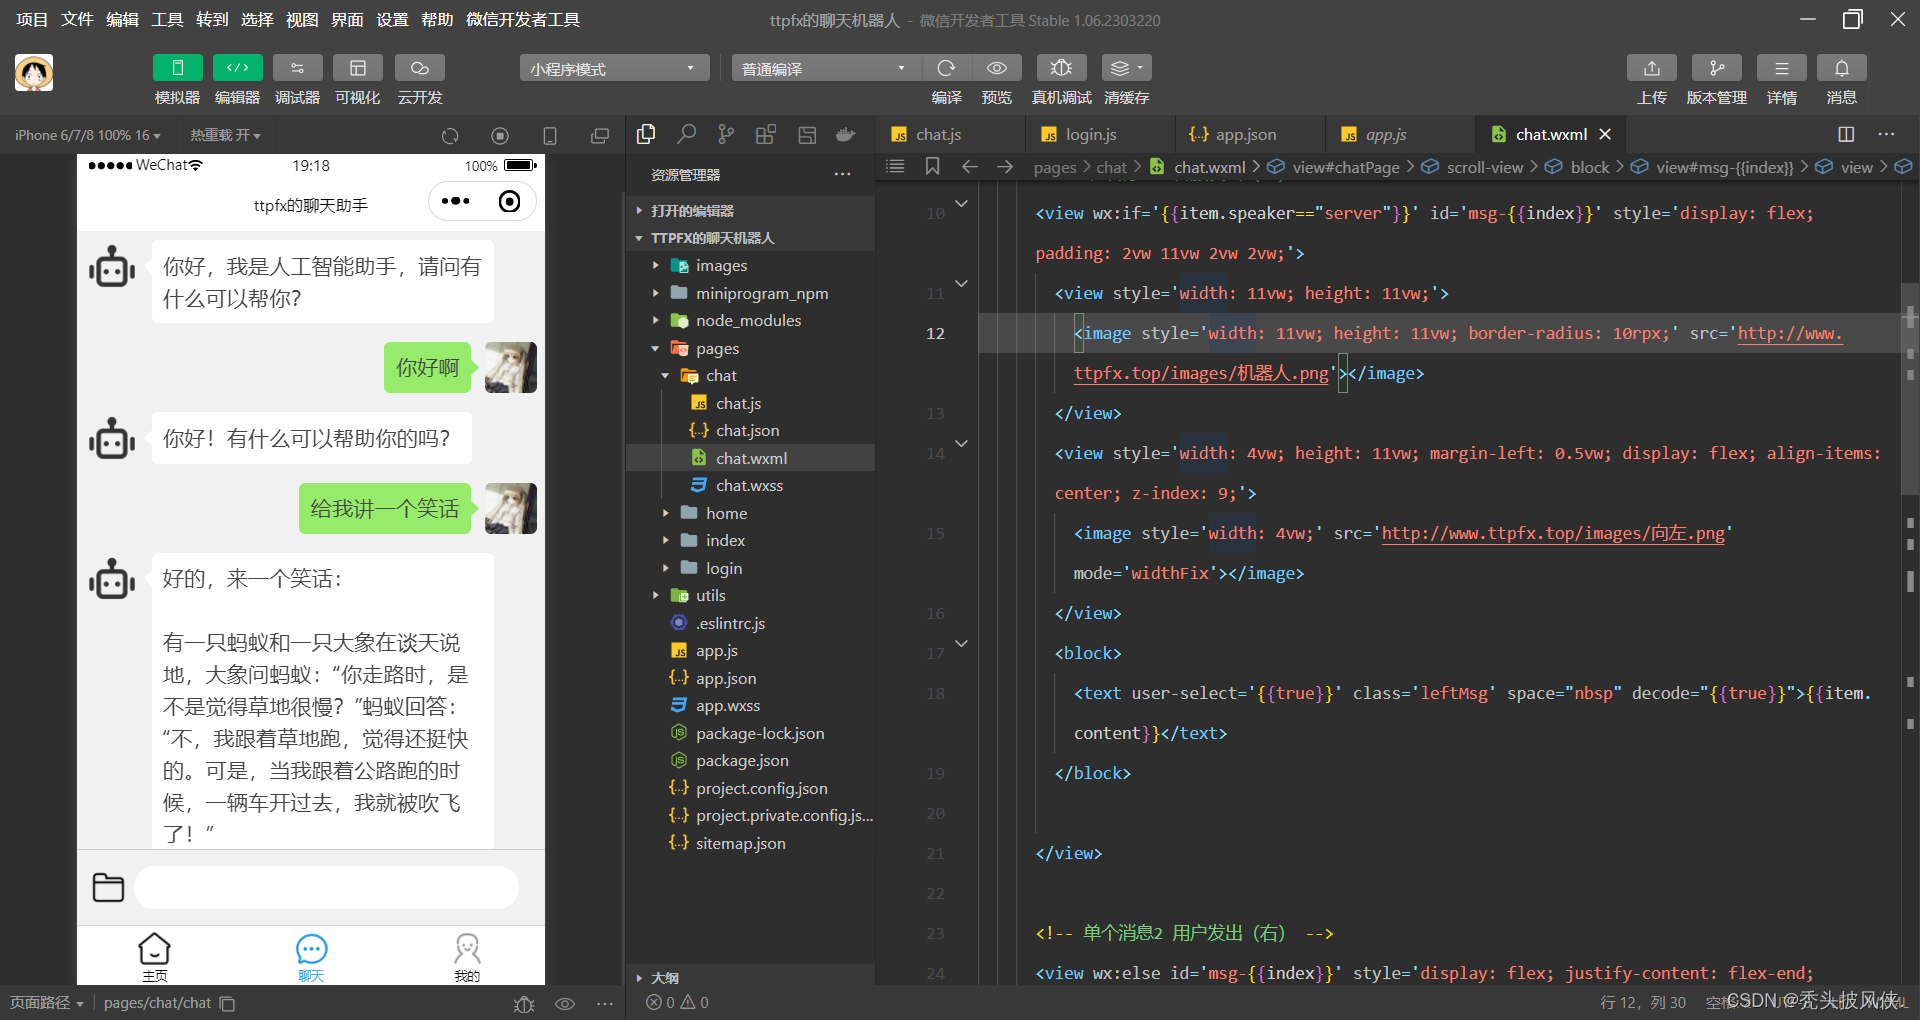
现在,我改进了一下程序,使用异步请求的方式,基本可以实现秒回复。并且还基于websocket编写了一个微信小程序来进行交互,可以直接使用微信小程序来进行体验。
现在我将所有代码都上传了GitHub(链接在文章结尾),大家可以clone下来,部署到服务器上,真正实现自己的聊天机器人!!!
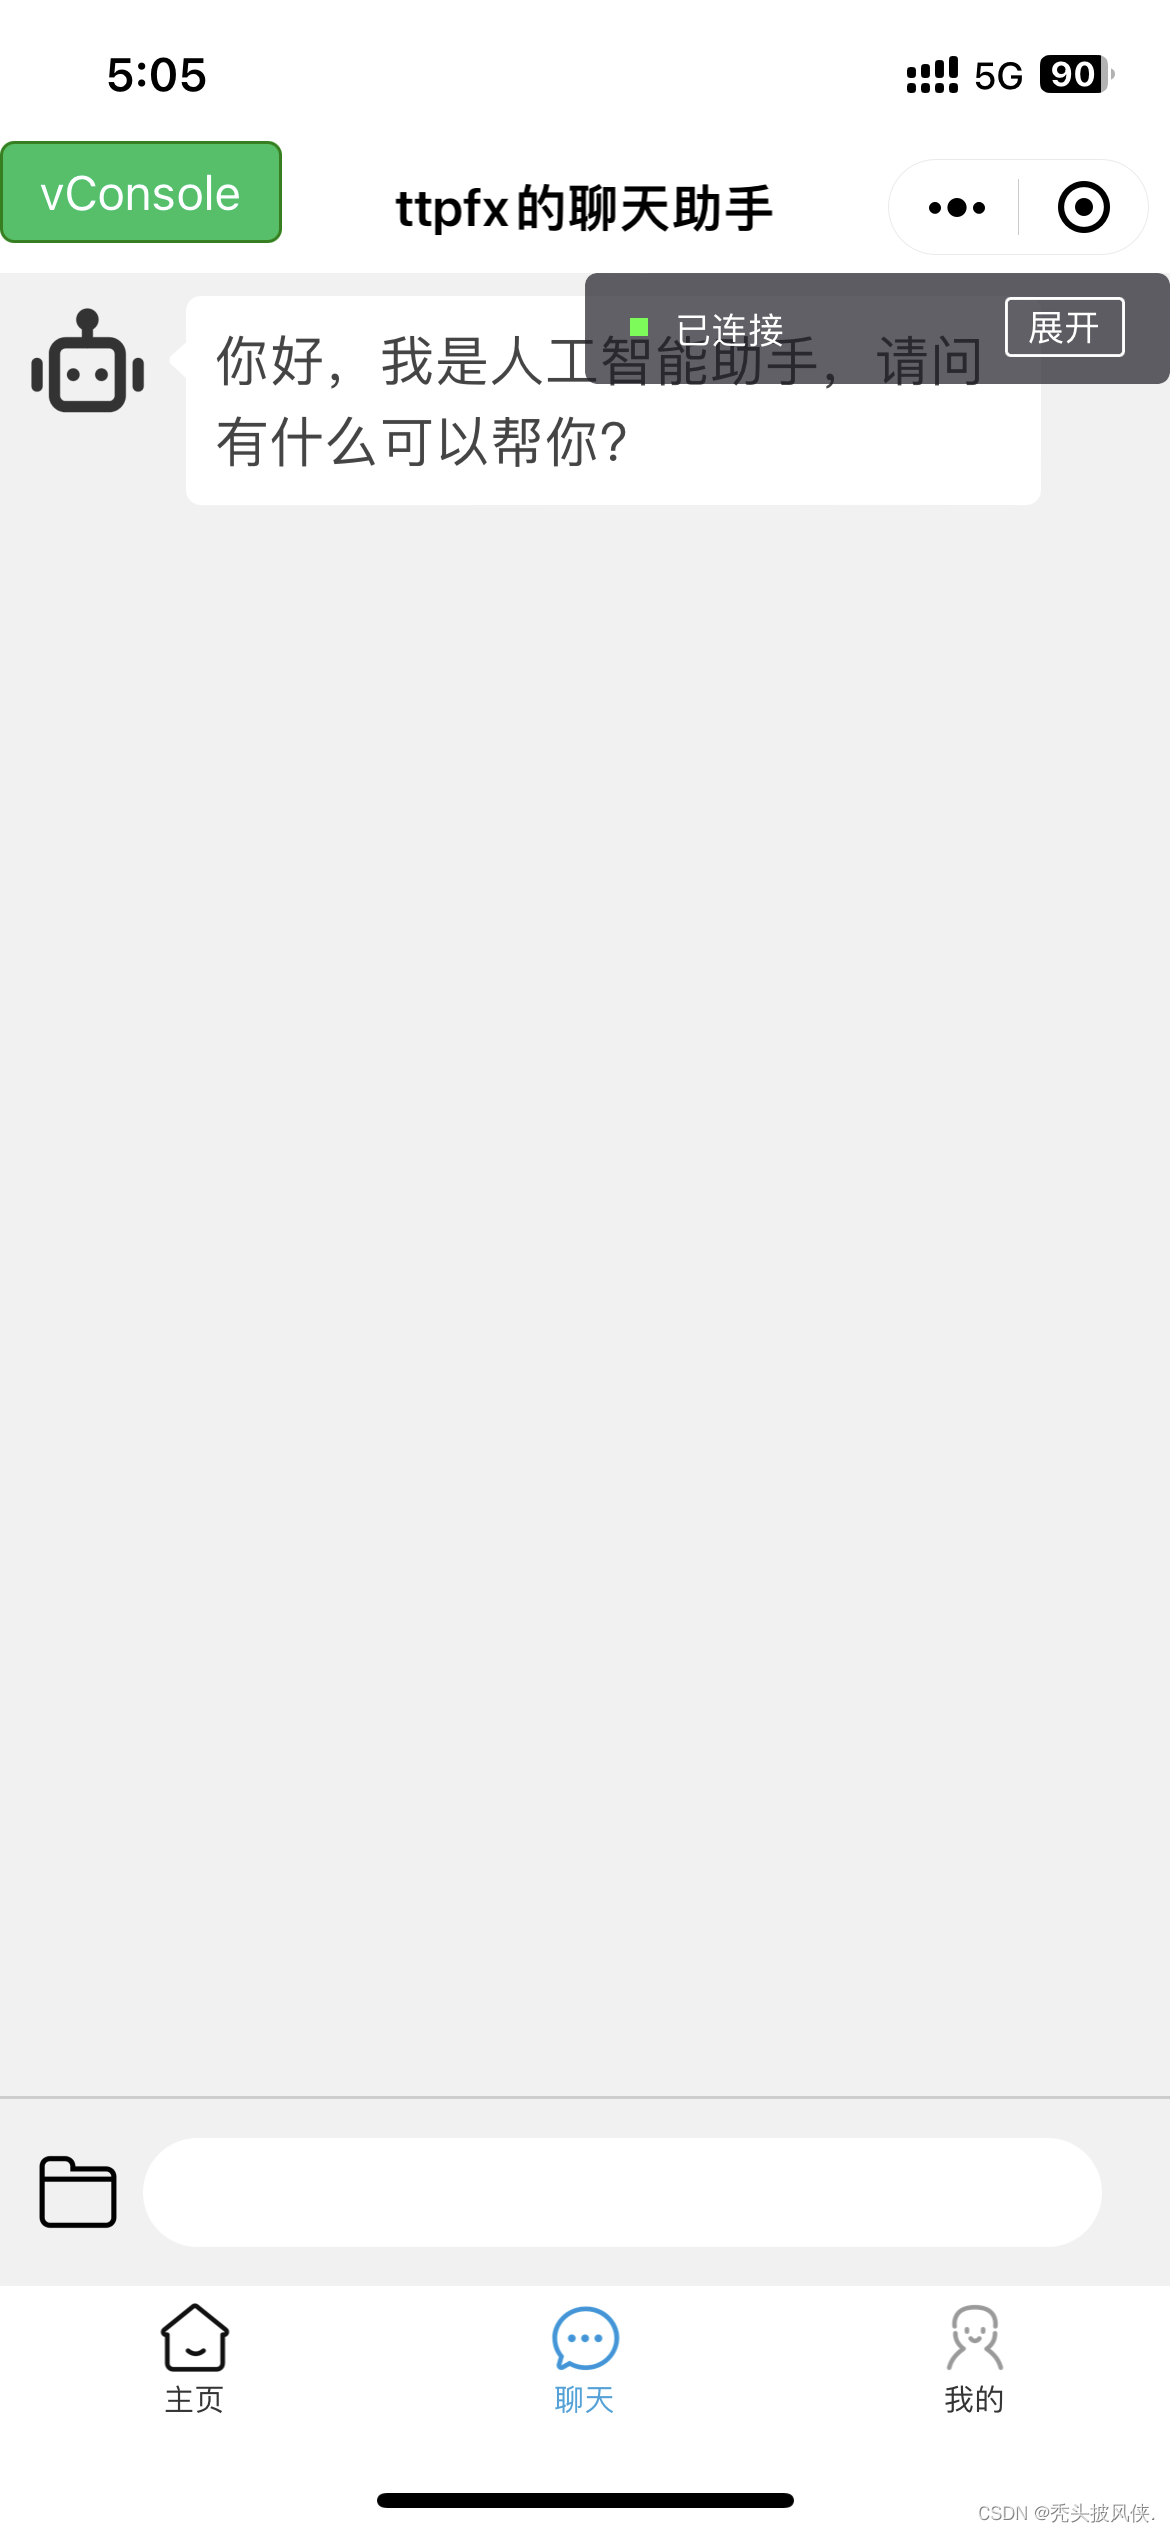
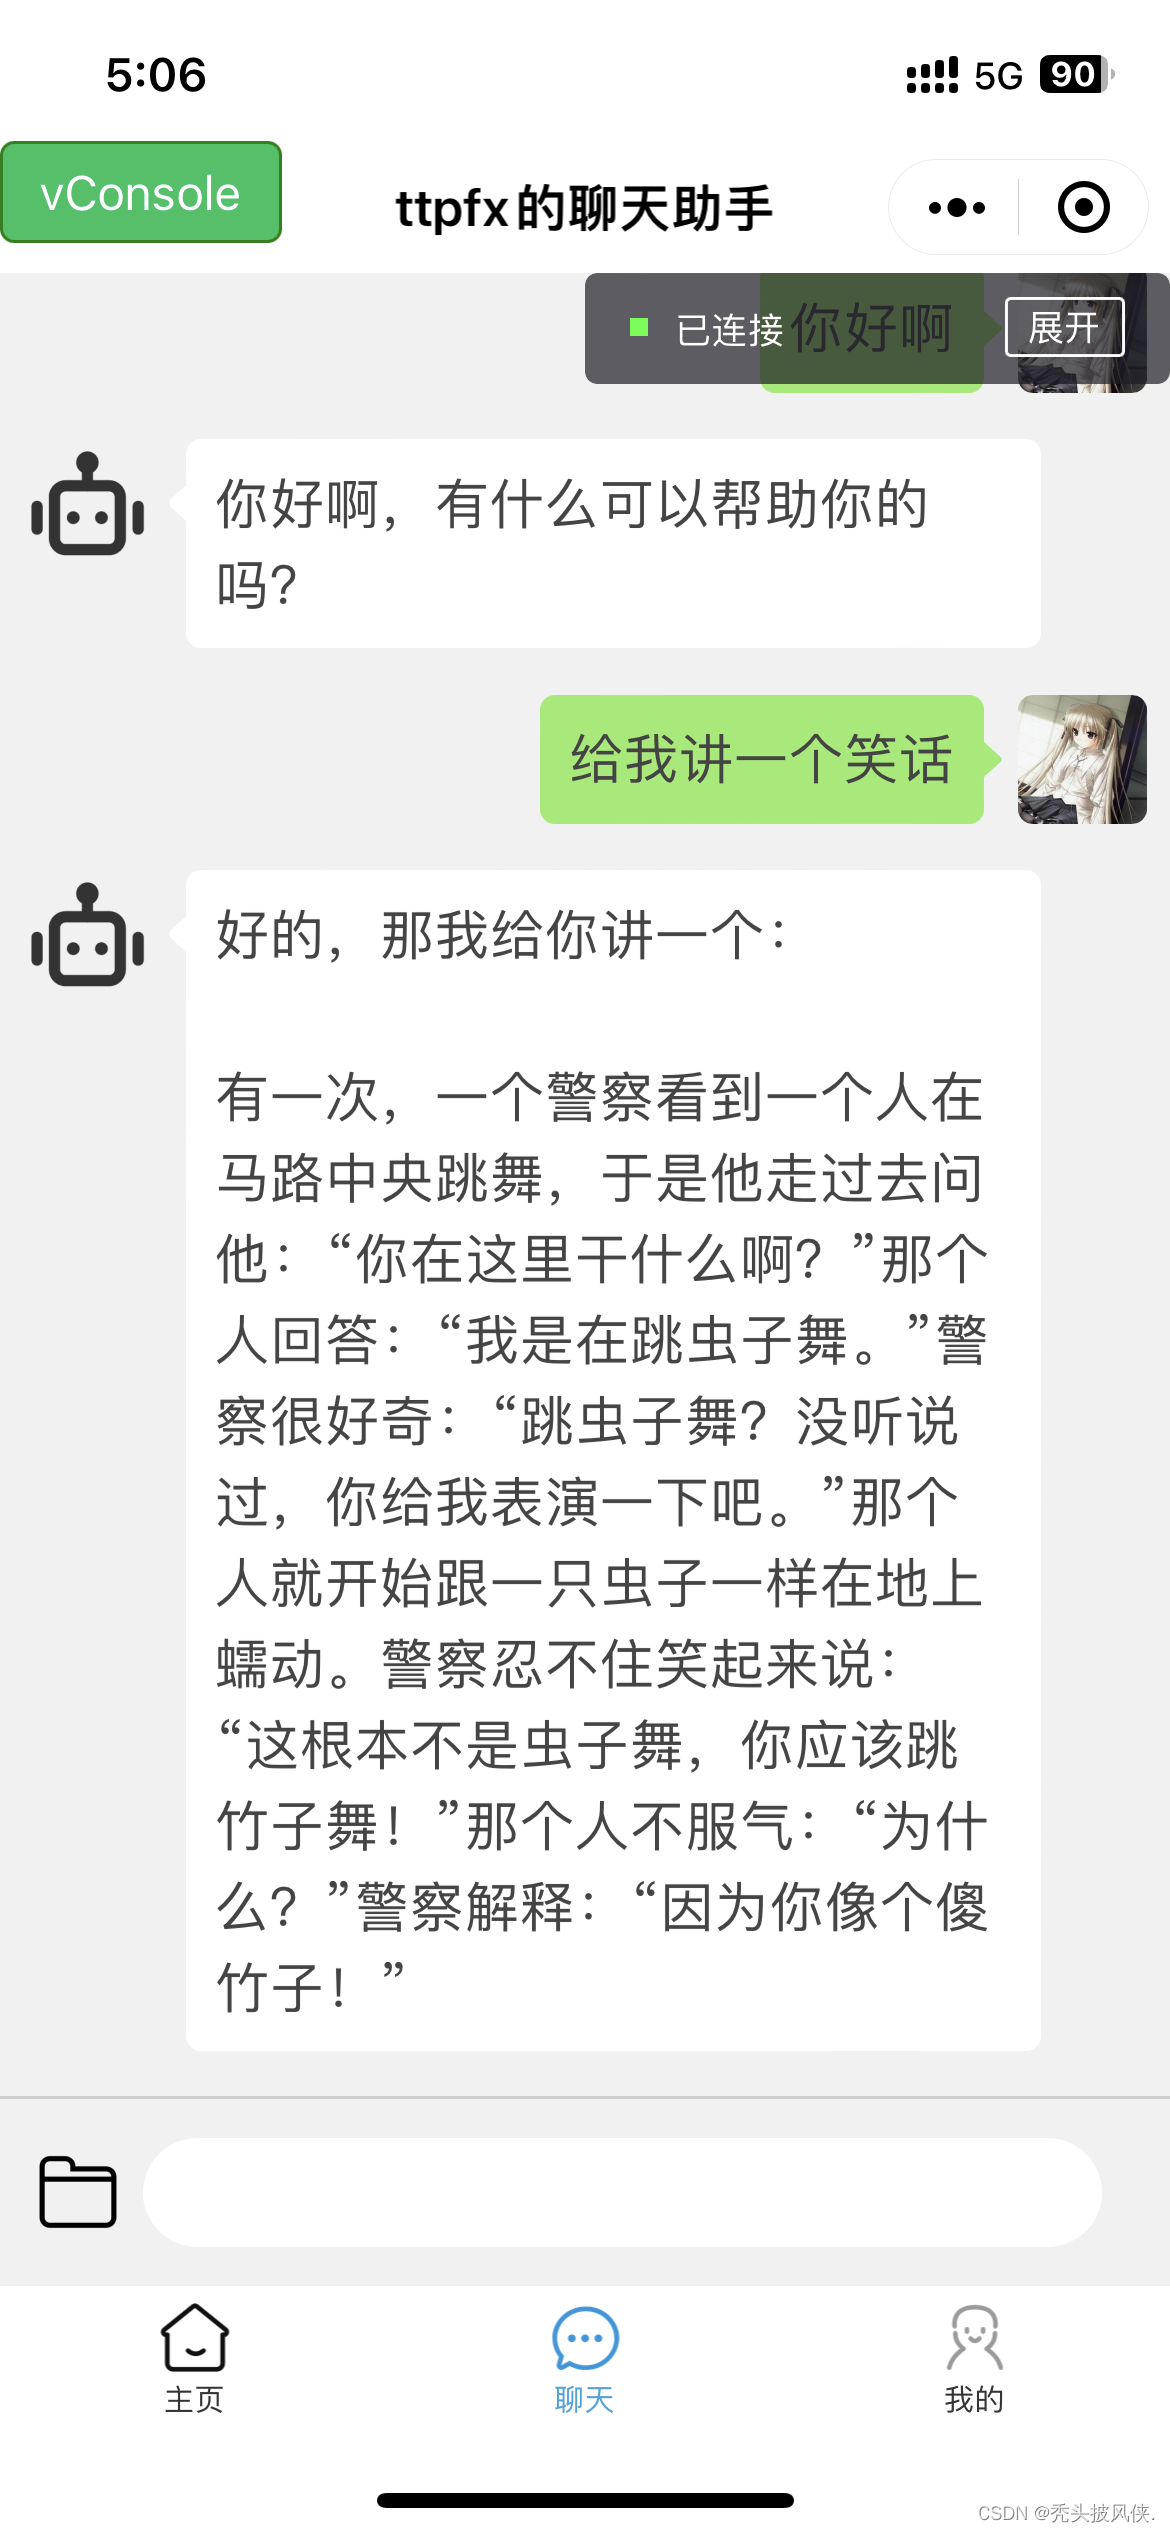
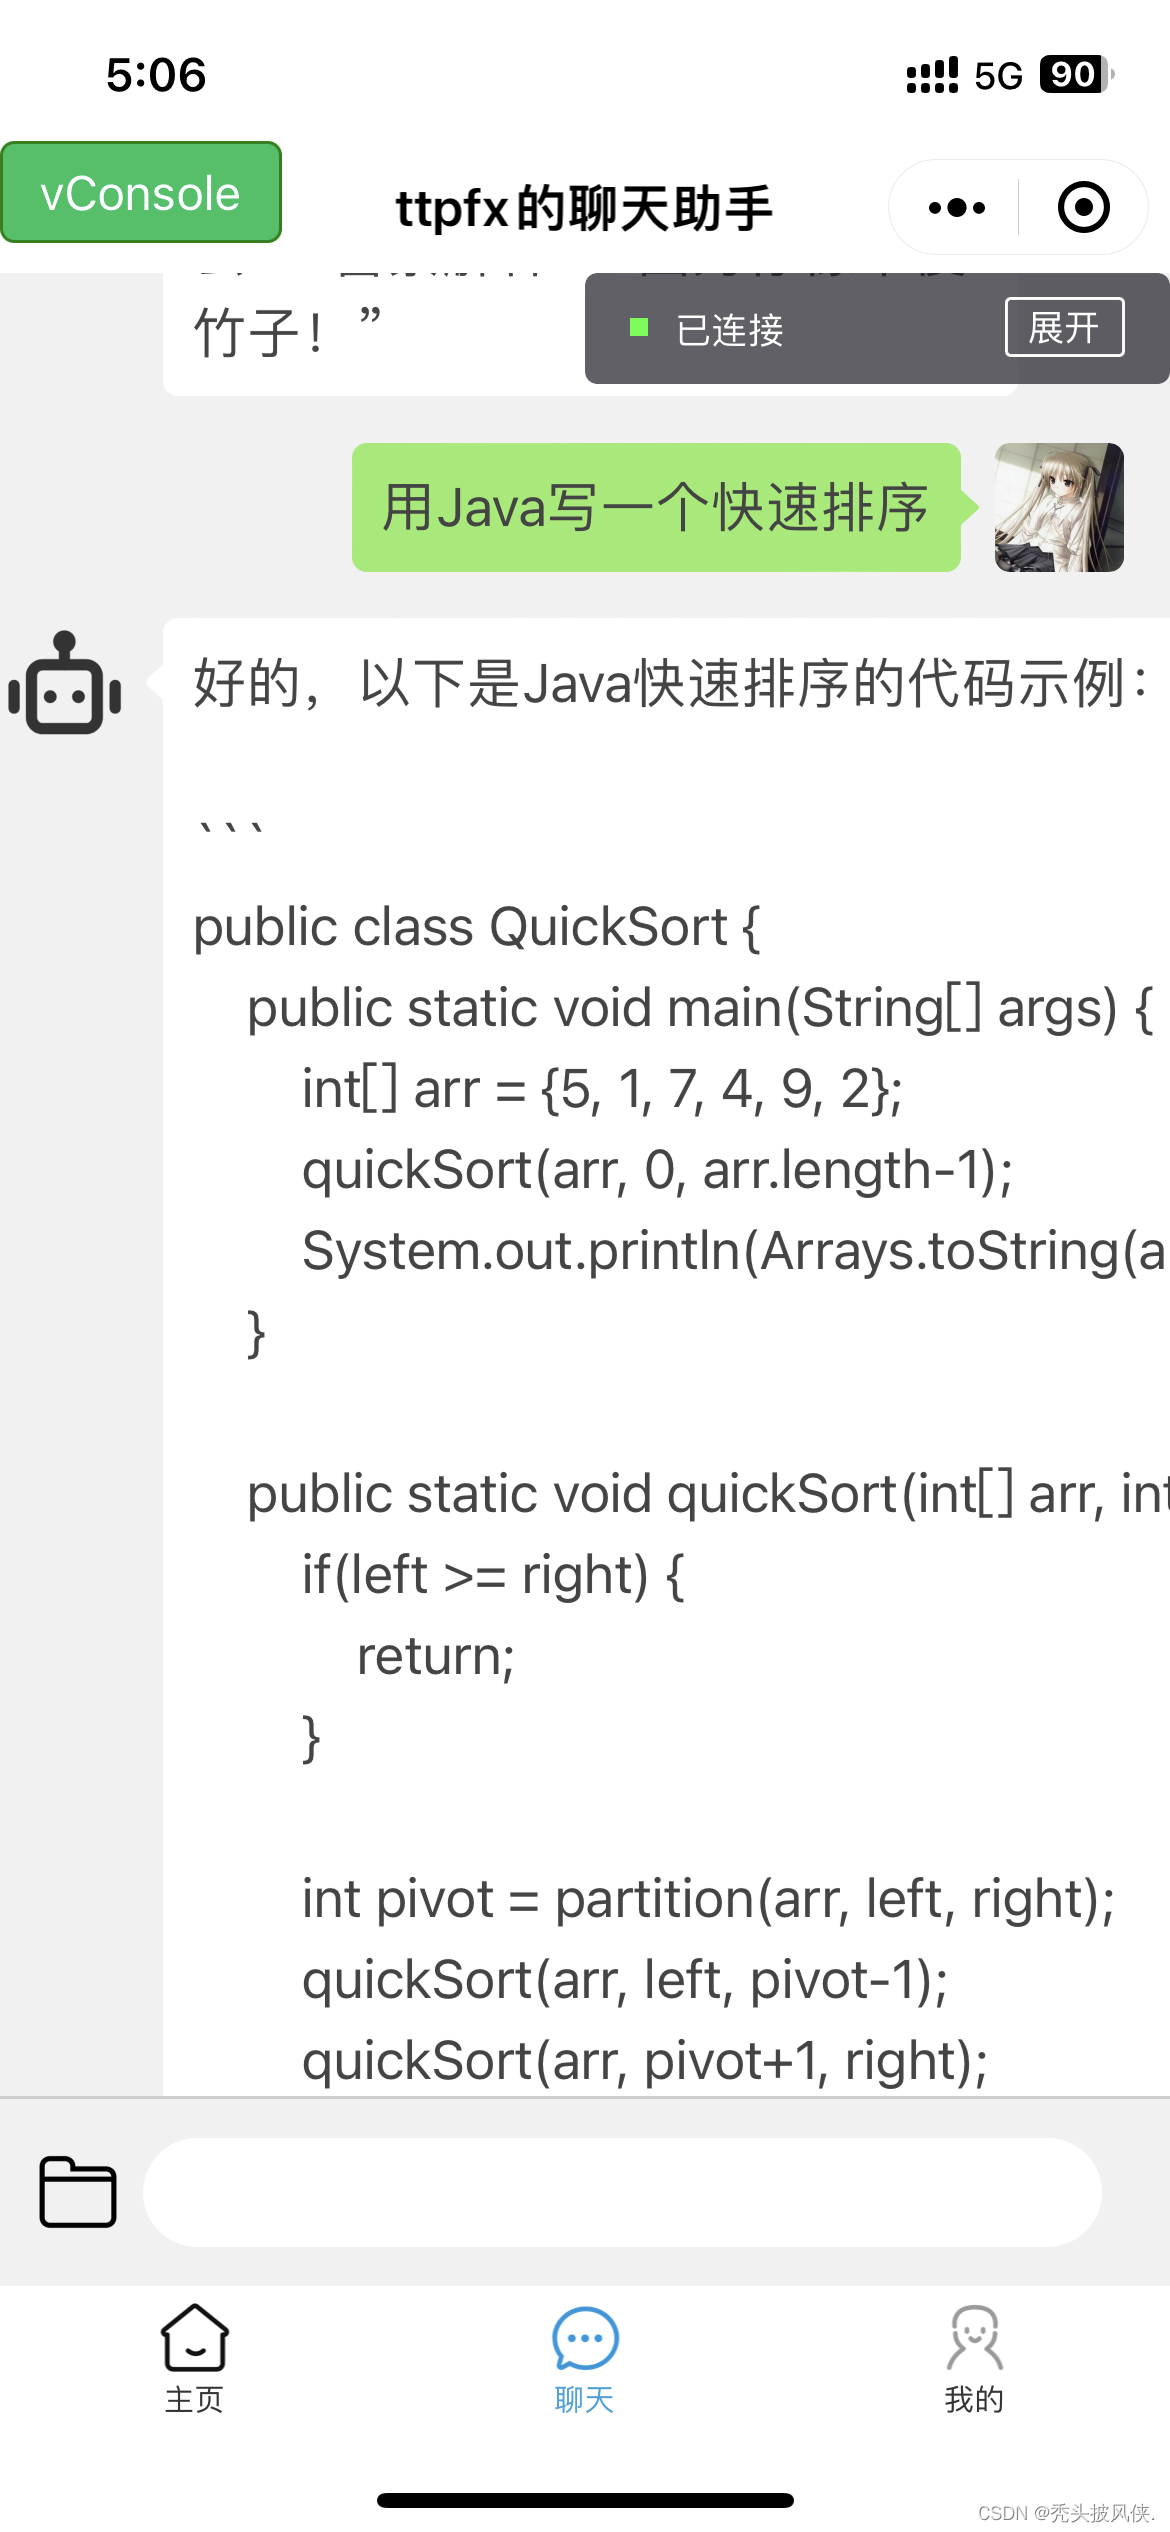
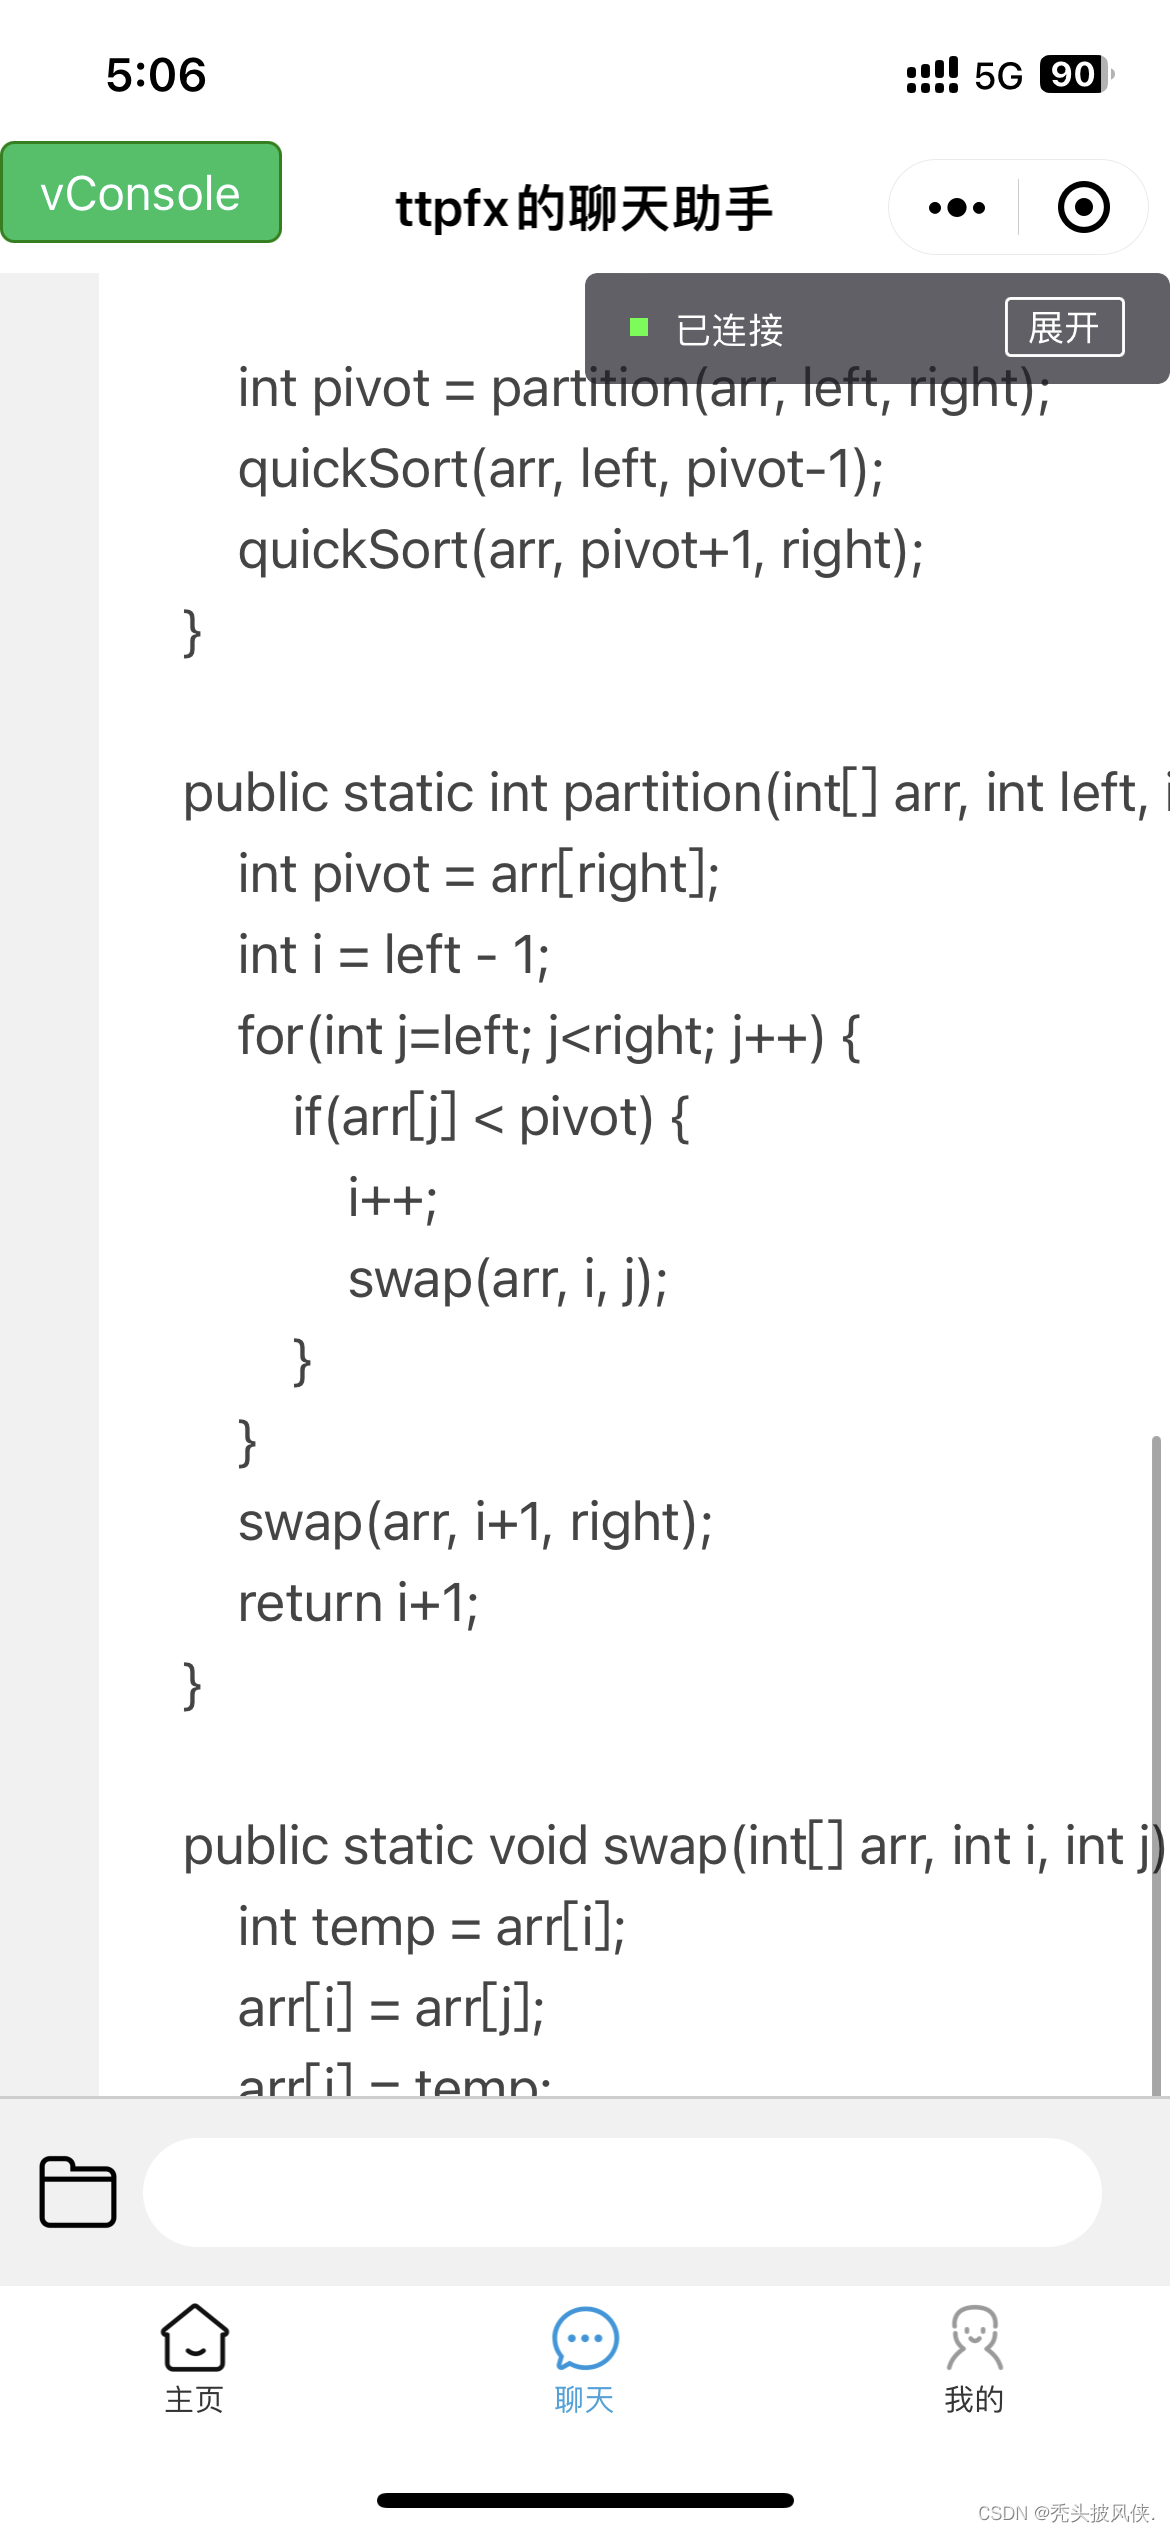
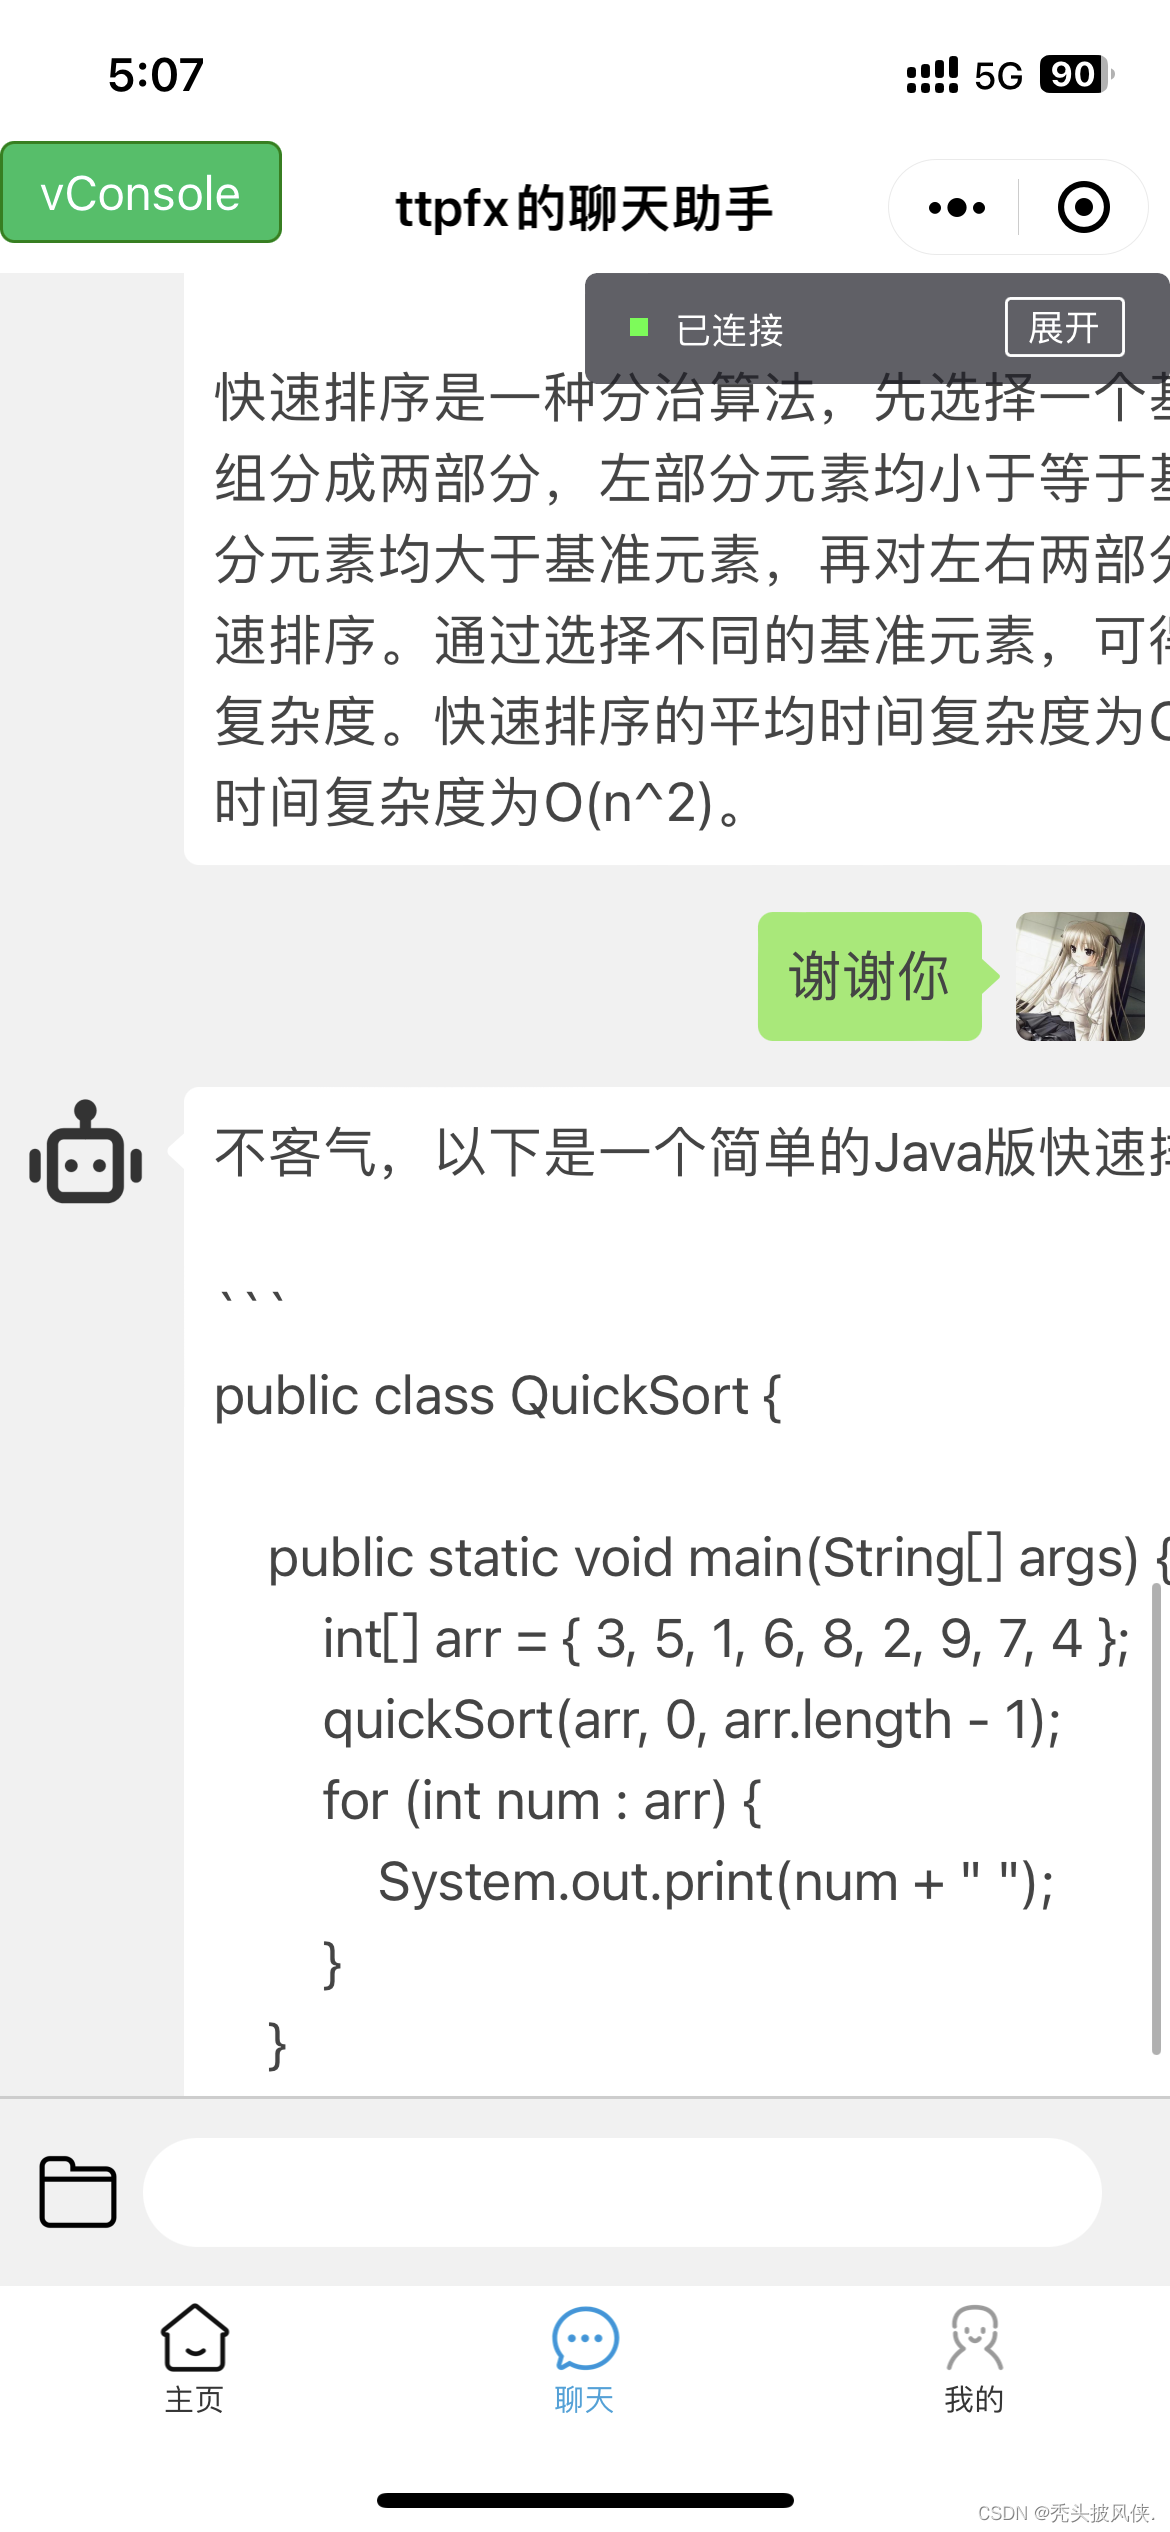
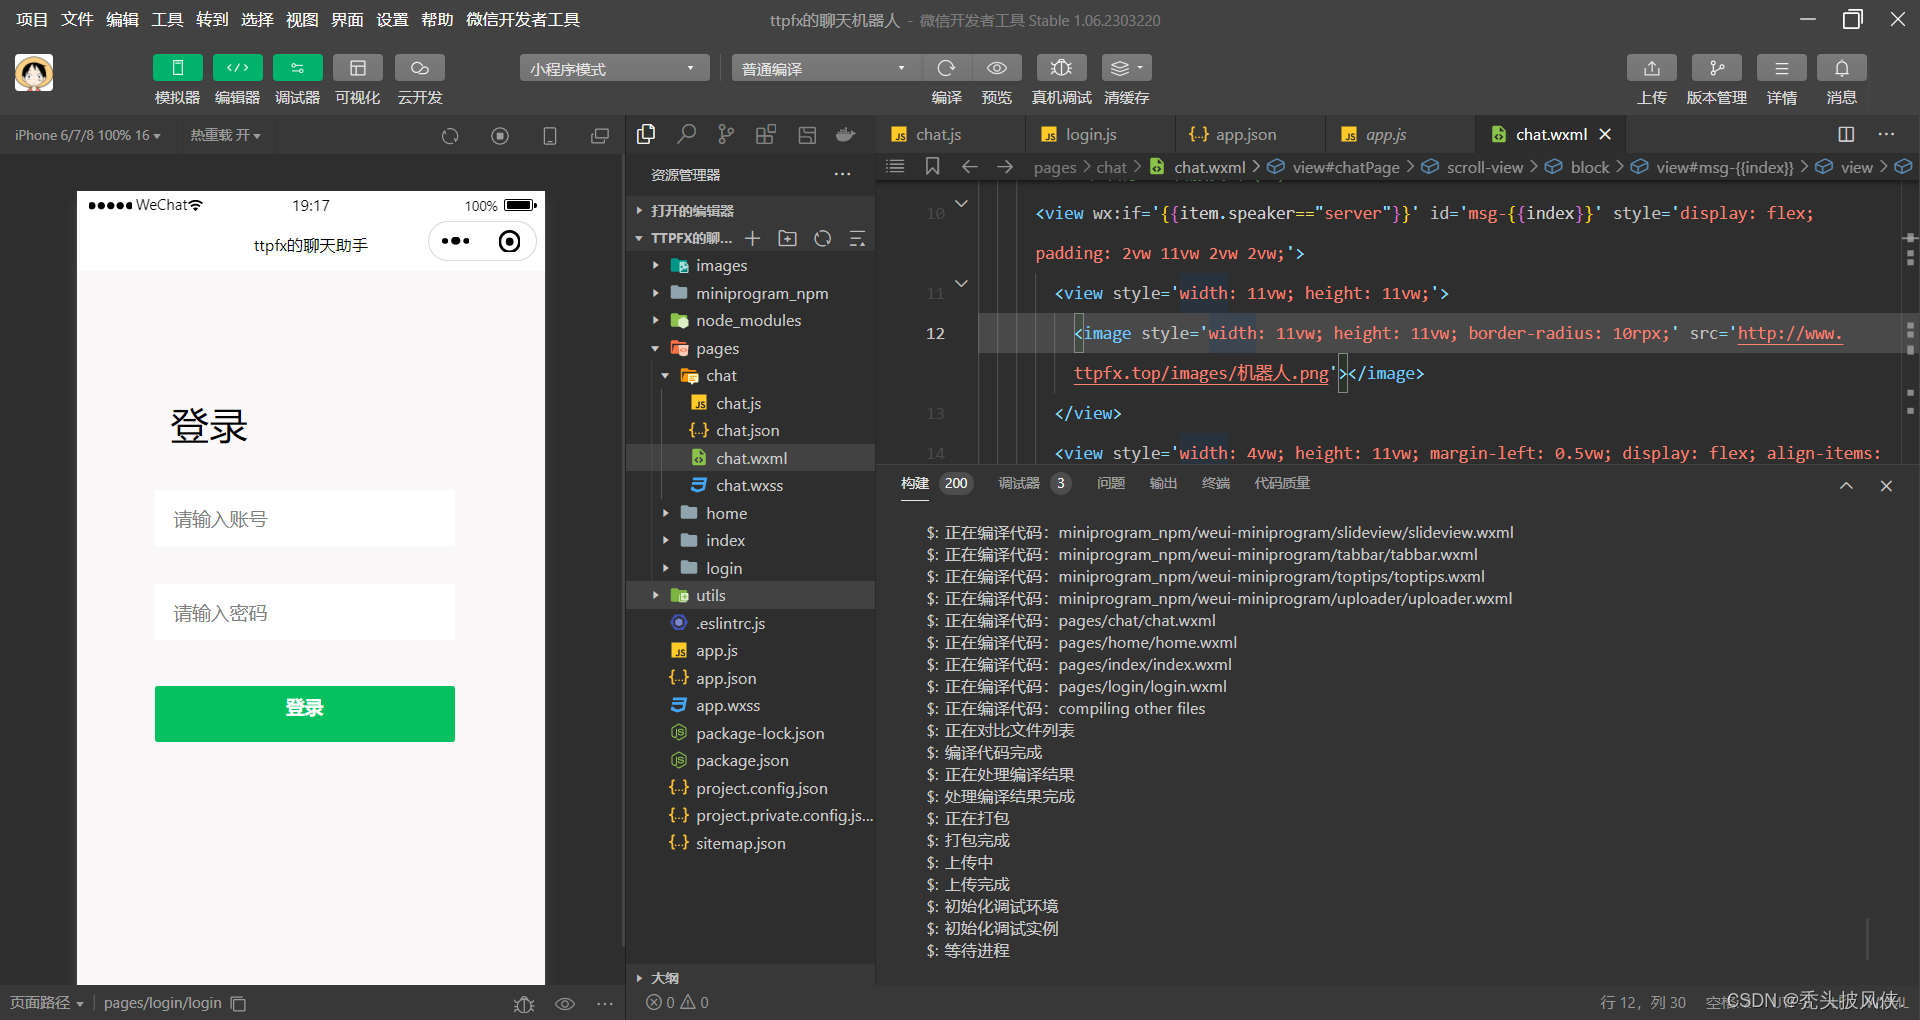
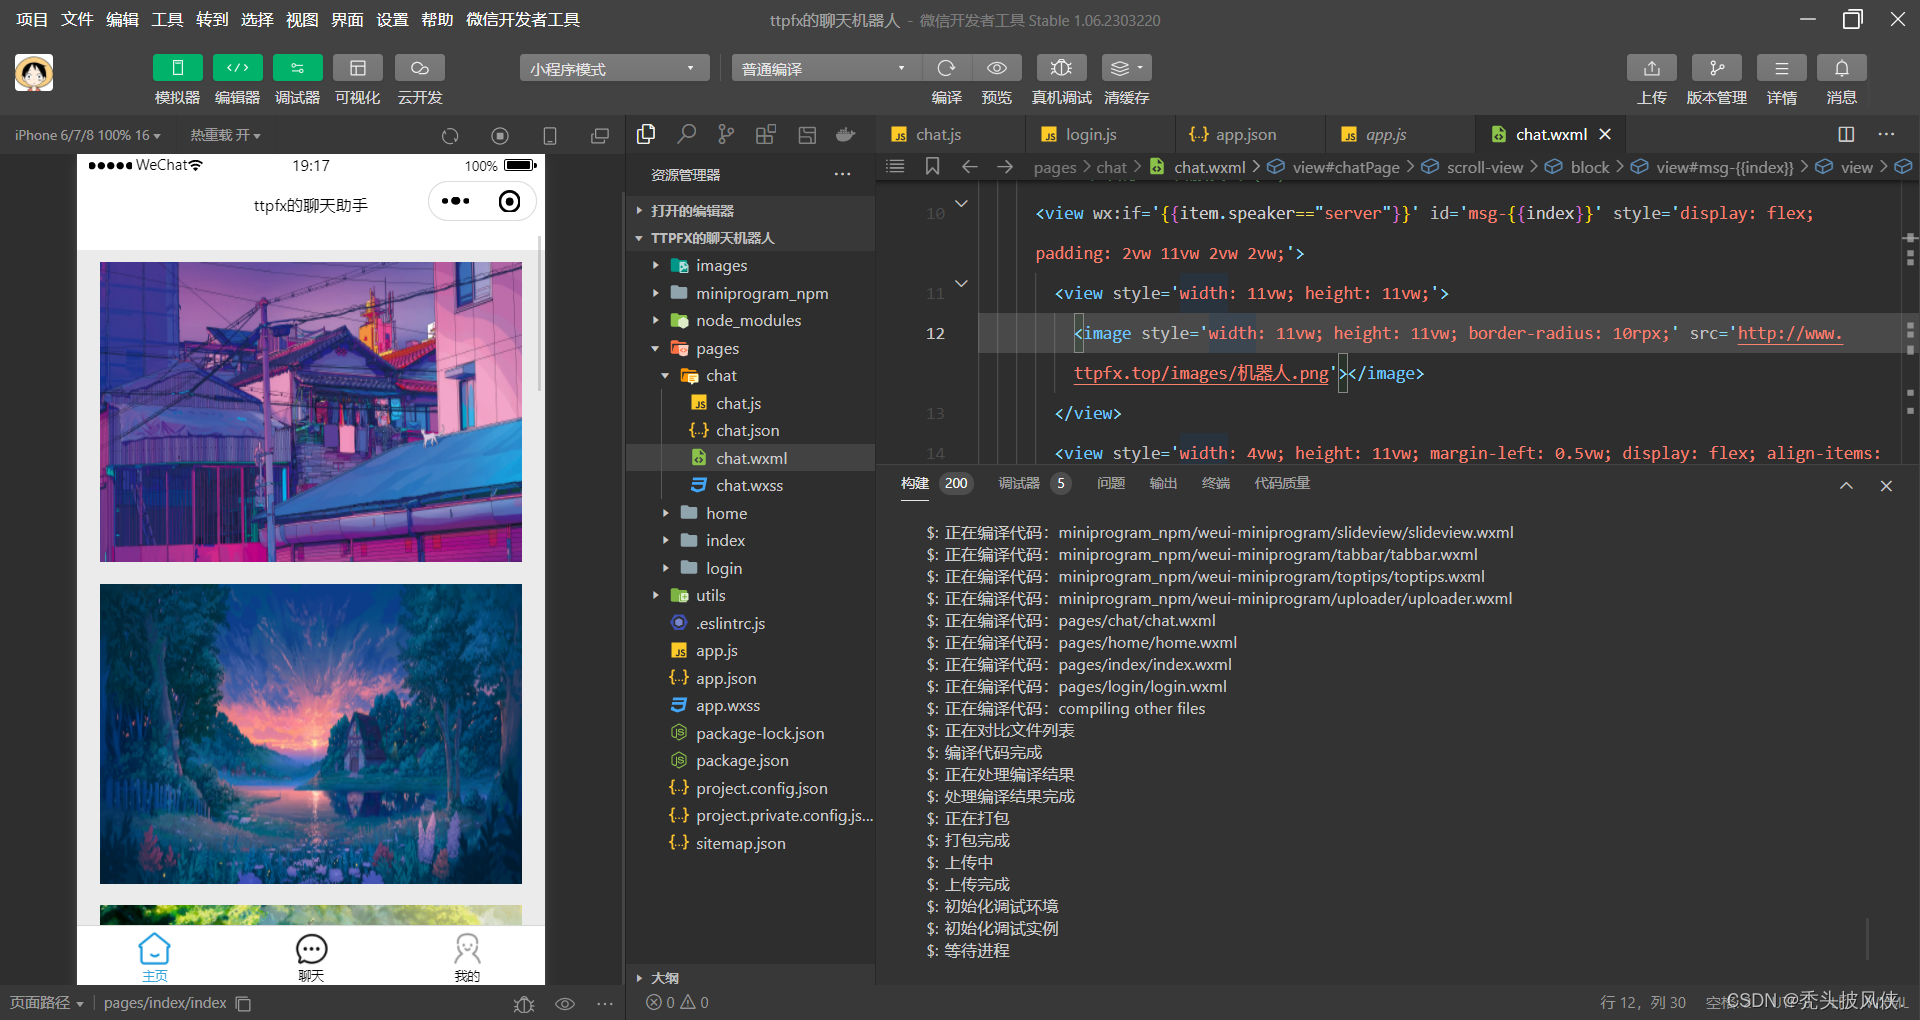
部分截图如下
在 java调用chatgpt接口,实现专属于自己的人工智能助手 我说明了java调用chatgpt的基本原理,这里的代码就是对这个代码的改进,使用异步请求的方式来进行。
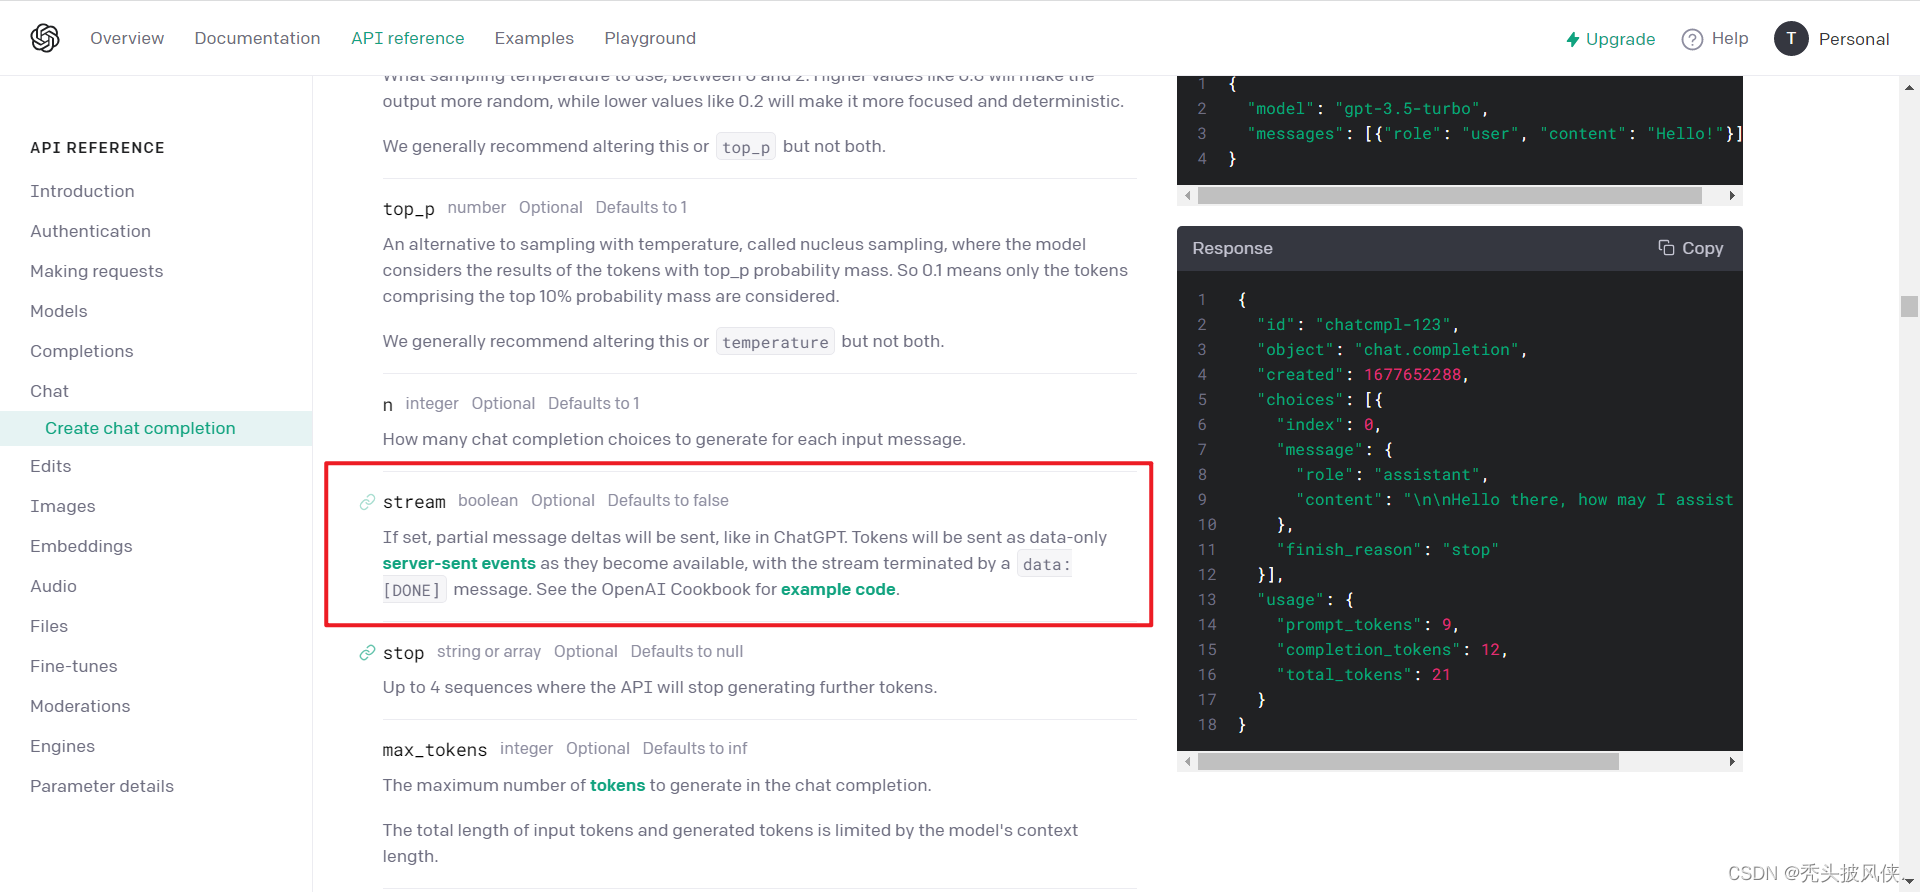
注意看官方文档,我们在请求时可以提供一个参数stream,然后就可以实现按照流的形式进行返回,这种方式基本可以做到没有延迟就给出答案。
由于这次改进的思路主要就是将请求改为了异步,其他的基本一样,所以就不做解释,直接给出代码了,代码上面都有注释
public void printAnswer(ChatRequestParameter chatGptRequestParameter, String question) { asyncClient.start(); // 创建一个post请求 AsyncRequestBuilder asyncRequest = AsyncRequestBuilder.post(url); // 设置请求参数 chatGptRequestParameter.addMessages(new ChatMessage("user", question)); // 请求的参数转换为字符串 String valueAsString = null; try { valueAsString = objectMapper.writeValueAsString(chatGptRequestParameter); } catch (JSONProcessingException e) { e.printStackTrace(); } // 设置编码和请求参数 ContentType contentType = ContentType.create("text/plain", charset); asyncRequest.setEntity(valueAsString, contentType); asyncRequest.setCharset(charset); // 设置请求头 asyncRequest.setHeader(HttpHeaders.CONTENT_TYPE, "application/json"); // 设置登录凭证 asyncRequest.setHeader(HttpHeaders.AUTHORIZATION, "Bearer " + apiKey); // 下面就是生产者消费者模型 CountDownLatch latch = new CountDownLatch(1); // 用于记录返回的答案 StringBuilder sb = new StringBuilder(); // 消费者 AbstractCharResponseConsumer<HttpResponse> consumer = new AbstractCharResponseConsumer<HttpResponse>() { HttpResponse response; @Override protected void start(HttpResponse response, ContentType contentType) throws HttpException, IOException { setCharset(charset); this.response = response; } @Override protected int capacityIncrement() { return Integer.MAX_VALUE; } @Override protected void data(CharBuffer src, boolean endOfStream) throws IOException { // 收到一个请求就进行处理 String ss = src.toString(); // 通过data:进行分割,如果不进行此步,可能返回的答案会少一些内容 for (String s : ss.split("data:")) { // 去除掉data: if (s.startsWith("data:")) { s = s.substring(5); } // 返回的数据可能是(DONE) if (s.length() > 8) { // 转换为对象 ChatResponseParameter responseParameter = objectMapper.readValue(s, ChatResponseParameter.class); // 处理结果 for (Choice choice : responseParameter.getChoices()) {String content = choice.getDelta().getContent();if (content != null && !"".equals(content)) { // 保存结果 sb.append(content); // 将结果使用WEBSocket传送过去 System.out.print(content);} } } } } @Override protected HttpResponse buildResult() throws IOException { return response; } @Override public void releaseResources() { } }; // 执行请求 asyncClient.execute(asyncRequest.build(), consumer, new FutureCallback<HttpResponse>() { @Override public void completed(HttpResponse response) { latch.countDown(); chatGptRequestParameter.addMessages(new ChatMessage("assistant", sb.toString())); System.out.println("回答结束!!!"); } @Override public void failed(Exception ex) { latch.countDown(); System.out.println("failed"); ex.printStackTrace(); } @Override public void cancelled() { latch.countDown(); System.out.println("cancelled"); } }); try { latch.await(); } catch (InterruptedException e) { e.printStackTrace(); } }大家代码可以直接不看,反正最终的效果就是可以实现问了问题就返回结果。运行效果如下
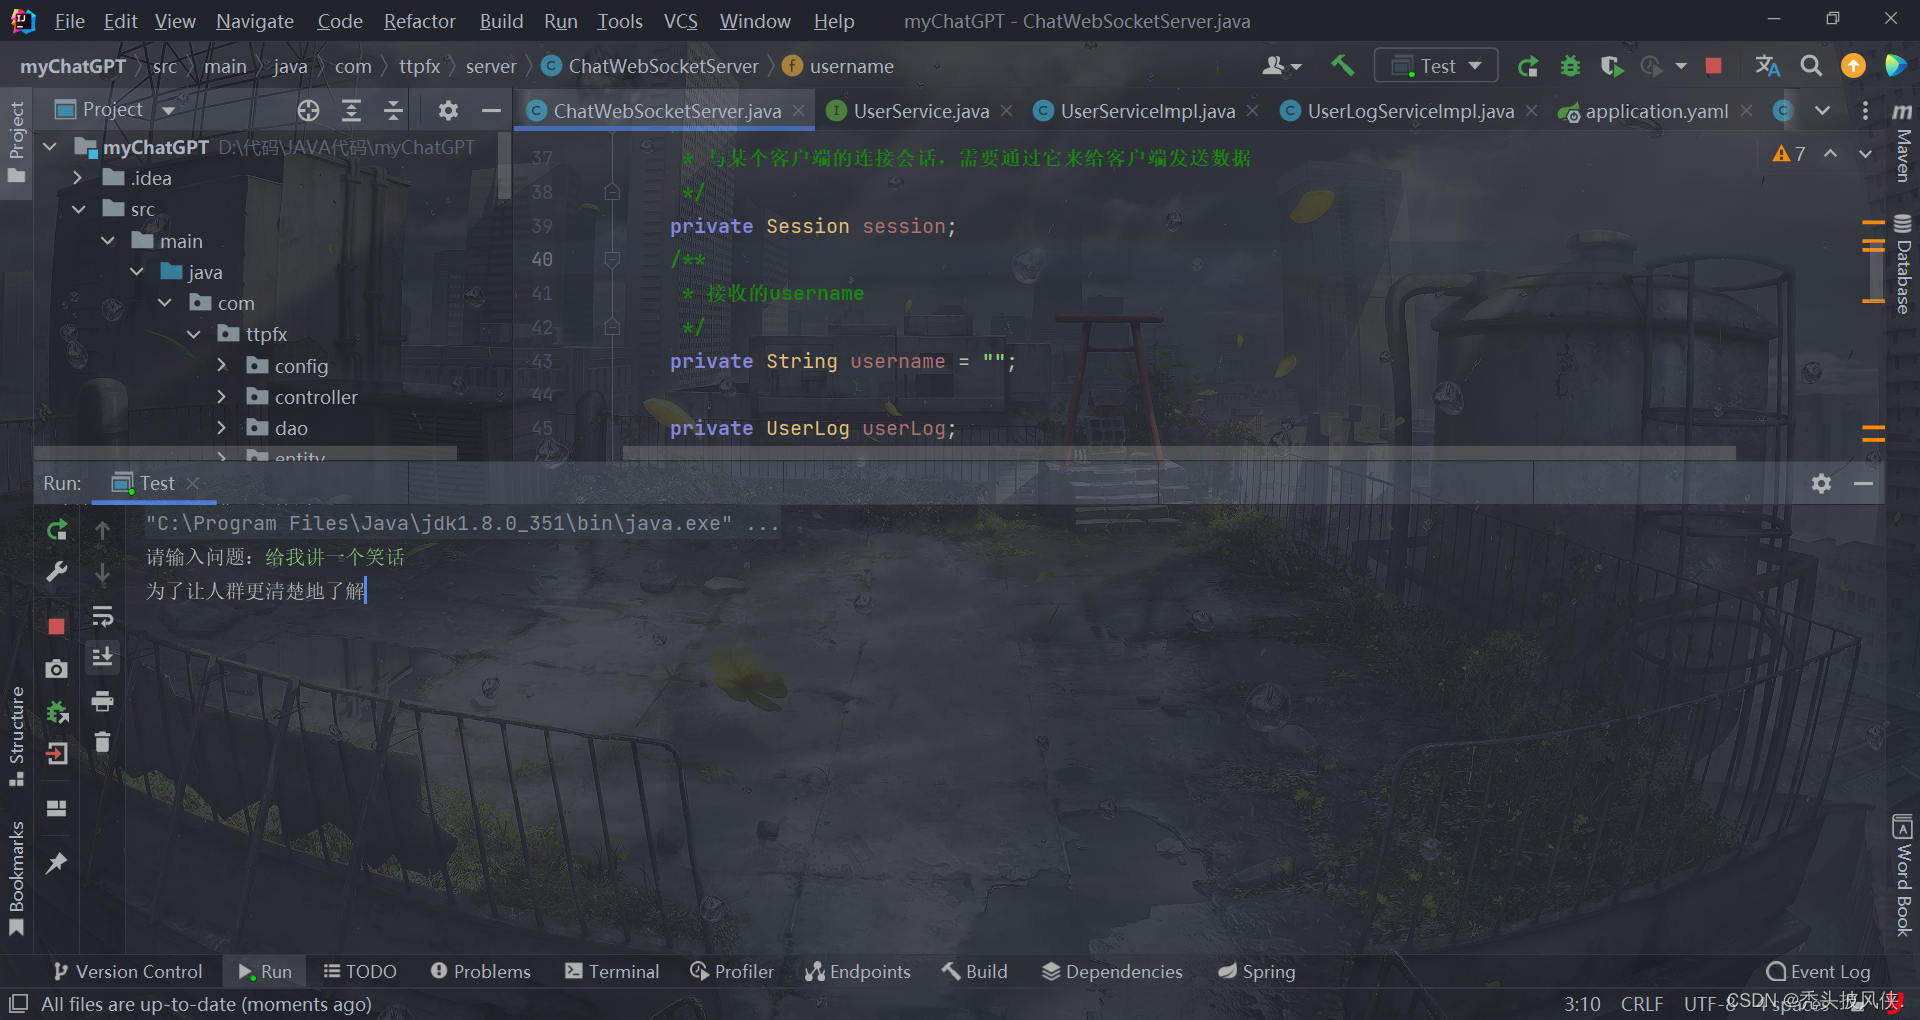
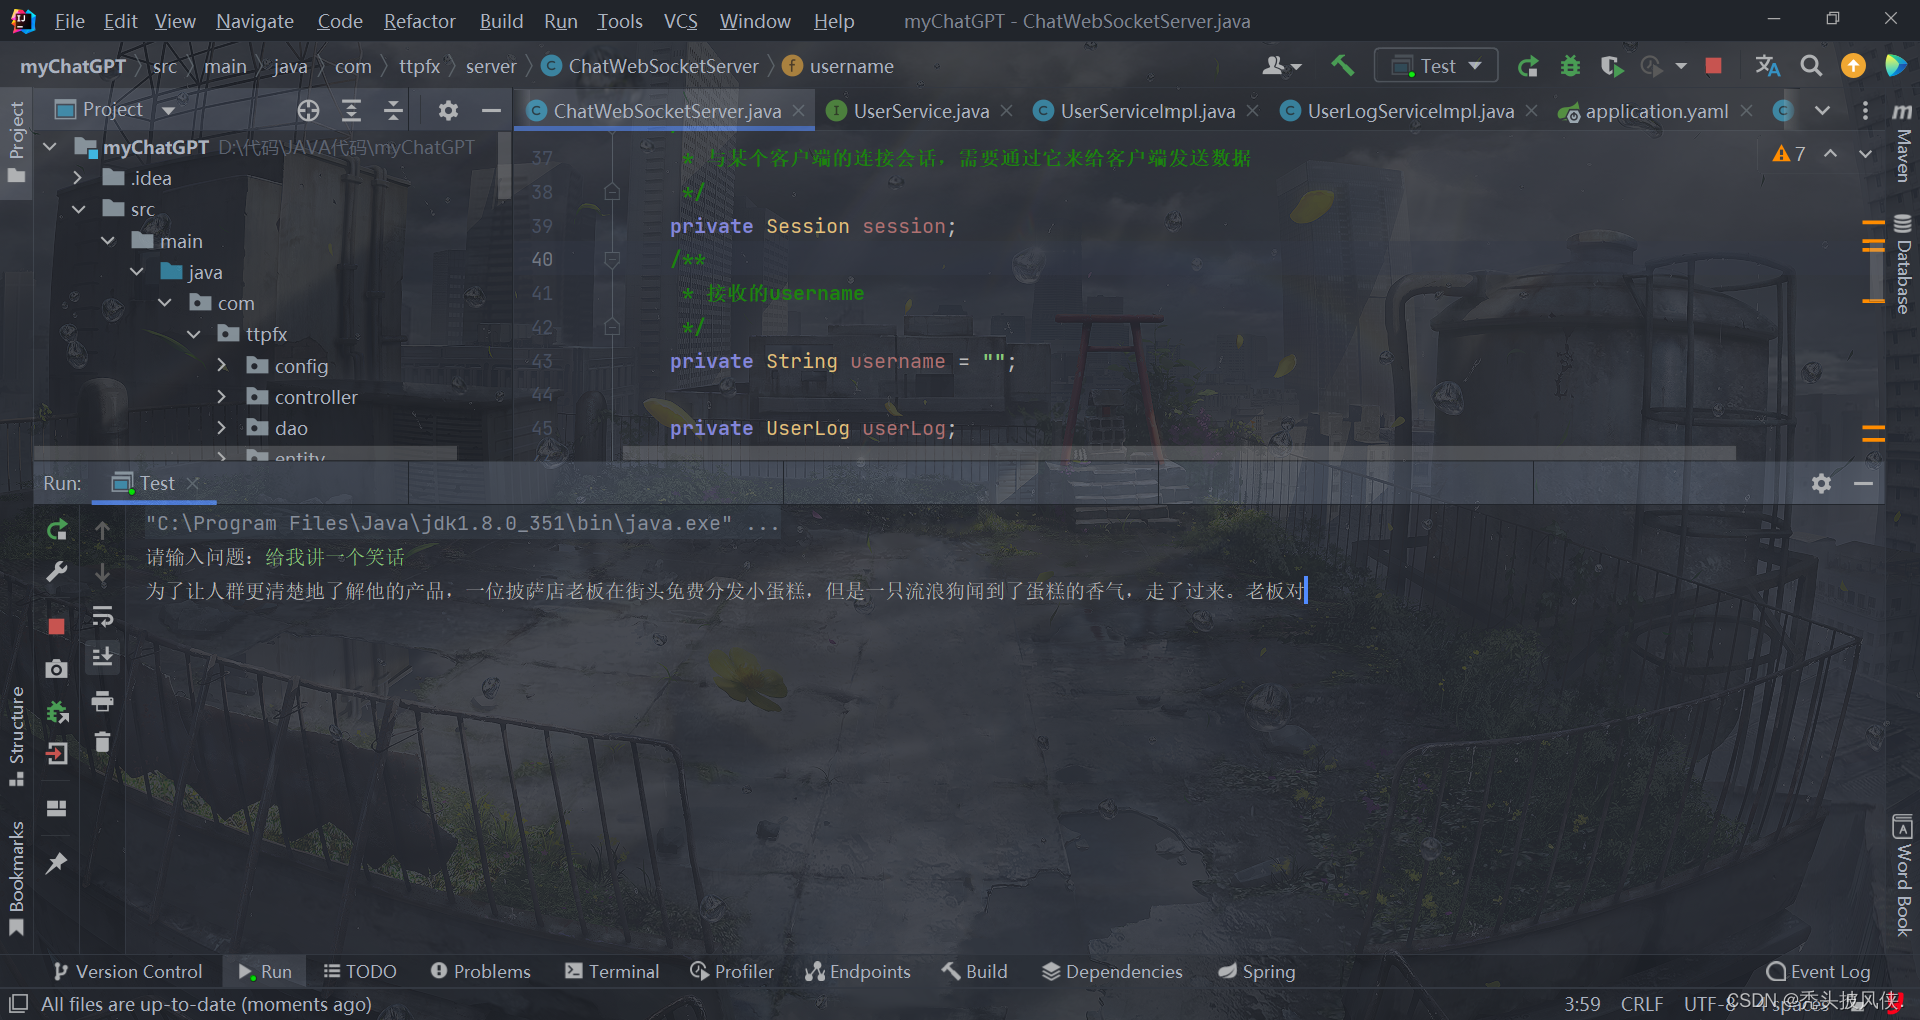
可以发现,输出就类似于官方的那种效果,一个字一个字的输出
我使用java搭建了一个简单的服务器端程序,提供最基础的用户登录校验功能,以及提供了WebSocket通信。
用户校验的代码
package com.ttpfx.controller;import com.ttpfx.entity.User;import com.ttpfx.service.UserService;import com.ttpfx.utils.R;import org.springframework.web.bind.annotation.RequestMapping;import org.springframework.web.bind.annotation.RestController;import javax.annotation.Resource;import java.util.Objects;import java.util.concurrent.ConcurrentHashMap;@RestController@RequestMapping("/user")public class UserController { @Resource private UserService userService; public static ConcurrentHashMap<String, User> loginUser = new ConcurrentHashMap<>(); public static ConcurrentHashMap<String, Long> loginUserKey = new ConcurrentHashMap<>(); @RequestMapping("/login") public R login(String username, String passWord) { if (username == null) return R.fail("必须填写用户名"); User user = userService.queryByName(username); if (user == null) return R.fail("用户名不存在"); String targetPassword = user.getPassword(); if (targetPassword == null) return R.fail("用户密码异常"); if (!targetPassword.equals(password)) return R.fail("密码错误"); loginUser.put(username, user); loginUserKey.put(username, System.currentTimeMillis()); return R.ok(String.valueOf(loginUserKey.get(username))); } @RequestMapping("/loGout") public R logout(String username) { loginUser.remove(username); loginUserKey.remove(username); return R.ok(); } @RequestMapping("/checkUserKey") public R checkUserKey(String username, Long key){ if (username==null || key == null)return R.fail("用户校验异常"); if (!Objects.equals(loginUserKey.get(username), key)){ return R.fail("用户在其他地方登录!!!"); } return R.ok(); } @RequestMapping("/loginUser") public R loginUser(){ return R.ok("success",loginUser.keySet()); }}基于webSocket通信的代码
package com.ttpfx.server;import com.fasterxml.jackson.databind.ObjectMapper;import com.ttpfx.entity.UserLog;import com.ttpfx.model.ChatModel;import com.ttpfx.service.UserLogService;import com.ttpfx.service.UserService;import com.ttpfx.vo.chat.ChatRequestParameter;import org.springframework.stereotype.Component;import javax.annotation.Resource;import javax.websocket.*;import javax.websocket.server.PathParam;import javax.websocket.server.ServerEndpoint;import java.io.IOException;import java.time.LocalDateTime;import java.util.concurrent.ConcurrentHashMap;@Component@ServerEndpoint("/chatWebSocket/{username}")public class ChatWebSocketServer { private static int onlineCount = 0; private static ConcurrentHashMap<String, ChatWebSocketServer> chatWebSocketMap = new ConcurrentHashMap<>(); private Session session; private String username = ""; private UserLog userLog; private static UserService userService; private static UserLogService userLogService; @Resource public void setUserService(UserService userService) { ChatWebSocketServer.userService = userService; } @Resource public void setUserLogService(UserLogService userLogService) { ChatWebSocketServer.userLogService = userLogService; } private ObjectMapper objectMapper = new ObjectMapper(); private static ChatModel chatModel; @Resource public void setChatModel(ChatModel chatModel) { ChatWebSocketServer.chatModel = chatModel; } ChatRequestParameter chatRequestParameter = new ChatRequestParameter(); @OnOpen public void onOpen(Session session, @PathParam("username") String username) { this.session = session; this.username = username; this.userLog = new UserLog(); // 这里的用户id不可能为null,出现null,那么就是非法请求 try { this.userLog.setUserId(userService.queryByName(username).getId()); } catch (Exception e) { e.printStackTrace(); try { session.close(); } catch (IOException ex) { ex.printStackTrace(); } } this.userLog.setUsername(username); chatWebSocketMap.put(username, this); onlineCount++; System.out.println(username + "--open"); } @OnClose public void onClose() { chatWebSocketMap.remove(username); System.out.println(username + "--close"); } @OnMessage public void onMessage(String message, Session session) { System.out.println(username + "--" + message); // 记录日志 this.userLog.setDateTime(LocalDateTime.now()); this.userLog.setPreLogId(this.userLog.getLogId() == null ? -1 : this.userLog.getLogId()); this.userLog.setLogId(null); this.userLog.setQuestion(message); long start = System.currentTimeMillis(); // 这里就会返回结果 String answer = chatModel.getAnswer(session, chatRequestParameter, message); long end = System.currentTimeMillis(); this.userLog.setConsumeTime(end - start); this.userLog.setAnswer(answer); userLogService.save(userLog); } @OnError public void onError(Session session, Throwable error) { error.printStackTrace(); } public void sendMessage(String message) throws IOException { this.session.getBasicRemote().sendText(message); } public static void sendInfo(String message, String toUserId) throws IOException { chatWebSocketMap.get(toUserId).sendMessage(message); }}我们只需要编写简单的前端代码,就可以实现和后端的socket通信。对于后端,我们只需要改一下apiKey和数据库配置就可以直接运行了。
我写了一个简单微信小程序来和后端进行通信,界面如下
大家只需要下载源代码,然将程序中的ip改为自己服务器的ip即可
github的地址为 https://github.com/c-ttpfx/chatgpt-java-wx
可以直接使用 git clone https://github.com/c-ttpfx/chatgpt-java-wx.git 下载代码到本地
我在github里面说明了安装使用的基本步骤,大家按照步骤使用即可
上面聊天小程序就是我花2天写出来的,可能会有一些bug,我自己测试的时候倒是没有怎么遇到bug,聊天和登录功能都能正常使用。
对于微信小程序,由于我不是专业搞前端的,就只东拼西凑实现了最基本的功能(登录、聊天),大家可以自己写一个,反正后端接口都提供好了嘛,也不是很难,不想写也可以将就使用我的。
最后,也是最重要的,大家帮我的代码star一下!!! 感谢大家了(≥▽≤)/(≥▽≤)/
对代码进行了重构,最新的代码已经支持代理,通过在application.yaml里面进行简单配置即可使用
gpt: proxy: host: 127.0.0.1 port: 7890来源地址:https://blog.csdn.net/m0_51545690/article/details/129886385
--结束END--
本文标题: 使用chatgpt实现微信聊天小程序(秒回复),github开源(附带链接)
本文链接: https://www.lsjlt.com/news/383079.html(转载时请注明来源链接)
有问题或投稿请发送至: 邮箱/279061341@qq.com QQ/279061341
下载Word文档到电脑,方便收藏和打印~
2024-03-01
2024-03-01
2024-03-01
2024-03-01
2024-03-01
2024-02-29
2024-02-29
2024-02-29
2024-02-29
2024-02-29
回答
回答
回答
回答
回答
回答
回答
回答
回答
回答


官方手机版

微信公众号

商务合作


0