前端、后台富文本的使用 前端如何配置ueditorjson文件注释 一、html、js引用ueditor二、后端返回ueditor的json文件1.配置接受ueditor的接口 三、回
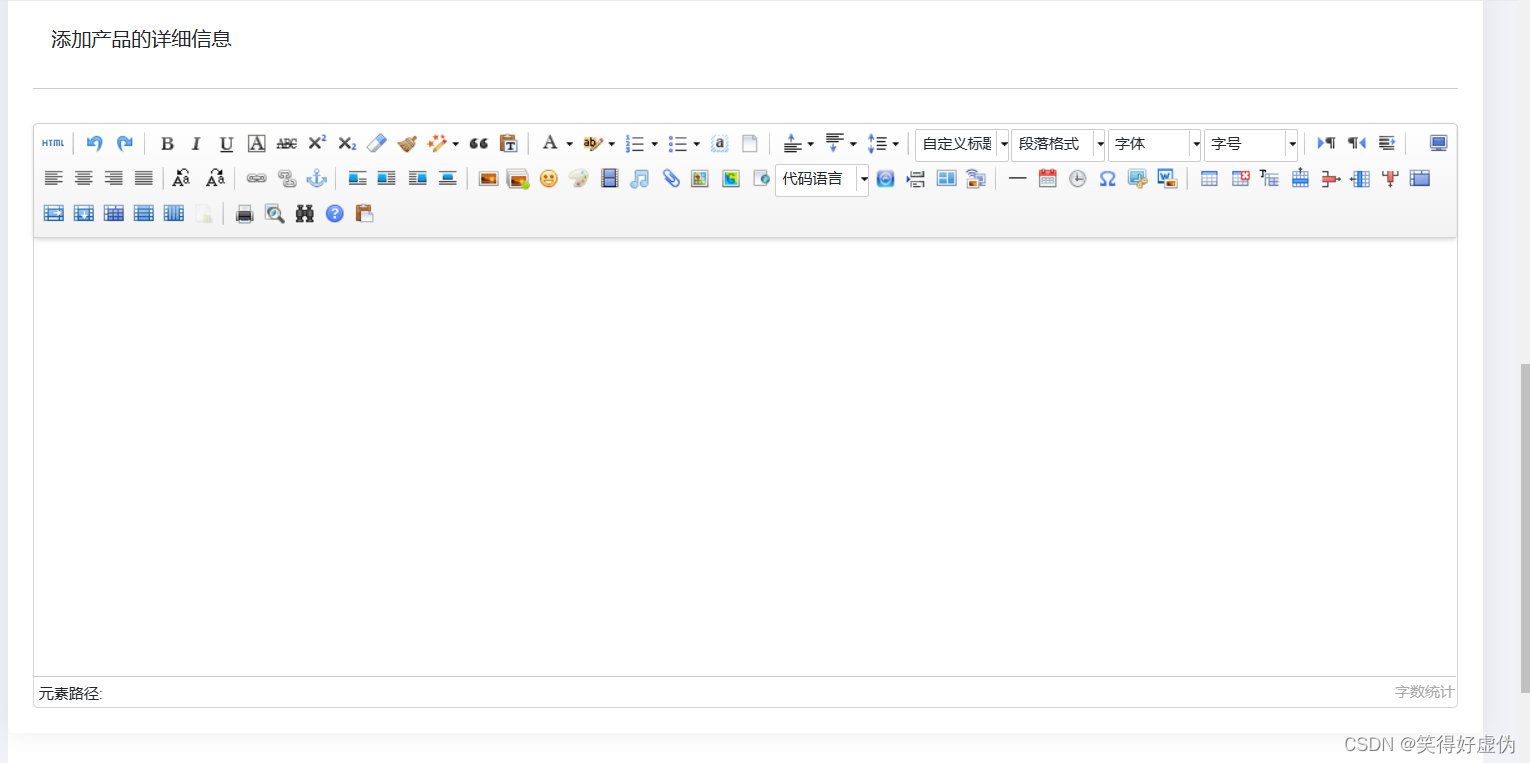
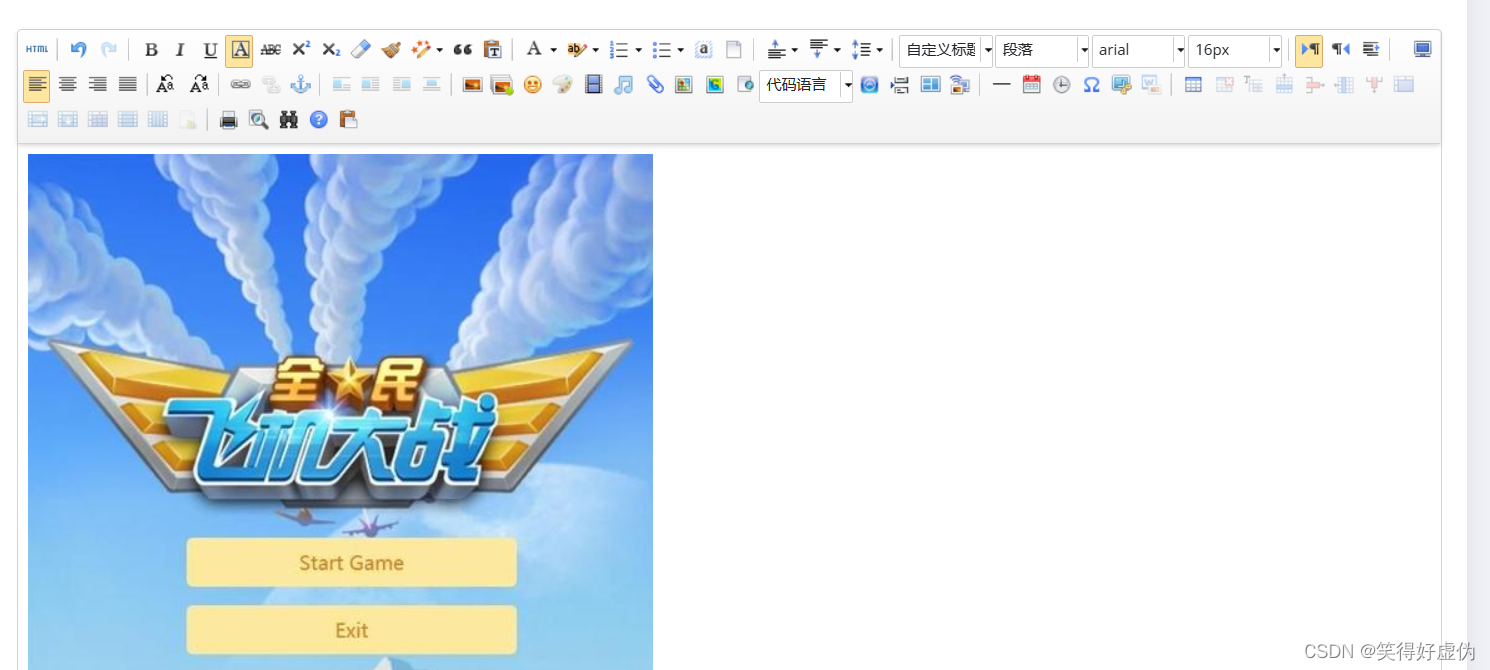
效果图:

下载ueditor资源文件地址:
ueditor资源文件压缩包下载
下载解压后放在js文件夹即可
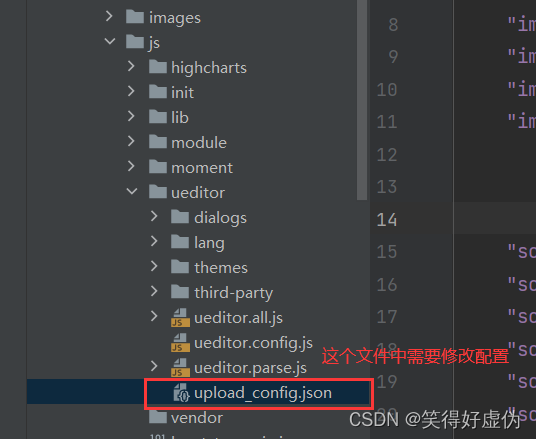
json文件注释需要更具自己的相关信息来修改,比如保存图片地址,访问图片前缀
{ "imageActionName": "uploadimage", "imageFieldName": "upfile", "imageMaxSize": 2048000, "imageAllowFiles": [".png", ".jpg", ".jpeg", ".gif", ".bmp"], "imageCompressEnable": true, "imageCompressBorder": 1600, "imageInsertAlign": "none", "imageUrlPrefix": "", "imagePathFORMat": "/ueditor/PHP/upload/image/{yyyy}{mm}{dd}/{time}{rand:6}", "scrawlActionName": "uploadscrawl", "scrawlFieldName": "upfile", "scrawlPathFormat": "/ueditor/php/upload/image/{yyyy}{mm}{dd}/{time}{rand:6}", "scrawlMaxSize": 2048000, "scrawlUrlPrefix": "", "scrawlInsertAlign": "none", "snapscreenActionName": "uploadimage", "snapscreenPathFormat": "/ueditor/php/upload/image/{yyyy}{mm}{dd}/{time}{rand:6}", "snapscreenUrlPrefix": "", "snapscreenInsertAlign": "none", "catcherLocalDomain": ["127.0.0.1", "localhost", "img.baidu.com"], "catcherActionName": "catchimage", "catcherFieldName": "source", "catcherPathFormat": "/ueditor/php/upload/image/{yyyy}{mm}{dd}/{time}{rand:6}", "catcherUrlPrefix": "", "catcherMaxSize": 2048000, "catcherAllowFiles": [".png", ".jpg", ".jpeg", ".gif", ".bmp"], "videoActionName": "uploadvideo", "videoFieldName": "upfile", "videoPathFormat": "/ueditor/php/upload/video/{yyyy}{mm}{dd}/{time}{rand:6}", "videoUrlPrefix": "", "videoMaxSize": 102400000, "videoAllowFiles": [ ".flv", ".swf", ".mkv", ".avi", ".rm", ".rmvb", ".mpeg", ".mpg", ".ogg", ".ogv", ".mov", ".wmv", ".mp4", ".WEBm", ".mp3", ".wav", ".mid"], "fileActionName": "uploadfile", "fileFieldName": "upfile", "filePathFormat": "/ueditor/php/upload/file/{yyyy}{mm}{dd}/{time}{rand:6}", "fileUrlPrefix": "", "fileMaxSize": 512000000, "fileAllowFiles": [ ".png", ".jpg", ".jpeg", ".gif", ".bmp", ".flv", ".swf", ".mkv", ".avi", ".rm", ".rmvb", ".mpeg", ".mpg", ".ogg", ".ogv", ".mov", ".wmv", ".mp4", ".webm", ".mp3", ".wav", ".mid", ".rar", ".zip", ".tar", ".gz", ".7z", ".bz2", ".cab", ".iso", ".doc", ".docx", ".xls", ".xlsx", ".ppt", ".pptx", ".pdf", ".txt", ".md", ".xml" ], "imageManagerActionName": "listimage", "imageManagerListPath": "/ueditor/php/upload/image/", "imageManagerListSize": 20, "imageManagerUrlPrefix": "", "imageManagerInsertAlign": "none", "imageManagerAllowFiles": [".png", ".jpg", ".jpeg", ".gif", ".bmp"], "fileManagerActionName": "listfile", "fileManagerListPath": "/ueditor/php/upload/file/", "fileManagerUrlPrefix": "", "fileManagerListSize": 20, "fileManagerAllowFiles": [ ".png", ".jpg", ".jpeg", ".gif", ".bmp", ".flv", ".swf", ".mkv", ".avi", ".rm", ".rmvb", ".mpeg", ".mpg", ".ogg", ".ogv", ".mov", ".wmv", ".mp4", ".webm", ".mp3", ".wav", ".mid", ".rar", ".zip", ".tar", ".gz", ".7z", ".bz2", ".cab", ".iso", ".doc", ".docx", ".xls", ".xlsx", ".ppt", ".pptx", ".pdf", ".txt", ".md", ".xml" ] }提示:以下是本篇文章正文内容,下面案例可供参考
首先在html文件中创建一个这个标签
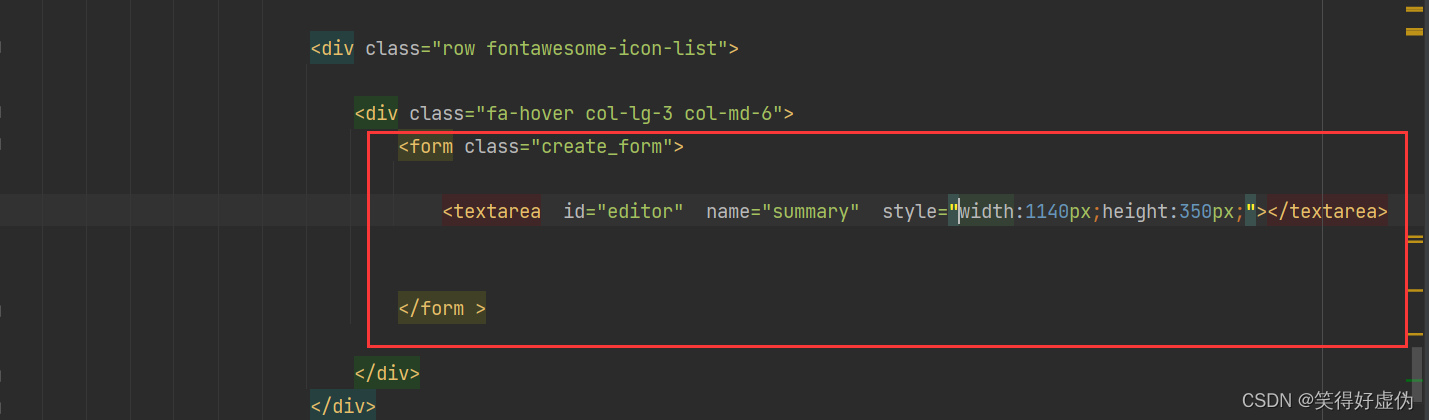
<div class="row fontawesome-icon-list"> <div class="fa-hover col-lg-3 col-md-6"> <form class="create_form"> <textarea id="editor" name="summary" style="width:1140px;height:350px;">textarea> form > div>div>然后再此页面导入js文件根据自己的路径来

然后在打开自己创建的js文件填入一下配置
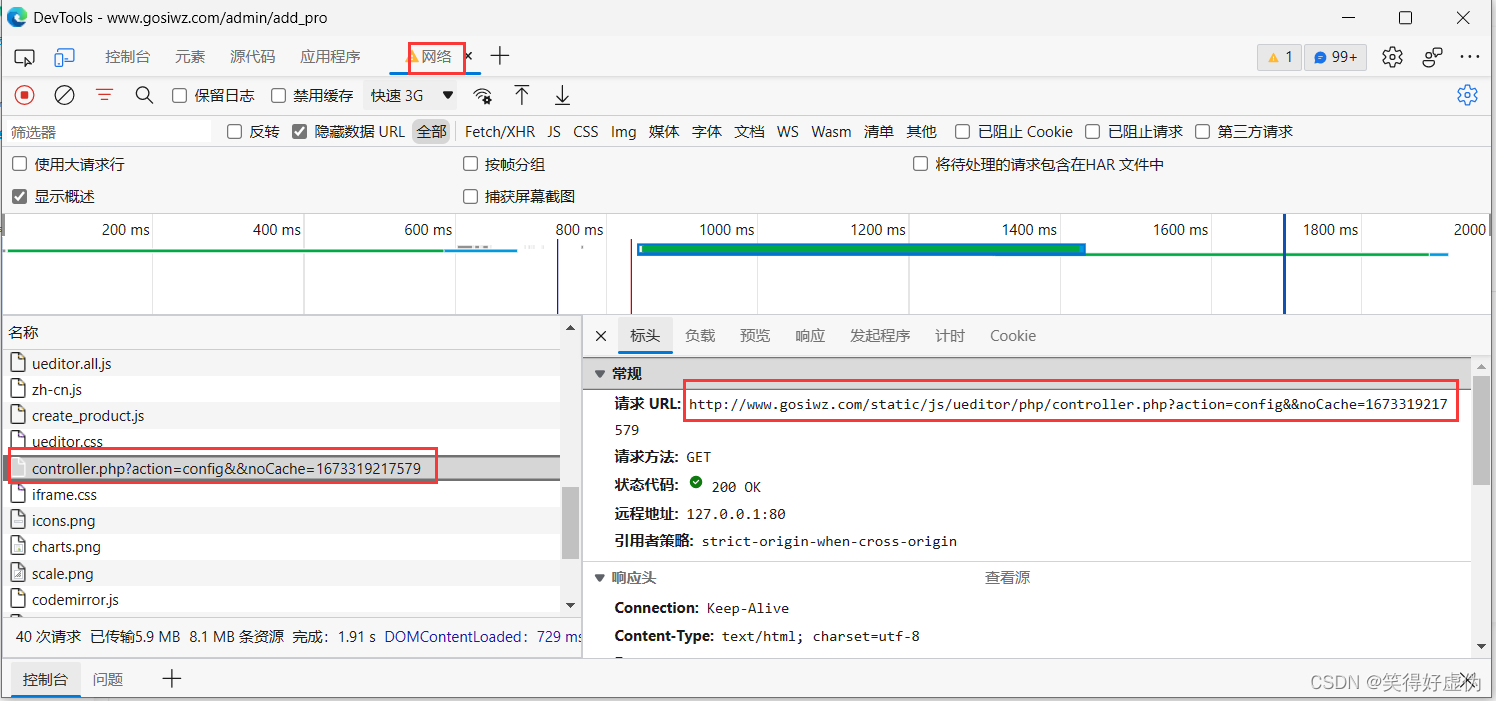
var create_product = { init: function () { create_product.evenBin(); create_product.initEditor(); }, evenBin: function () { var btn_target = Jquery(this); var ue = UE.getEditor('editor'); var content=true; // 提交内容 jQuery(" #submit_affirm1").click(function () { // 获得富文本的内容,提交给后台后台需要保存在数据 var text = jQuery.trim(ue.getContent()); jQuery.ajax({ url: window.location.href, type: "POST", data: { 'text': text, }, dataType: 'json', success: function (res) { var response = JSON.parse(res); alert(response.msg); if (response.code == 200){location.replace('/admin/login'); } } }); }) }, initEditor: function () { var that = this; var url=document.domain+"/admin/upload"; that.ue = UE.getEditor('editor', { toolbars: [ ['undo', 'redo', '|', 'bold', 'italic', 'underline', 'strikethrough', 'removeformat', 'formatmatch', 'autotypeset', 'blockquote', 'pasteplain', '|', 'forecolor', 'backcolor', 'insertorderedlist', 'insertunorderedlist', 'selectall', '|', 'rowspacingtop', 'rowspacingbottom', 'lineheight'], ['customstyle', 'paragraph', 'fontfamily', 'fontsize', '|', 'directionalityltr', 'directionalityrtl', 'indent', '|', 'justifyleft', 'justifycenter', 'justifyright', 'justifyjustify', '|', 'touppercase', 'tolowercase', '|', 'link', 'unlink'], ['imagenone', 'imageleft', 'imageright', 'imagecenter', '|', 'insertimage', 'insertvideo', '|', 'horizontal', 'spechars', '|', 'inserttable', 'deletetable', 'insertparagraphbeforetable', 'insertrow', 'deleterow', 'insertcol', 'deletecol', 'mergecells', 'mergeright', 'mergedown', 'splittocells', 'splittorows', 'splittocols'] ], //设置多久自动保存 enableAutoSave: true, saveInterval: 60000, //关闭元素路径 elementPathEnabled: false, zIndex: 4, //图片上传的图片地址 serverUrl:"/admin/upload", }); },}window.onload = function () { create_product.init();};上面配置好后,打开此页面会向服务器发送一个请求: 一定要后端接受这个请求并将upload_config.json文件返回出来,不然无法使用图片功能,文章的第二节有后台的详细的处理方式
上传图片配置请求:
上图图片的请求:

从上面的截图可以分析出图片配置和上传图片的发送的action参数不一样,因此一个接口里面根据action参数值不一样来判断是上传还是要配置
以php为例:其实什么语言都无所谓了只要前端发送的请求能接受到就ok,然后接受图片的地址保存
代码如下(示例):
写在哪个类无所谓,在route.php文件中配置此接口就可以,访问的时候能来到此方法
注意看对应ueditor的json文件注释,将参数修改成自己的
//处理富文本上传的图片 public function uploads() { $action = $_GET['action'];//返回upload_config.json文件,注意看对应文件的注释,将参数修改成自己的 if ($action == "config") { //配置 $config_path =ROOT_PATH . 'public' . DS . "static" . DS ."js" . DS ."ueditor" . DS ."upload_config.json";//读取文件 $json_string = file_get_contents($config_path); return $json_string ; } //上传图片 if ($action == "uploadimage") { return $this->uploadimage(); } //在线管理图片 if ($action == "listimage"){ return $this->listimage(); } return "Q_Q!"; } //处理富文本编辑上传的图片 public function uploadimage() { $mistake=[ "code"=>-1, "state"=>"SUCCESS", "url"=>"" ]; //接收图片 $file = request()->file("upfile"); if ($file){ // 移动到框架应用根目录/public/uploads/ 目录下 $info = $file->move(ROOT_PATH . 'public' . DS . 'uploads'); if ($info) { //上传成功 拼接图片的访问路径 /uploads/20190709/fssdsahfdskasa.jpg $Goods_logo = DS . 'uploads' . DS . $info->getSaveName(); $url=str_replace("\\","/", $goods_logo); $mistake["code"] = 200; $mistake["url"]=$url; Db::query("insert into pro_file(`url`) values(?)",[$url]); }else{ $mistake["code"]=-1; $mistake["state"]="上传错误"; } return $mistake; } } // 在线管理图片 public function listimage(){ $resp =["state"=> "SUCCESS", "start"=> "", "total"=> ""] ; //获取当前域名 $yuming=$this->domain(); //接收当前参数 $start = $_GET['start']; $page_size=$_GET['size']; //查询数据库中所有的图片 $db=Db::query("select * from pro_file limit $page_size offset $start "); $list=[]; $i=0; foreach ($db as $val){ $list[$i]["url"]=$yuming.$val["url"]; $i+=1; } $resp["list"]=$list; $resp["start"]=$start; $resp["total"]=count($db); return $resp; }回显的时候只需要给后台发送接口,后台返回ueditor提交的html代码,然后用js将值渲染到页面上
//回显 jQuery.ajax({ url: "/admin/updata_products", type:"GET", dataType:'json', success:function (res) { var response = JSON.parse(res); if (response.code == 200) { document.getElementsByClassName("summary")[0].innerHTML=response.desc; that.initEditor(); 来源地址:https://blog.csdn.net/qq_48082548/article/details/128625105
--结束END--
本文标题: 前端、后台(ueditor)富文本的使用和回显
本文链接: https://www.lsjlt.com/news/385160.html(转载时请注明来源链接)
有问题或投稿请发送至: 邮箱/279061341@qq.com QQ/279061341
下载Word文档到电脑,方便收藏和打印~
2024-02-29
2024-02-29
2024-02-29
2024-02-29
2024-02-29
2024-02-29
2024-02-29
2024-02-29
2024-02-29
2024-02-29
回答
回答
回答
回答
回答
回答
回答
回答
回答
回答


官方手机版

微信公众号

商务合作


0