在Spring Boot中规范的使用swagger进行接口测试 文章目录 Swagger是什么?为什么要用Swagger?准备工作创建项目编写接口验证 高级配置文档注释接口过滤自定义响应
在Spring Boot中规范的使用swagger进行接口测试
Swagger是一套基于Openapi规范构建的开源工具,可以帮助我们设计、构建、记录以及使用Rest API。Swagger主要包括了一下三个部分:
简单点来讲就是说,swagger是一款可以根据resutful风格生成的生成的接口开发文档,并且支持做测试的一款中间软件。
后端:
前端:
测试:
使用的环境:
SpringBoot: 2.7.8-SNAPSHOT
Java:1.8
swagger:2.9.2
<dependency><groupId>io.springfoxgroupId><artifactId>springfox-swagger2artifactId><version>2.9.2version>dependency><dependency><groupId>io.springfoxgroupId><artifactId>springfox-swagger-uiartifactId><version>2.9.2version>dependency>
添加依赖
<dependencies><dependency><groupId>org.springframework.bootgroupId><artifactId>spring-boot-starter-WEBartifactId>dependency><dependency><groupId>org.springframework.bootgroupId><artifactId>spring-boot-starter-testartifactId><scope>testscope>dependency><dependency><groupId>io.springfoxgroupId><artifactId>springfox-swagger2artifactId><version>2.9.2version>dependency><dependency><groupId>io.springfoxgroupId><artifactId>springfox-swagger-uiartifactId><version>2.9.2version>dependency>dependencies>UserController提供了用户的增、删、改、查四个接口,TestController提供了一个测试接口
pojo.user源码:
package com.example.demo.pojo;import io.swagger.annotations.ApiModel;import io.swagger.annotations.ApiModelProperty;@ApiModel("用户实体类")public class User { @ApiModelProperty("用户名") private String username; @ApiModelProperty("密码") private String passWord; public String getUsername() { return username; } public void setUsername(String username) { this.username = username; } public String getPassword() { return password; } public void setPassword(String password) { this.password = password; }}UserController源码:
package com.example.demo.controller;import com.example.demo.pojo.User;import org.springframework.web.bind.annotation.*;@RestController@RequestMapping("/user")public class UserController { @PostMapping("/add") public boolean addUser(User user){ return false; } @GetMapping("/find/{id}") public User findById(@PathVariable("id") int id) { return new User(); } @PutMapping("/update") public boolean update(@RequestBody User user) { return true; } @DeleteMapping("/delete/{id}") public boolean delete(@PathVariable("id") int id) { return true; }}SwaggerConfig源码
package com.example.demo.config;import org.springframework.context.annotation.Bean;import org.springframework.context.annotation.Configuration;import springfox.documentation.builders.PathSelectors;import springfox.documentation.builders.RequestHandlerSelectors;import springfox.documentation.spi.DocumentationType;import springfox.documentation.spring.web.plugins.Docket;import springfox.documentation.swagger2.annotations.EnableSwagger2;@Configuration@EnableSwagger2public class SwaggerConfig { @Bean// 配置Swagger的Docket的bean实例 public Docket api(){ return new Docket(DocumentationType.SWAGGER_2) .select()// RequestHandlerSelectors配置扫描接口的方式 .apis(RequestHandlerSelectors.any())// path过滤什么路径 .paths(PathSelectors.any()) .build(); }@Configuration是告诉Spring Boot需要加载这个配置类;@EnableSwagger2是启用Swagger2.
启动一下项目,然后在浏览器中访问Http://localhost:8080/swagger-ui.html

到此项目已经跑起来了,我们来解释一下,Swagger中的高级配置**(代码注释写的也很清楚)**
@Api(tags = "用户相关接口",description = "提供用户相关的Rest API")public class UserController {@ApiOperation("添加用户操作") @PostMapping("/add") public boolean addUser(User user){ return false; }@ApiModel("用户实体类")public class User { @ApiModelProperty("用户名") private String username; @ApiModelProperty("密码") private String password; @Bean// 配置Swagger的Docket的bean实例 public Docket api(){ return new Docket(DocumentationType.SWAGGER_2) .select()// RequestHandlerSelectors配置扫描接口的方式 .apis(RequestHandlerSelectors.any())// path过滤什么路径 .paths(PathSelectors.any()) .build(); } private ApiInfo apiInfo() { return new ApiInfo( "Spring Boot 项目集成 Swagger 实例文档", "欢迎", "API V1.0", "Terms of service", new Contact("名字想好没", "csdn", "163.com"), "Apache", "http://www.apache.org/", Collections.emptyList()); }
- 加注解:如果想在文档中屏蔽掉某个接口方法,只需要在该接口方法上添加@ApiIgnore即可
- 在Docket上增加筛选。Docket提供了apis()和paths()两个方法来帮助我们在不同级别上过滤接口:
apis(): 这种方式我们可以通过指定包名的方式,让Swagger 只去某些包下扫描。
paths(): 这种方式可以通过筛选API的 url 来进行过滤。
Docket的globalResponseMessage()方法全局覆盖HTTP方法的响应消息,但是我们首先得通过Docket的useDefaultResponseMessage()方法告诉Swagger不适用默认的HTTP响应消息 ,假设我们需要覆盖所有GET方法的 500 和 403 错误的响应消息。我们只需要在SwaggerConfig.java 类种的Docket Bean下添加如下内容:
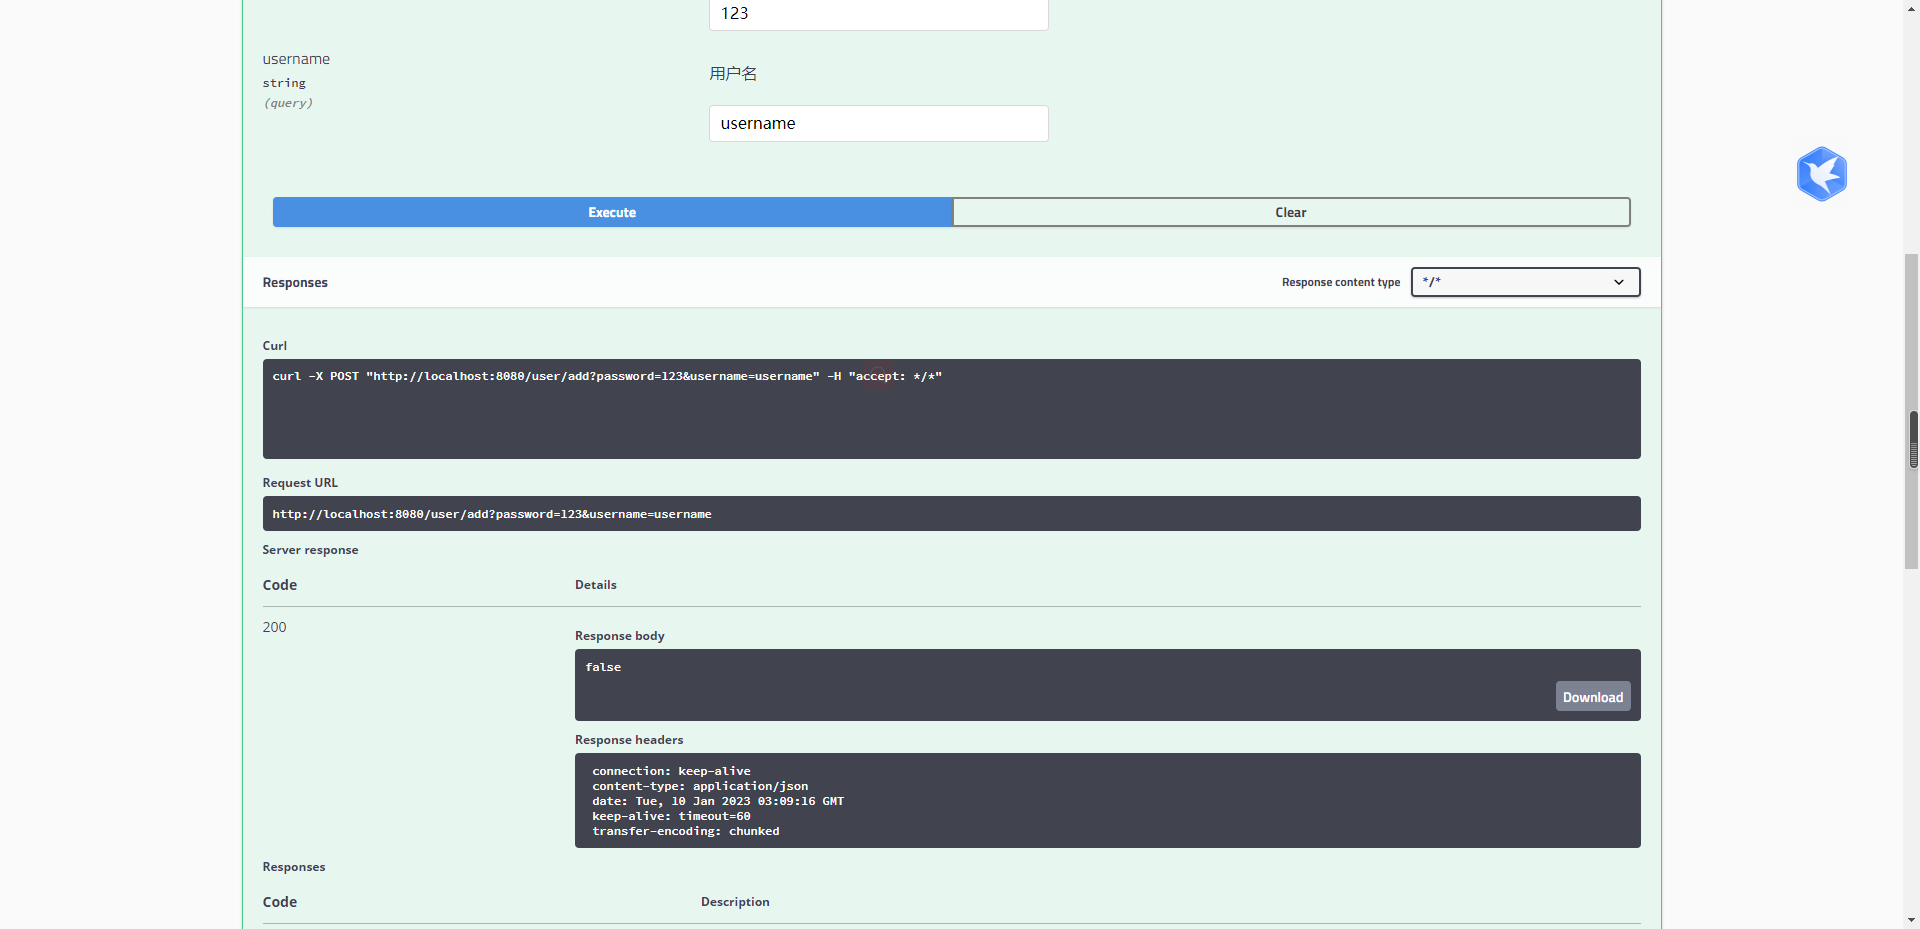
.useDefaultResponseMessages(false).globalResponseMessage(RequestMethod.GET, newArrayList(new ResponseMessageBuilder() .code(500) .message("服务器发生异常") .responseModel(new ModelRef("Error")) .build(), new ResponseMessageBuilder() .code(403) .message("资源不可用") .build()));接口调用

启动项目报空指针异常

添加这个代码:spring.mvc.pathmatch.matching-strategy=ANT_PATH_MATCHER
来源地址:https://blog.csdn.net/weixin_45920495/article/details/128625597
--结束END--
本文标题: SpringBoot中使用Swagger详解
本文链接: https://www.lsjlt.com/news/386215.html(转载时请注明来源链接)
有问题或投稿请发送至: 邮箱/279061341@qq.com QQ/279061341
下载Word文档到电脑,方便收藏和打印~
2024-04-03
2024-04-03
2024-04-01
2024-01-21
2024-01-21
2024-01-21
2024-01-21
2023-12-23
回答
回答
回答
回答
回答
回答
回答
回答
回答
回答


官方手机版

微信公众号

商务合作


0