Python 官方文档:入门教程 => 点击学习
人生苦短 我用python 如何用Python实现截屏? 一、方法一 PIL中的ImageGrab模块 使用PIL中的ImageGrab模块简单,但是效率有点低 PIL是Python Imaging

PIL中的ImageGrab模块
使用PIL中的ImageGrab模块简单,但是效率有点低
PIL是Python Imaging Library,
它为python解释器提供图像编辑函数能力。
ImageGrab模块可用于将屏幕或剪贴板的内容复制到PIL图像存储器中。
PIL.ImageGrab.grab()方法拍摄屏幕快照。
边框内的像素在windows上以“RGB”图像的形式返回,
在MacOS上以“RGBA”的形式返回。
如果省略了边界框,则会复制整个屏幕。
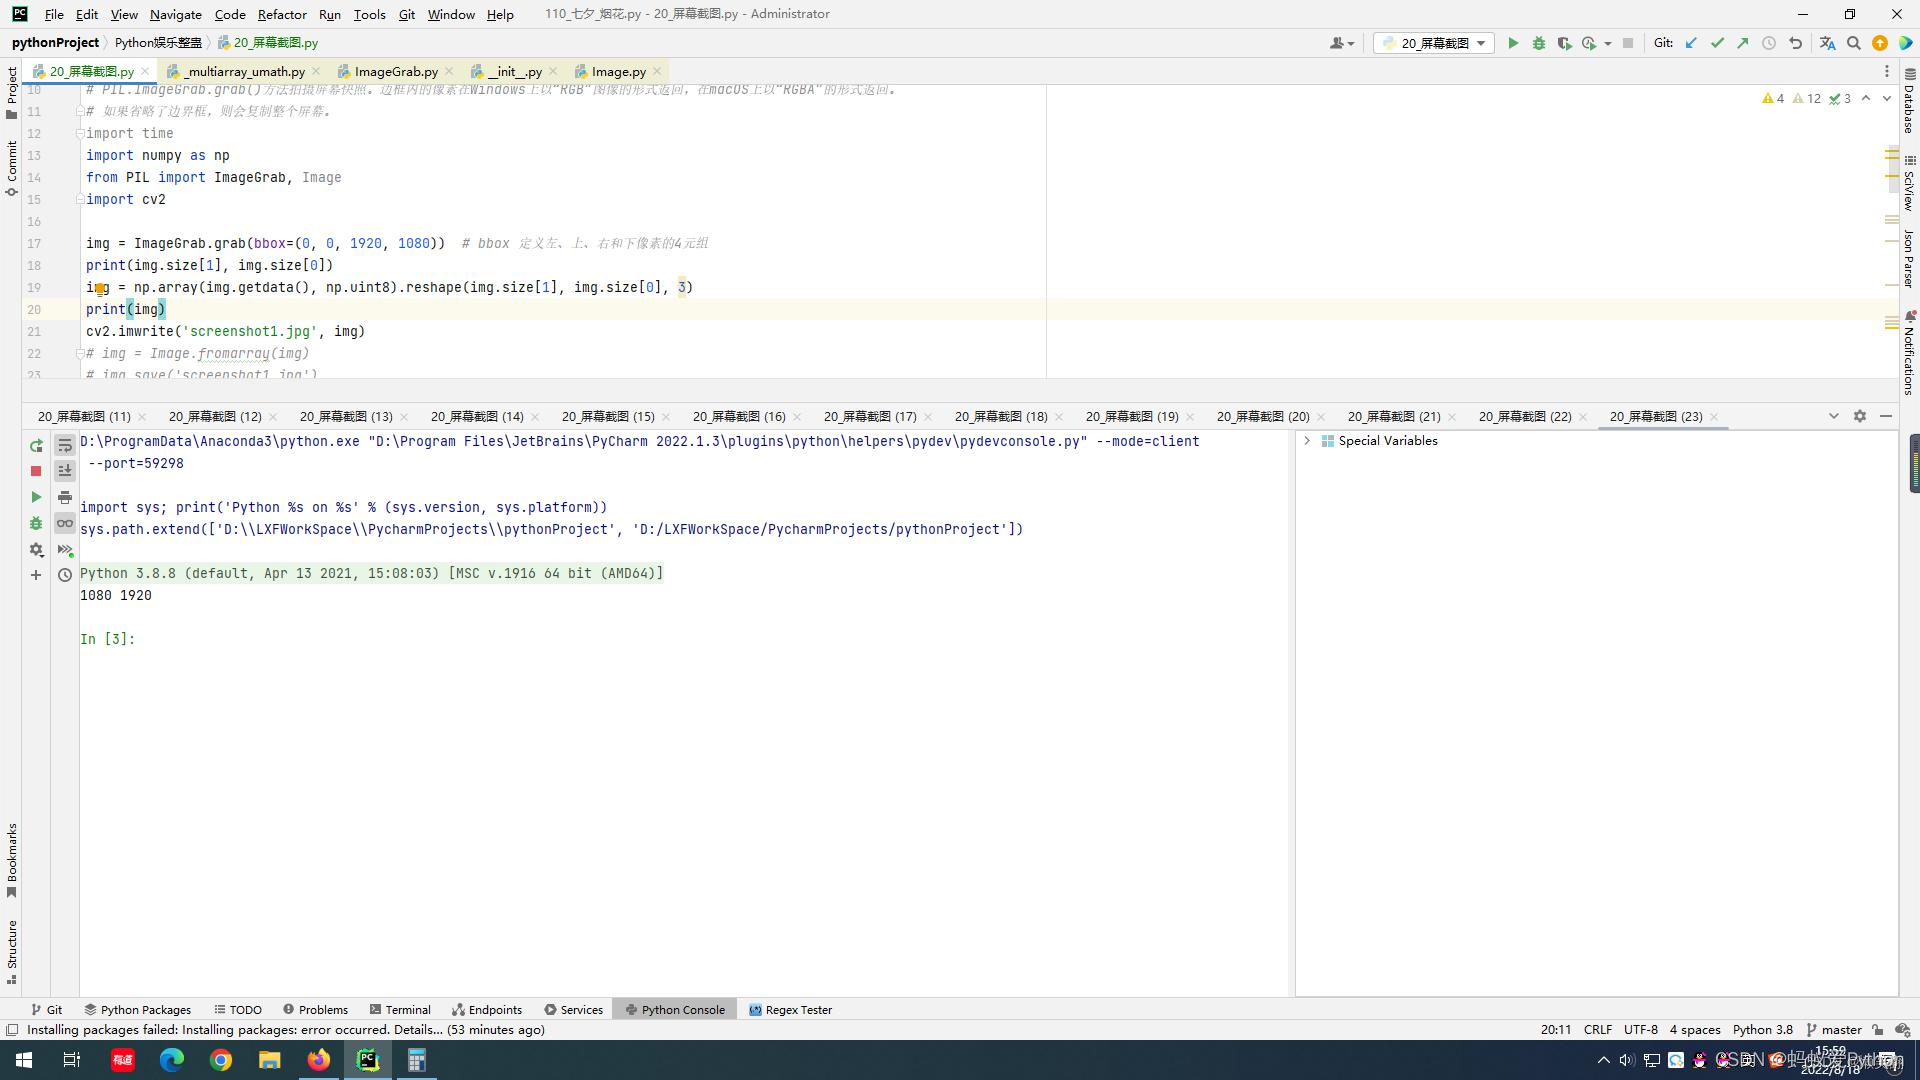
import numpy as npfrom PIL import ImageGrab, Imageimport cv2 img = ImageGrab.grab(bbox=(0, 0, 1920, 1080)) # bbox 定义左、上、右和下像素的4元组print(img.size[1], img.size[0])img = np.array(img.getdata(), np.uint8).reshape(img.size[1], img.size[0], 3)print(img)#python学习交流:903971231#cv2.imwrite('screenshot1.jpg', img)# img = Image.fromarray(img)# img.save('screenshot1.jpg')而且有windows API的很多优势,比如速度快,
可以指定获取的窗口,即使窗口被遮挡。
需注意的是,窗口最小化时无法获取截图。
首先需要获取窗口的句柄。
import win32guifrom PyQt5.QtWidgets import QApplicationimport sys hwnd_title = dict() def get_all_hwnd(hwnd, mouse): if win32gui.IsWindow(hwnd) and win32gui.IsWindowEnabled(hwnd) and win32gui.IsWindowVisible(hwnd): hwnd_title.update({hwnd: win32gui.GetWindowText(hwnd)})#python学习交流:903971231# win32gui.EnumWindows(get_all_hwnd, 0)# print(hwnd_title.items())for h, t in hwnd_title.items(): if t != "": print(h, t) # 程序会打印窗口的hwnd和title,有了title就可以进行截图了。hwnd = win32gui.FindWindow(None, 'C:\Windows\system32\cmd.exe')app = QApplication(sys.argv)screen = QApplication.primaryScreen()img = screen.grabWindow(hwnd).toImage()img.save("screenshot2.jpg")pyautogui是比较简单的,
但是不能指定获取程序的窗口,
因此窗口也不能遮挡,
不过可以指定截屏的位置
import pyautoguiimport cv2 # https://www.lfd.uci.edu/~Gohlke/pythonlibs/#OpenCVimport numpy as npfrom PIL import Image img = pyautogui.screenshot(region=[0, 0, 1920, 1080]) # x,y,w,h # img = Image.fromarray(np.uint8(img))# img.save('screenshot3.png')img = cv2.cvtColor(np.asarray(img), cv2.COLOR_RGB2BGR) # cvtColor用于在图像中不同的色彩空间进行转换,用于后续处理。cv2.imwrite('screenshot3.jpg', img)

来源地址:https://blog.csdn.net/xff123456_/article/details/128501167
--结束END--
本文标题: Python 三种方法实现截图【详解+完整代码】
本文链接: https://www.lsjlt.com/news/391731.html(转载时请注明来源链接)
有问题或投稿请发送至: 邮箱/279061341@qq.com QQ/279061341
下载Word文档到电脑,方便收藏和打印~
2024-03-01
2024-03-01
2024-03-01
2024-02-29
2024-02-29
2024-02-29
2024-02-29
2024-02-29
2024-02-29
2024-02-29
回答
回答
回答
回答
回答
回答
回答
回答
回答
回答
0