Caddy简单使用 1 参考文档 # 官方网址https://caddyserver.com/# GitHub上文档Https://github.com/caddyserver/caddy# 配置Ca
# 官方网址https://caddyserver.com/# GitHub上文档Https://github.com/caddyserver/caddy# 配置Caddyfilehttps://caddyserver.com/docs/caddyfile# 下载caddydocker pull caddy:2.6.2# 安装caddy容器docker run -itd \--name my_caddy \-p 80:80 \-p 443:443 \-v /home/caddy/srv:/srv \-v /home/caddy/data:/data \-v /home/caddy/config:/config \caddy:2.6.2# 验证服务,输入IP地址(我的IP地址是"192.168.108.200"http://192.168.108.200/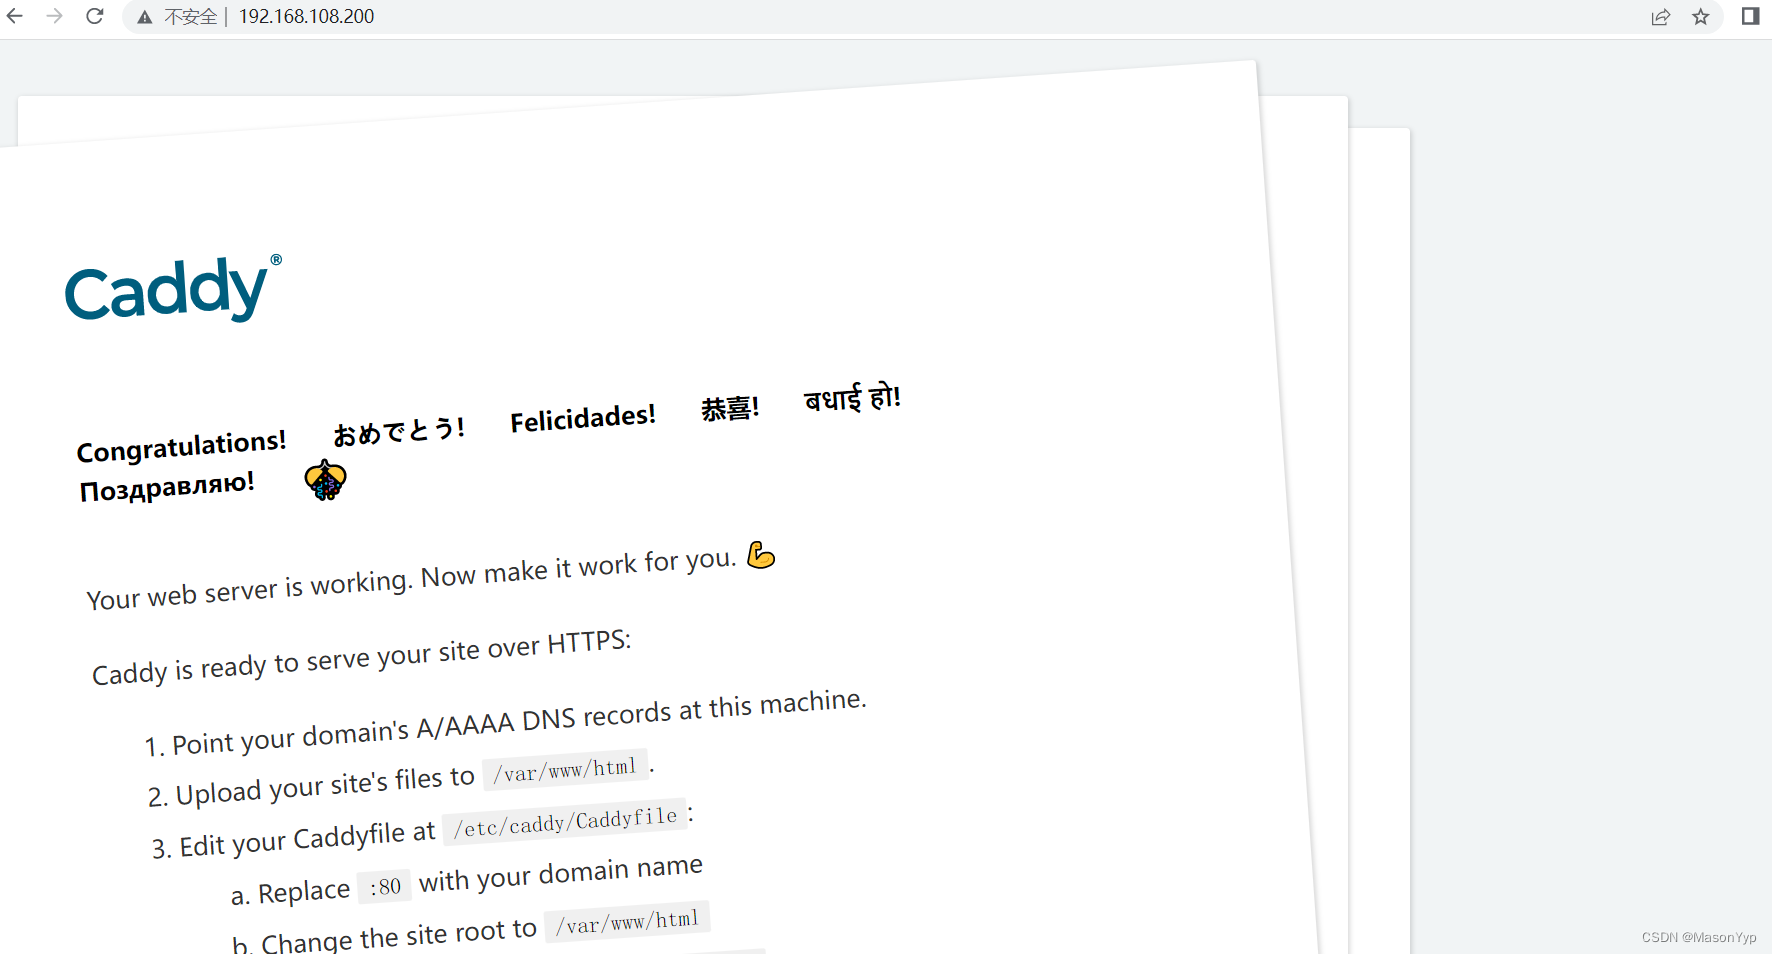
# 启动caddy caddy start# 停止caddycaddy stop# 重新加载配置文件caddy reload“Caddyfile”文件在”/etc/caddy/Caddyfile“目录下
# The Caddyfile is an easy way to configure your Caddy WEB server.## Unless the file starts with a global options block, the first# uncommented line is always the address of your site.## To use your own domain name (with automatic HTTPS), first make# sure your domain's A/AAAA DNS records are properly pointed to# this Machine's public IP, then replace ":80" below with your# domain name.:80 {# Set this path to your site's directory.# “root”表示指定站点的根目录# “*”表示匹配所有请求# “/usr/share/caddy”表示静态文件目录root * /usr/share/caddy# Enable the static file server.file_server# Another common task is to set up a reverse proxy:# reverse_proxy localhost:8080# Or serve a PHP site through php-fpm:# php_fastcgi localhost:9000}# Refer to the Caddy docs for more infORMation:# https://caddyserver.com/docs/caddyfile# 进入容器docker exec -it my_caddy /bin/sh# 编辑Caddyfilevim Caddyfile# 编辑的内容:80 {file_server browse {root /data/file }}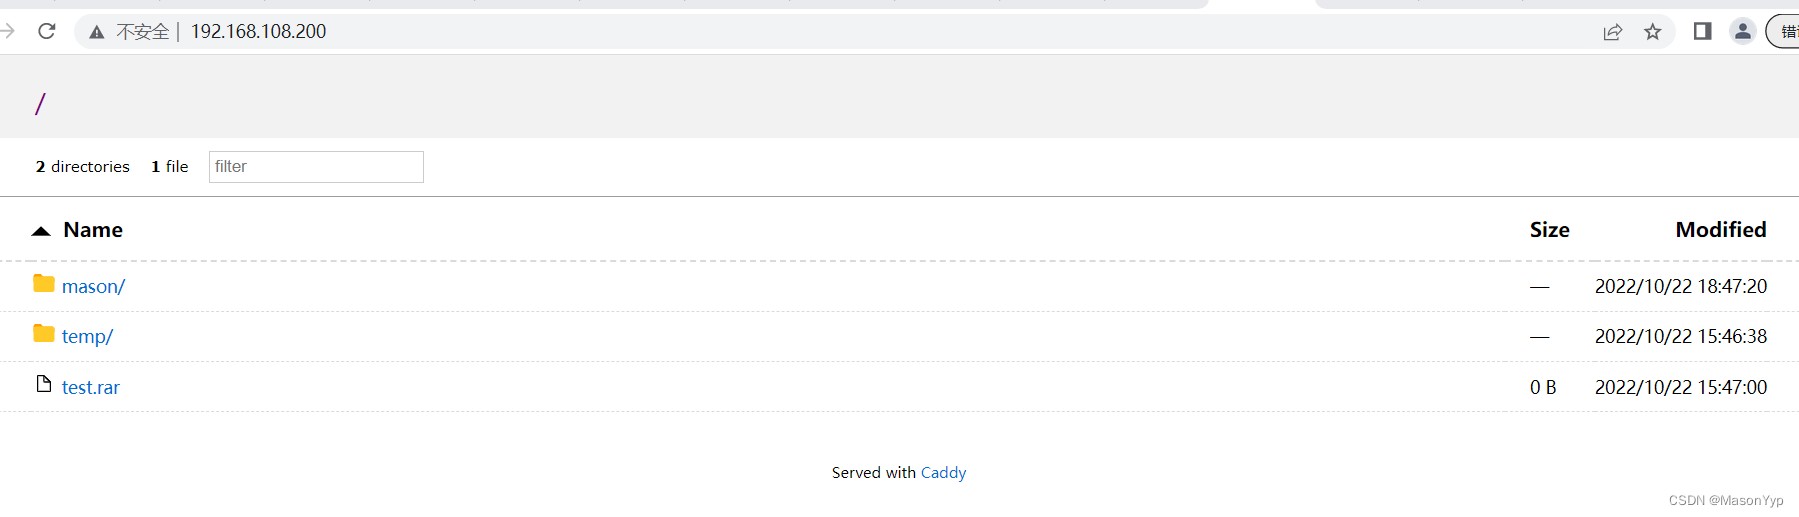
来源地址:https://blog.csdn.net/make_progress/article/details/127465581
--结束END--
本文标题: Caddy简单搭建数据目录
本文链接: https://www.lsjlt.com/news/402195.html(转载时请注明来源链接)
有问题或投稿请发送至: 邮箱/279061341@qq.com QQ/279061341
下载Word文档到电脑,方便收藏和打印~
2024-02-29
2024-02-29
2024-02-29
2024-02-29
2024-02-29
2024-02-29
2024-02-29
2024-02-29
2024-02-29
2024-02-29
回答
回答
回答
回答
回答
回答
回答
回答
回答
回答


官方手机版

微信公众号

商务合作


0