PHPMyAdmin是一款很受欢迎的
Mysql管理
工具,
windows下的安装配置方法如下:
去下载XAMPP包,里面会有配置好的phpMyAdmin环境
https://www.apachefriends.org/index.
html
下载好安装包后,直接安装
安装完成后,会自动弹出控制台窗口,在以后的使用中,可以点击安装目录下面的控制台执行程序来启动控制台
xampp-control.exe
点击Apache和MySQL模块后的Start按钮来启动服务
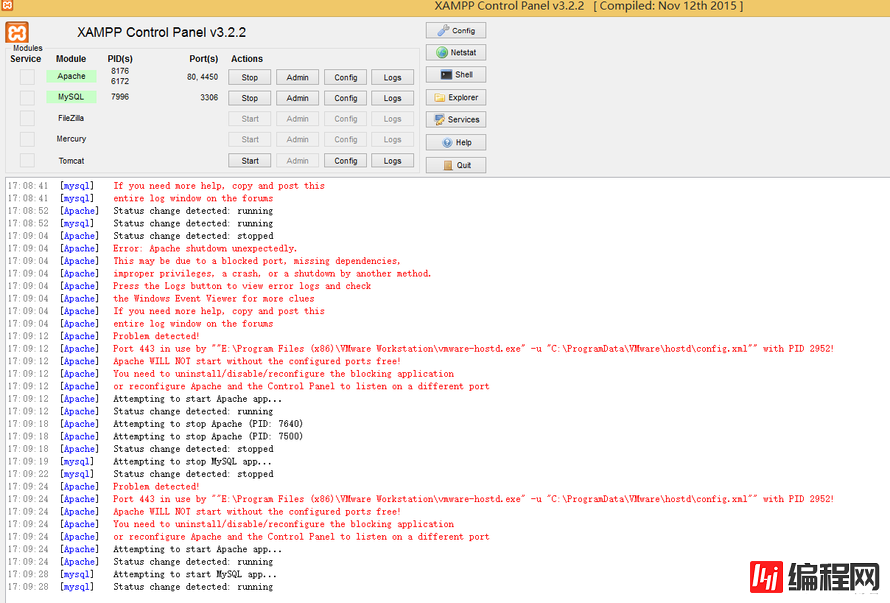
启动的Apache过程中,有时候因为监听端口冲突,会报错而启动失败,类似的错误信息如下:
17:09:04 [Apache] Error: Apache shutdown unexpectedly.
17:09:04 [Apache] This may be due to a blocked port, missing dependencies,
17:09:04 [Apache] improper privileges, a crash, or a shutdown by another method.
17:09:04 [Apache] Press the Logs button to view error logs and check
17:09:04 [Apache] the Windows Event Viewer for more clues
17:09:04 [Apache] If you need more help, copy and post this
17:09:04 [Apache] entire log window on the forums
17:09:12 [Apache] Problem detected!
17:09:12 [Apache] Port 443 in use by ""E:\Program Files (x86)\VMware Workstat
ion\vmware-hostd.exe" -u "C:\ProgramData\VMware\hostd\config.xml"" with PID 2952!
17:09:12 [Apache] Apache WILL NOT start without the configured ports free!
17:09:12 [Apache] You need to uninstall/disable/reconfigure the blocking application
17:09:12 [Apache] or reconfigure Apache and the Control Panel to listen on a different port
对于这个错误,解决方法是更换监听的端口,点击进行Apache配置文件httpd-ssl.conf
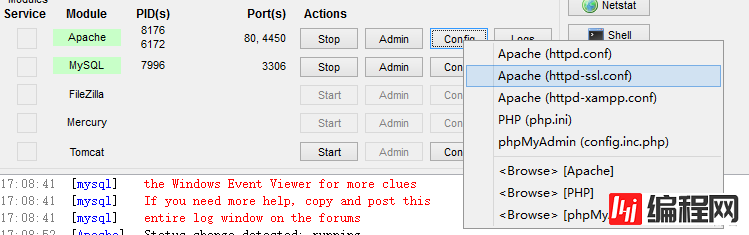
修改监听的端口
#
# When we also provide SSL we have to listen to the
# standard
Http port (see above) and to the HTTPS port
#
Listen 4450
##
修改端口后,再次启动Apache,直到正常启动
Apache和mysql服务均成功启动后,通过本地网页进入管理界面
http://192.168.8.99
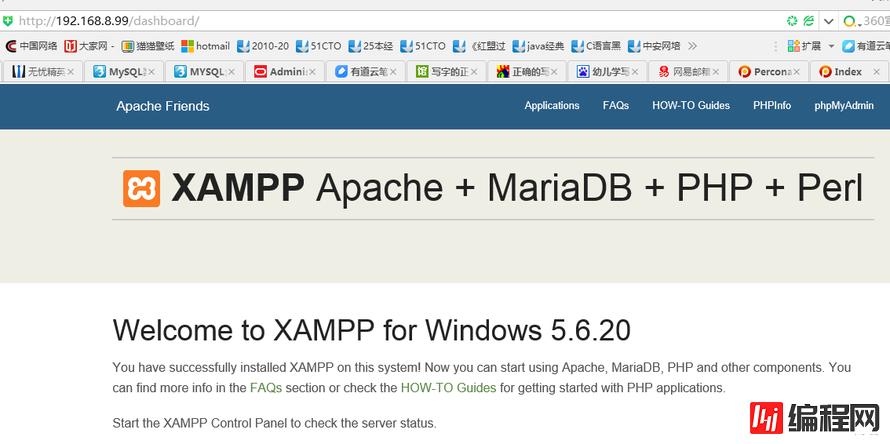 点击页面右上角的phpMyAdmin
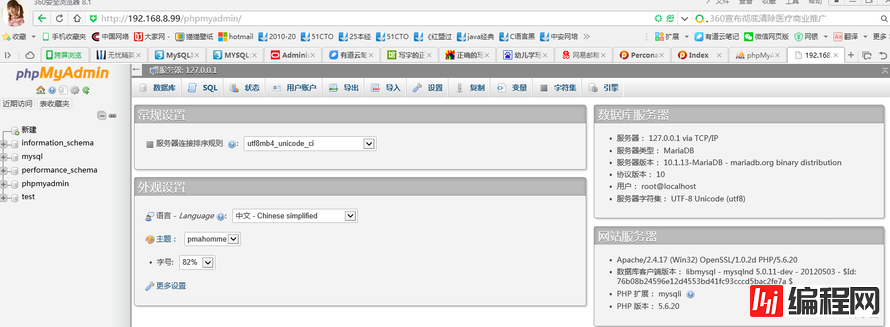
默认是不需要密码,即可连接到
数据库;如果修改了root用户的密码,则需要编辑F:\xampp\phpMyAdmin目录下的config.inc.php文件,更改里面的连接密码
 默认连接的是本地的MySQL服务器,如果我们想连接多台MySQL服务器,可以编辑F:\xampp\phpMyAdmin目录下的config.inc.php文件,增加数据库。
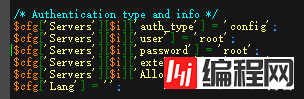
下面配置参数中,second server是仿照first server增加的数据库配置文件。
默认连接的是本地的MySQL服务器,如果我们想连接多台MySQL服务器,可以编辑F:\xampp\phpMyAdmin目录下的config.inc.php文件,增加数据库。
下面配置参数中,second server是仿照first server增加的数据库配置文件。
<?php
$cfg['blowfish_secret'] = 'xampp';
$i = 0;
$i++;
$cfg['Servers'][$i]['auth_type'] = 'config';
$cfg['Servers'][$i]['user'] = 'root';
$cfg['Servers'][$i]['pass
Word'] = 'root';
$cfg['Servers'][$i]['extension'] = 'my
sqli';
$cfg['Servers'][$i]['AllowNoPassword'] = true;
$cfg['Lang'] = '';
$cfg['Servers'][$i]['host'] = '127.0.0.1';
$cfg['Servers'][$i]['connect_type'] = '
tcp';
$cfg['Servers'][$i]['controluser'] = 'pma';
$cfg['Servers'][$i]['controlpass'] = '';
$cfg['Servers'][$i]['pmadb'] = 'phpmyadmin';
$cfg['Servers'][$i]['bookmarktable'] = 'pma__bookmark';
$cfg['Servers'][$i]['relation'] = 'pma__relation';
$cfg['Servers'][$i]['table_info'] = 'pma__table_info';
$cfg['Servers'][$i]['table_coords'] = 'pma__table_coords';
$cfg['Servers'][$i]['
pdf_pages'] = 'pma__pdf_pages';
$cfg['Servers'][$i]['column_info'] = 'pma__column_info';
$cfg['Servers'][$i]['history'] = 'pma__history';
$cfg['Servers'][$i]['designer_coords'] = 'pma__designer_coords';
$cfg['Servers'][$i]['tracking'] = 'pma__tracking';
$cfg['Servers'][$i]['userconfig'] = 'pma__userconfig';
$cfg['Servers'][$i]['recent'] = 'pma__recent';
$cfg['Servers'][$i]['table_uiprefs'] = 'pma__table_uiprefs';
$cfg['Servers'][$i]['users'] = 'pma__users';
$cfg['Servers'][$i]['usergroups'] = 'pma__usergroups';
$cfg['Servers'][$i]['navigationhiding'] = 'pma__navigationhiding';
$cfg['Servers'][$i]['savedsearches'] = 'pma__savedsearches';
$cfg['Servers'][$i]['central_columns'] = 'pma__central_columns';
$cfg['Servers'][$i]['designer_settings'] = 'pma__designer_settings';
$cfg['Servers'][$i]['export_templates'] = 'pma__export_templates';
$cfg['Servers'][$i]['favorite'] = 'pma__favorite';
$i++;
$cfg['Servers'][$i]['auth_type'] = 'config';
$cfg['Servers'][$i]['user'] = 'neo';
$cfg['Servers'][$i]['password'] = 'neo';
$cfg['Servers'][$i]['extension'] = 'mysqli';
$cfg['Servers'][$i]['AllowNoPassword'] = true;
$cfg['Lang'] = '';
$cfg['Servers'][$i]['host'] = '127.0.0.1';
$cfg['Servers'][$i]['connect_type'] = 'tcp';
$cfg['Servers'][$i]['controluser'] = 'pma';
$cfg['Servers'][$i]['controlpass'] = '';
$cfg['Servers'][$i]['pmadb'] = 'phpmyadmin';
$cfg['Servers'][$i]['bookmarktable'] = 'pma__bookmark';
$cfg['Servers'][$i]['relation'] = 'pma__relation';
$cfg['Servers'][$i]['table_info'] = 'pma__table_info';
$cfg['Servers'][$i]['table_coords'] = 'pma__table_coords';
$cfg['Servers'][$i]['pdf_pages'] = 'pma__pdf_pages';
$cfg['Servers'][$i]['column_info'] = 'pma__column_info';
$cfg['Servers'][$i]['history'] = 'pma__history';
$cfg['Servers'][$i]['designer_coords'] = 'pma__designer_coords';
$cfg['Servers'][$i]['tracking'] = 'pma__tracking';
$cfg['Servers'][$i]['userconfig'] = 'pma__userconfig';
$cfg['Servers'][$i]['recent'] = 'pma__recent';
$cfg['Servers'][$i]['table_uiprefs'] = 'pma__table_uiprefs';
$cfg['Servers'][$i]['users'] = 'pma__users';
$cfg['Servers'][$i]['usergroups'] = 'pma__usergroups';
$cfg['Servers'][$i]['navigationhiding'] = 'pma__navigationhiding';
$cfg['Servers'][$i]['savedsearches'] = 'pma__savedsearches';
$cfg['Servers'][$i]['central_columns'] = 'pma__central_columns';
$cfg['Servers'][$i]['designer_settings'] = 'pma__designer_settings';
$cfg['Servers'][$i]['export_templates'] = 'pma__export_templates';
$cfg['Servers'][$i]['favorite'] = 'pma__favorite';
?>
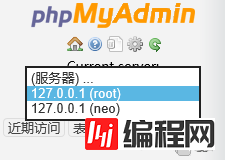
这样,在打开phpMyAdmin页面后,可以选择两个
数据库


0