Python 官方文档:入门教程 => 点击学习
目录一、所使用的环境配置:二、项目简介三、知识点总结(代码和配置)SpringBoot: 1.mybatis-Plus配置文件,实现分页查询:MybatisPlusConfig 2.
学习资源来自于B站UP,up他讲的非常详细,对于熟悉两大框架很有用。
我的作业源代码在文章末尾,欢迎有需要的同学,学习参考使用,内置SQL文件,导入后,开启springboot和vue服务即可使用,注意更改自己的数据库信息配置,一起学习,一起进步哦!!
编译器:idea
后台框架:springBoot
Mybatis-Plus
数据库:Mysql8.0
数据库工具:Navicat premium
前端框架:Vue
Element UI
引用的富文本编辑器:wangEditor
这是一个基于SpringBoot和Vue的后台管理系统。
主要功能:
1.实现用户信息的CRUD,以及页面的显示。
2.用户权限的分配,不同权限的用户锁能看到的的界面信息和能进行的操作是不同的。
3.实现图片,文件的上传和下载。
4.实现页面富文本编译器的使用与信息的CRUD。
5.跨域配置,MybatisPlus配置。
6.用户的登录注册,拦截器。
7.查询功能。
。。。。
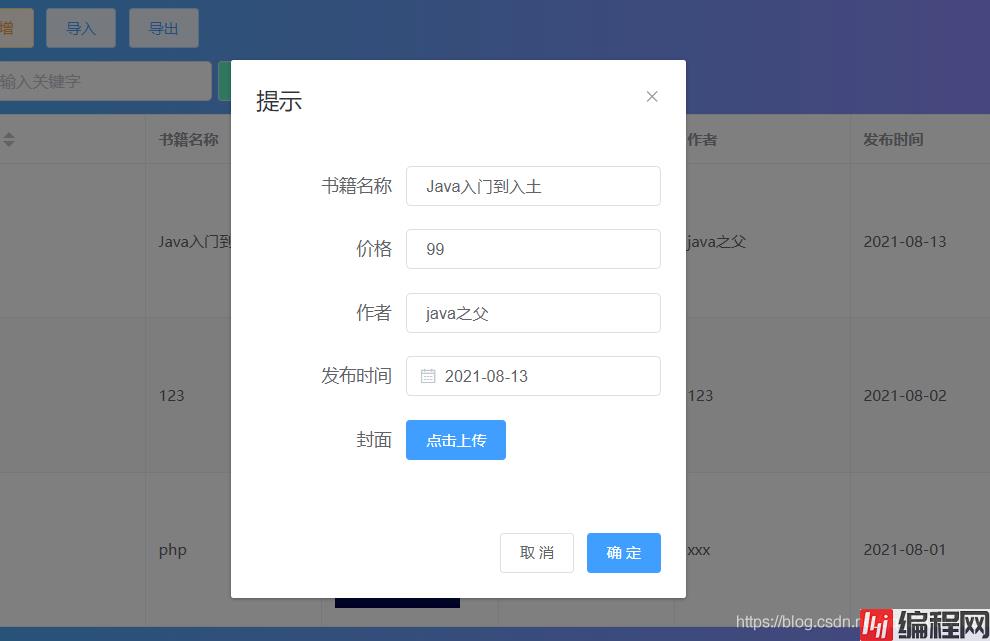
项目展示:(图片)
1.登录界面
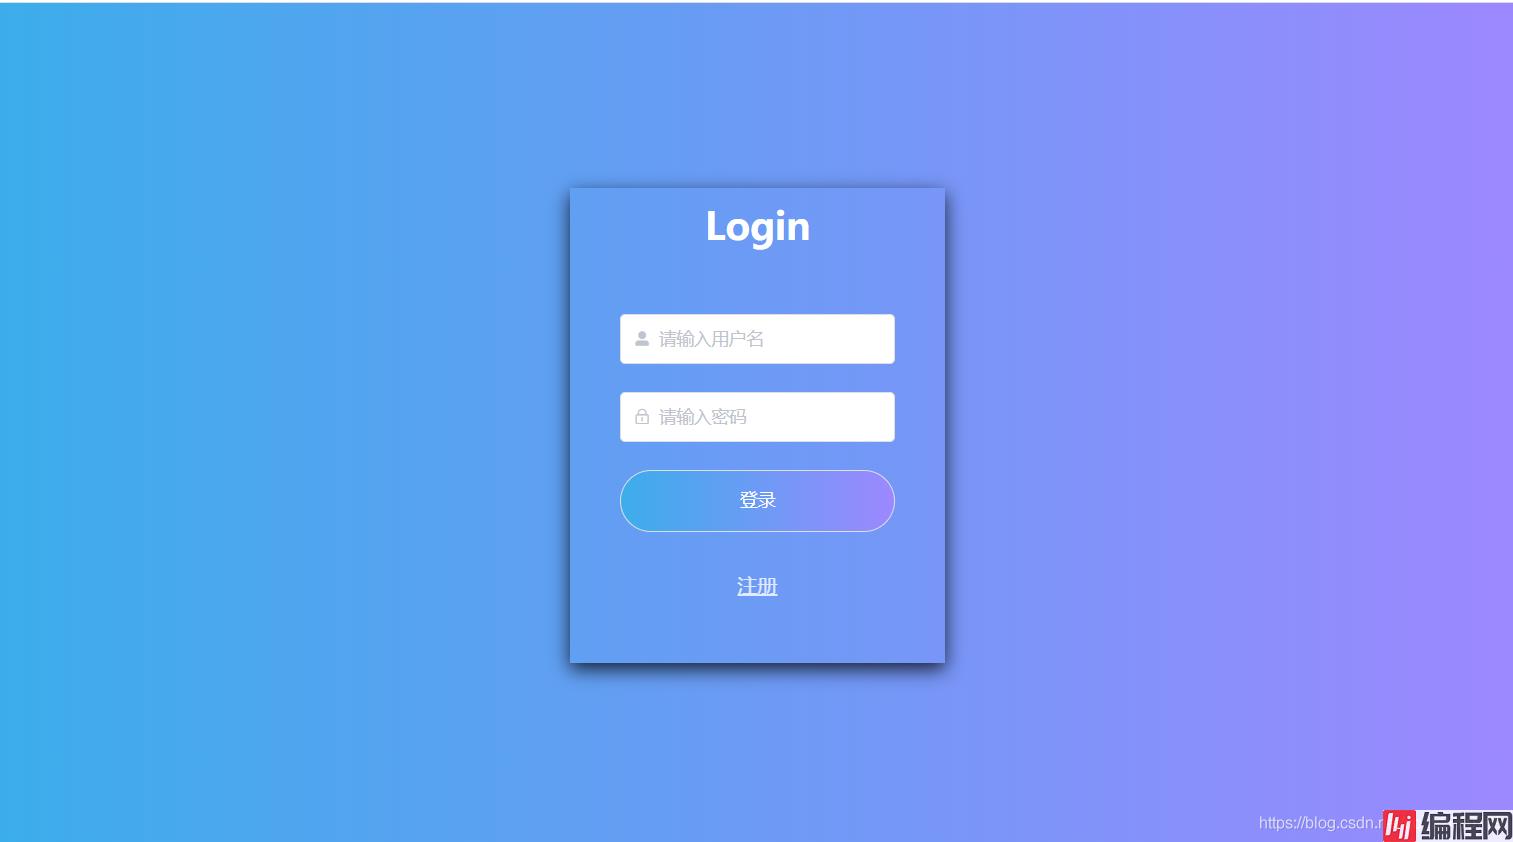
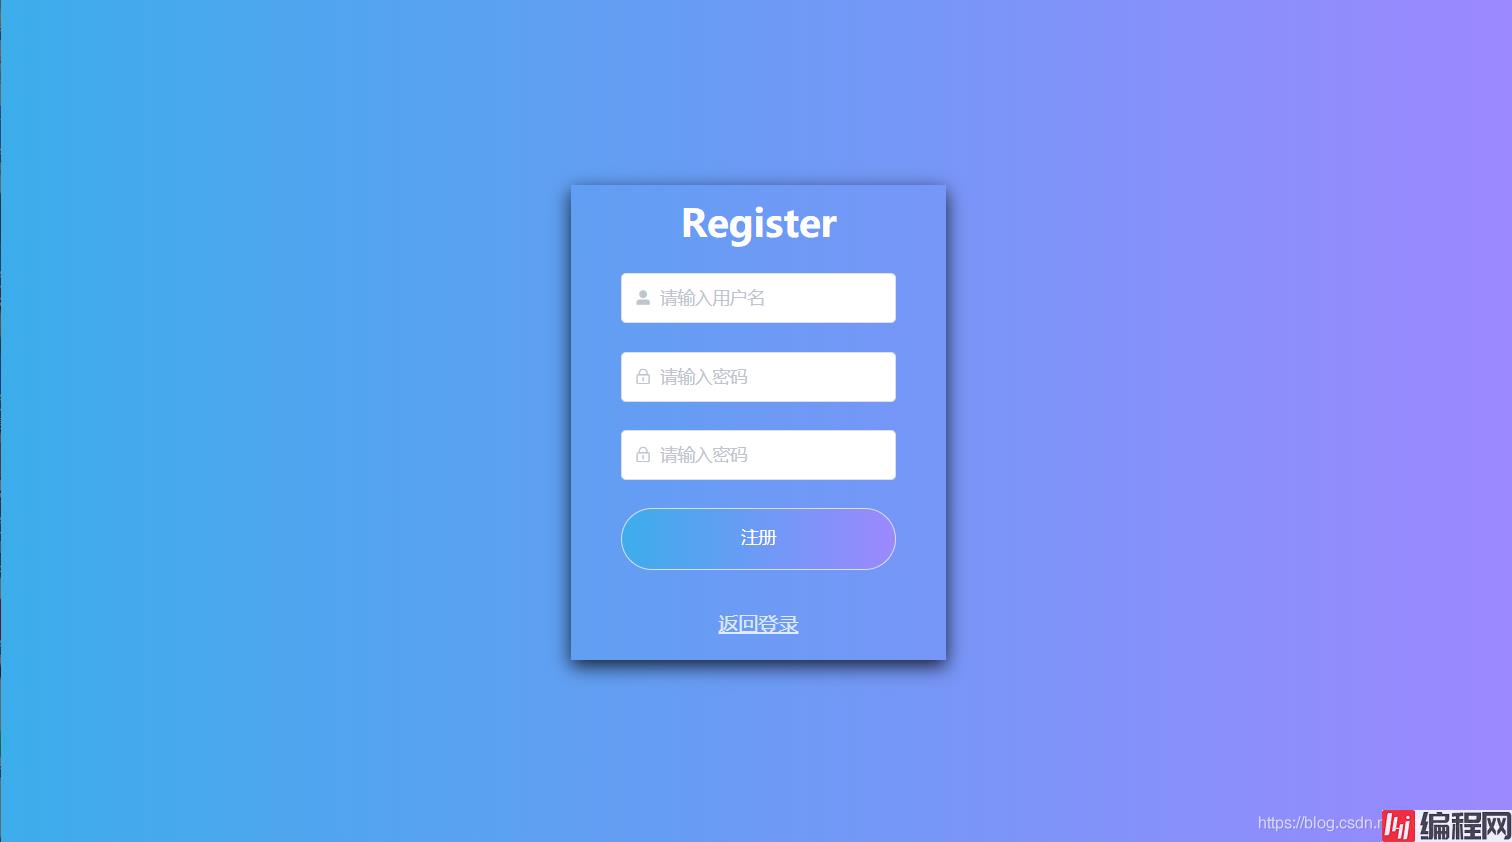
2.注册页面这两个页面可以自由切换
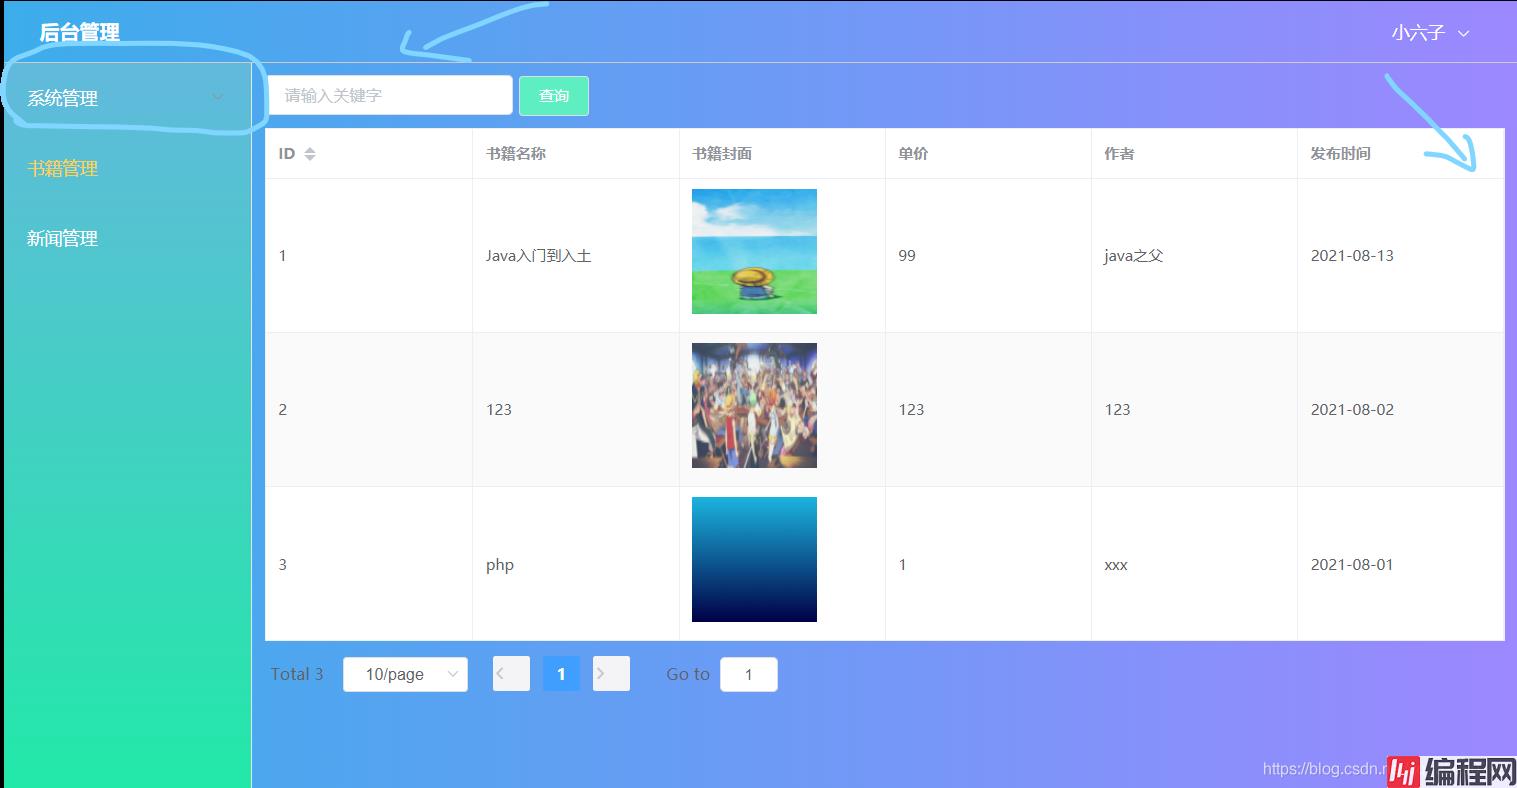
3.root登录后的默认页面以及高亮显示
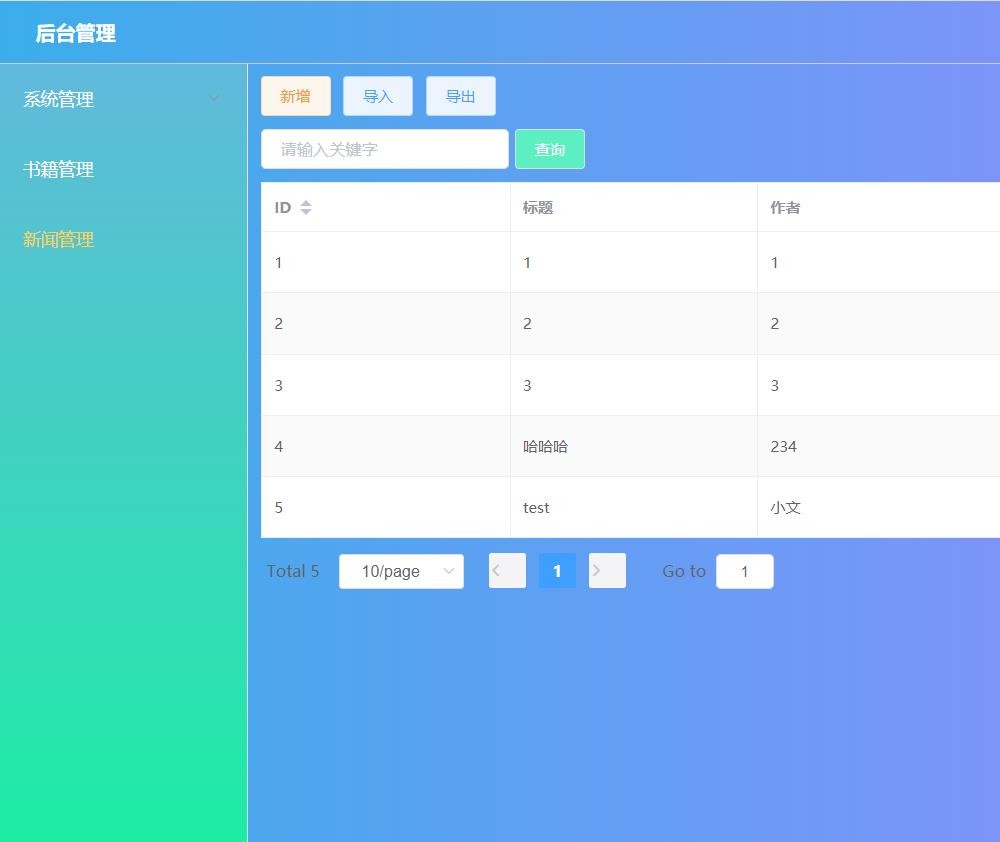
4.几个页面的展示

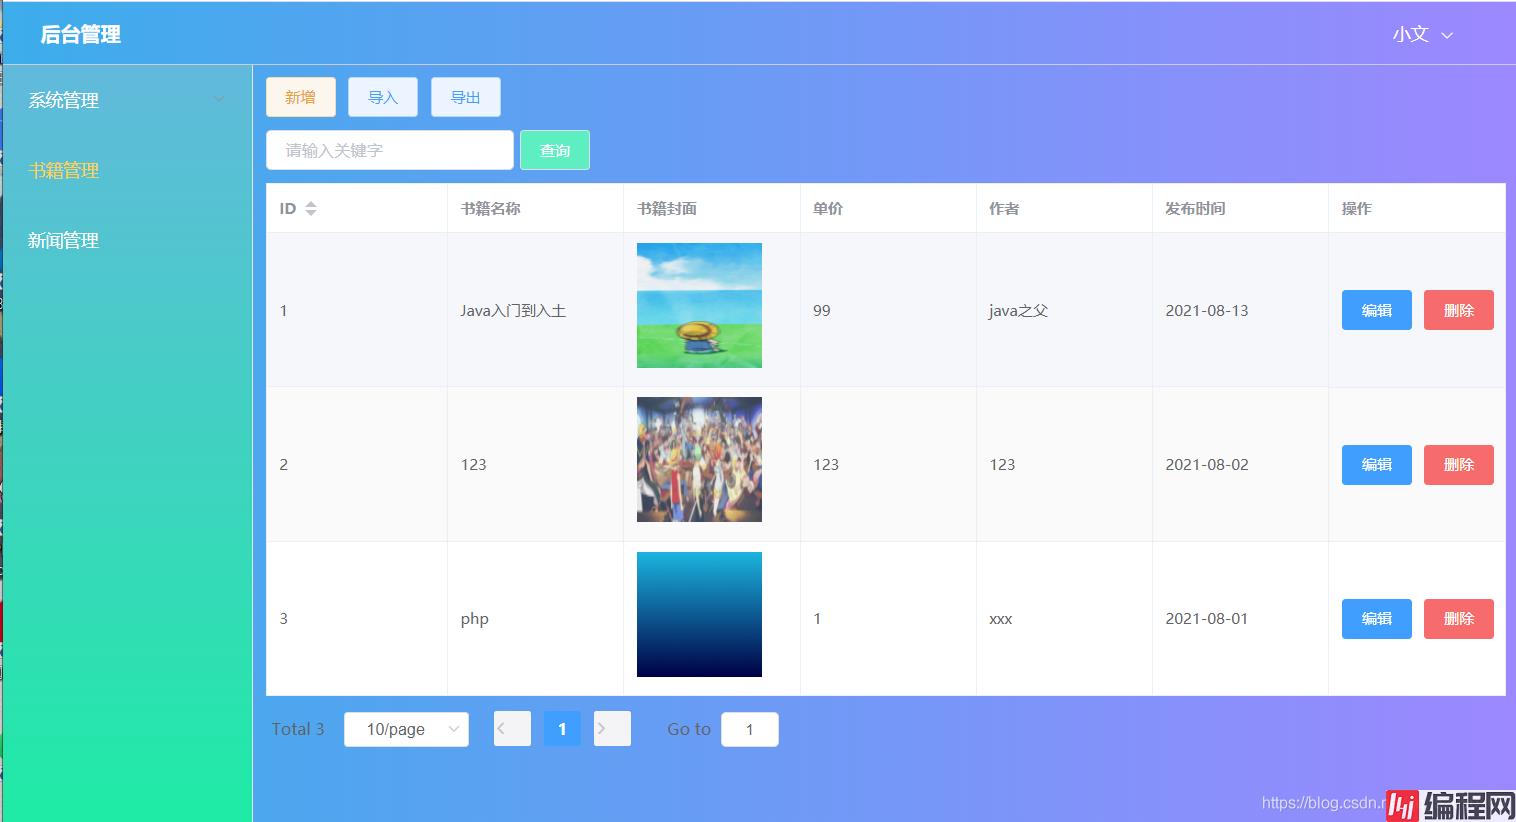
5.root账户所能进行的CRUD操作和能查看的用户信息页面
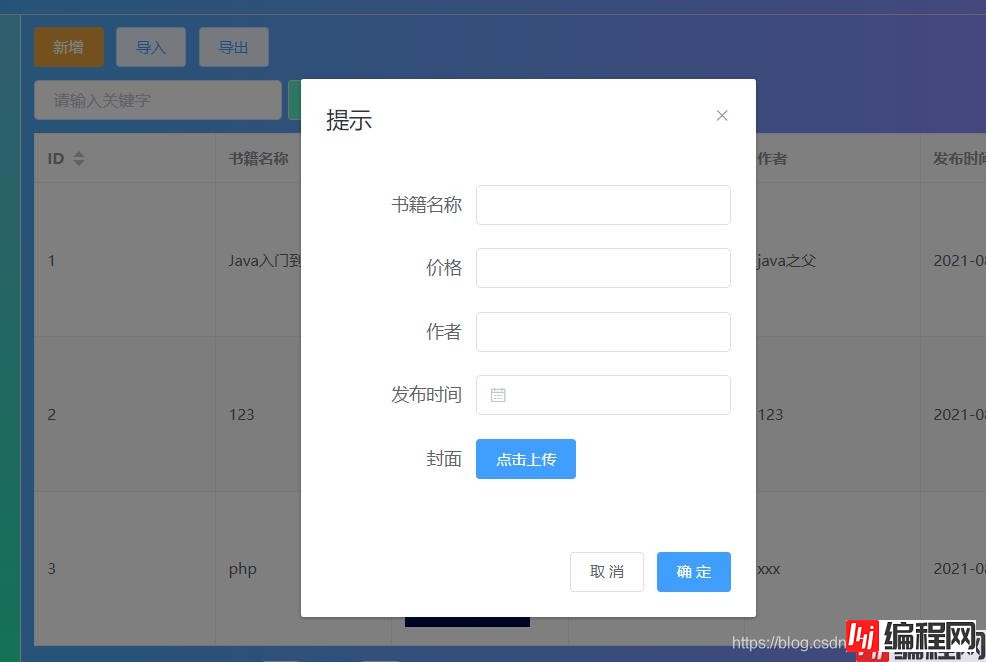
修改
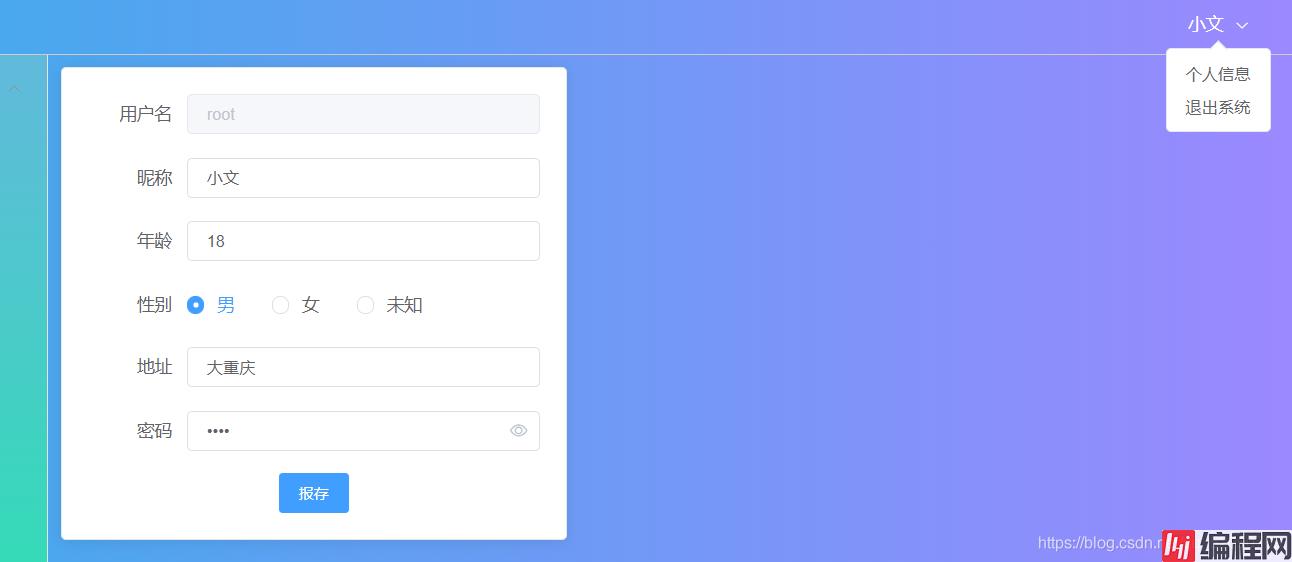
6.个人信息修改,以及退出
7.普通用户登录
这里只做了图书页面的权限限制和用户信息的限制
配置文件:
参考官网:MybatisPlus
package com.wen.common;

import com.baomidou.mybatisplus.annotation.DbType;
import com.baomidou.mybatisplus.extension.plugins.MybatisPlusInterceptor;
import com.baomidou.mybatisplus.extension.plugins.inner.PaginationInnerInterceptor;
import org.mybatis.spring.annotation.MapperScan;
import org.springframework.context.annotation.Bean;
import org.springframework.context.annotation.Configuration;

//Spring Boot方式
@Configuration
@MapperScan("com.wen.mapper")//这里所扫描的是项目中mapper文件的位置!
public class MybatisPlusConfig {

    // 旧版,官网的旧版视乎无法使用

    // 最新版
    @Bean
    public MybatisPlusInterceptor mybatisPlusInterceptor() {
        MybatisPlusInterceptor interceptor = new MybatisPlusInterceptor();
        interceptor.addInnerInterceptor(new PaginationInnerInterceptor(DbType.mysql));
        return interceptor;
    }

}
package com.wen.common;


import org.springframework.context.annotation.Bean;
import org.springframework.context.annotation.Configuration;
import org.springframework.WEB.cors.CorsConfiguration;
import org.springframework.web.cors.UrlBasedCorsConfigurationSource;
import org.springframework.web.filter.CorsFilter;

@Configuration
public class CorsConfig {
    private static final long Max_AGE = 24*60*60;//连接时间
    private CorsConfiguration buildConfig(){
        CorsConfiguration corsConfiguration = new CorsConfiguration();
        //定义所允许的请求头,方法等。*代表所有
        corsConfiguration.addAllowedOrigin("*");
        corsConfiguration.addAllowedHeader("*");
        corsConfiguration.addAllowedMethod("*");
        corsConfiguration.setMaxAge(Max_AGE);
        return corsConfiguration;
    }
    @Bean
    public CorsFilter corsFilter(){
        UrlBasedCorsConfigurationSource source = new UrlBasedCorsConfigurationSource();
        source.reGISterCorsConfiguration("

    @PostMapping("/upload")
    public Result<?> upload(MultipartFile file){
        String originalFilename = file.getOriginalFilename();//获取源文件的名称
//        定义文件的唯一标识(前缀)
        String flag = IdUtil.fastSimpleUUID();

        String rootFilePath = System.getProperty("user.dir")+"/springboot/src/main/resources/files/"+flag+"_"+originalFilename;//获取文件上传的路径
        try {
            FileUtil.writeBytes(file.getBytes(),rootFilePath);//把文件写入该路径
        } catch (IOException e) {
            e.printStackTrace();
        }
        String url = ip+":"+port+"/files/"+flag;
        return Result.success(url);//返回结果url
    }


    @GetMapping("/{flag}")
    public void getFiles(@PathVariable String flag, httpservletResponse response){
        OutputStream os;//新建一个输出对象
        String basePath = System.getProperty("user.dir")+"/springboot/src/main/resources/files/";//文件路径
        List<String> fileNames = FileUtil.listFileNames((basePath));//获取所有的文件名称
        String fileName = fileNames.stream().filter(name -> name.contains(flag)).findAny().orElse("");//找到根参数一致的文件

        try {
            if (StrUtil.isNotEmpty(fileName)){
                response.addHeader("Content-Disposition","attachment;filename="+ URLEncoder.encode(fileName,"UTF-8"));
                response.setContentType("application/octet-stream");
                byte[] bytes = FileUtil.readBytes(basePath + fileName);//通过文件路径读取文字节流
                os = response.getOutputStream();//通过输出流返回文件
                os.write(bytes);
                os.flush();
                os.close();
            }
        }catch (Exception e){
            System.out.println("文件下载失败");
        }
    }


    @PostMapping("editor/upload")
    public JSON editorUpload(MultipartFile file){
        String originalFilename = file.getOriginalFilename();//获取源文件的名称
//        定义文件的唯一标识(前缀)
        String flag = IdUtil.fastSimpleUUID();

        String rootFilePath = System.getProperty("user.dir")+"/springboot/src/main/resources/files/"+flag+"_"+originalFilename;//获取文件上传的路径
        try {
            FileUtil.writeBytes(file.getBytes(),rootFilePath);//把文件写入该路径
        } catch (IOException e) {
            e.printStackTrace();
        }
        String url = ip+":"+port+"/files/"+flag;
        jsONObject jsonObject = new JSONObject();
        jsonObject.set("errno",0);
        JSONArray arr = new JSONArray();
        JSONObject data = new JSONObject();
        arr.add(data);
        data.set("url",url);
        jsonObject.set("data",arr);
        return jsonObject;//返回结果url
    }
}
关于Mybatis-Plus: 总之就是非常方便,结合lombok进行开发极大的简化了后端的实体定义和数据库相关的操作问题。
SpringBoot中:
<dependency>
    <groupId>com.baomidou</groupId>
    <artifactId>mybatis-plus-boot-starter</artifactId>
    <version>mybatis-plus-latest-version</version>//这里记得更改成版本号,这样是无法导入的!
</dependency>
@MapperScan("com.baomidou.mybatisplus.samples.quickstart.mapper")//这里是项目中mapper存放的文件路径。
public interface BookMapper extends BaseMapper<Book> {
}
关于wangEditor:
哈哈哈,解决了重复创建编辑器的问题!
学习时错误如下:
问题描述:由于编辑器的节点只有在弹窗创建之后才能生成,也就是才能获取,在项目中,原本的代码会导致新增和修改弹窗重复创建编辑器。

解决办法:
let editor;
method:{
creatDom(){
      editor = new E('#div1');//富文本编辑器创建,获取节点
      // 配置 server 接口地址
      editor.config.uploadImgServer = 'http://localhost:9090/files/editor/upload';
      editor.config.uploadFileName = 'file';//设置文件上传的名字
      editor.create();//创建。
    },
    //这里是新增弹窗
    add(){
      this.dialogVisible = true;
      this.fORM = {};
      //由于只有在弹窗启动之后,div节点才会被创建,那么创建富文本编辑器也只能在其之后。
      this.$nextTick(()=>{
        if (editor==null){
          this.creatDom();
        }else {
          editor.destroy();//这里做了一次判断,判断编辑器是否被创建,如果创建了就先销毁。
          this.creatDom();
        }
      });
    },
    //这里是修改弹窗
    handleEdit(row){
      this.form = JSON.parse((JSON.stringify(row)));
      this.dialogVisible = true;
      this.$nextTick(()=>{
        if (editor==null){
          this.creatDom();
          editor.txt.html(row.content);
        }else {
          editor.destroy();//这里做了一次判断,判断编辑器是否被创建,如果创建了就先销毁。
          this.creatDom();
          editor.txt.html(row.content);
        }
      });
    },
}
后续更新。。。。。。
项目源代码:GitHub仓库
到此这篇关于springboot+vue制作后台管理系统项目的文章就介绍到这了,更多相关springboot+vue内容请搜索编程网以前的文章或继续浏览下面的相关文章希望大家以后多多支持编程网!
--结束END--
本文标题: springboot+vue制作后台管理系统项目
本文链接: https://www.lsjlt.com/news/133049.html(转载时请注明来源链接)
有问题或投稿请发送至: 邮箱/279061341@qq.com QQ/279061341
下载Word文档到电脑,方便收藏和打印~
2024-03-01
2024-03-01
2024-03-01
2024-02-29
2024-02-29
2024-02-29
2024-02-29
2024-02-29
2024-02-29
2024-02-29
回答
回答
回答
回答
回答
回答
回答
回答
回答
回答


官方手机版

微信公众号

商务合作


0