Python 官方文档:入门教程 => 点击学习
用python3创建窗口并显示 修改窗口的名字 在窗口中加入标签 在窗口中加入按钮 使按钮有实际意义 添加可编辑文本框 用Tkinter实现一个简单的GUI程序,单击click按钮时会在终端打印出’hello world’
#!/usr/bin/python3
# -*- coding: UTF-8 -*-

import tkinter

top=tkinter.Tk()

#进入消息循环体
top.mainloop() 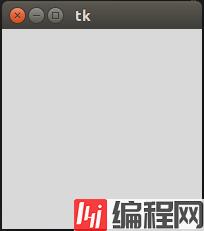
#!/usr/bin/Python3
# -*- coding: UTF-8 -*-

import tkinter

top=tkinter.Tk(className='hello world')

#进入消息循环体
top.mainloop()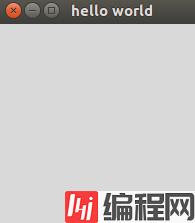
#!/usr/bin/python3
# -*- coding: UTF-8 -*-

import tkinter

top=tkinter.Tk(className='hello world')

#加上标签
label = tkinter.Label(top)
label['text'] = 'be on your own'
label.pack()

#进入消息循环体
top.mainloop()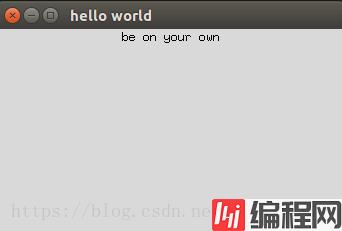
#!/usr/bin/python3
# -*- coding: UTF-8 -*-

import tkinter

top=tkinter.Tk(className='hello world')

#加上标签
label = tkinter.Label(top)
label['text'] = 'be on your own'
label.pack()

#加上按钮
button = tkinter.Button(top)
button['text'] = 'Ok'
button.pack()

#进入消息循环体
top.mainloop() 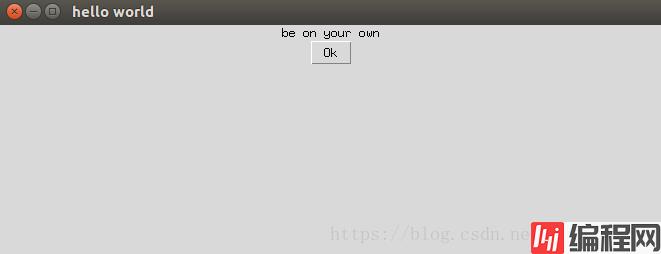
#!/usr/bin/python3
# -*- coding: UTF-8 -*-

import tkinter

def on_click():
    label['text'] = 'no way out'

top=tkinter.Tk(className='hello world')

#加上标签
label = tkinter.Label(top)
label['text'] = 'be on your own'
label.pack()

#加上按钮
button = tkinter.Button(top)
button['text'] = 'Ok'

#添加按钮操作
button['command'] = on_click
button.pack()

#进入消息循环体
top.mainloop()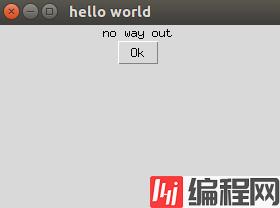
#!/usr/bin/python3
# -*- coding: UTF-8 -*-

import tkinter

def on_click():
    label['text'] = 'no way out'

top=tkinter.Tk(className='hello world')

#加上标签
label = tkinter.Label(top)
label['text'] = 'be on your own'
label.pack()

#加上按钮
button = tkinter.Button(top)
button['text'] = 'Ok'
#添加按钮操作
button['command'] = on_click
button.pack()

#添加可编辑文本框
text = tkinter.StringVar()
text.set('change to what?')
entry = tkinter.Entry(top)
entry['textvariable'] = text
entry.pack()

#进入消息循环体
top.mainloop()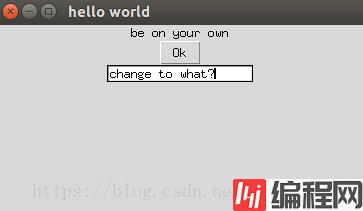
# #!/usr/bin/python3
# #-*-coding: UTF-8 -*-
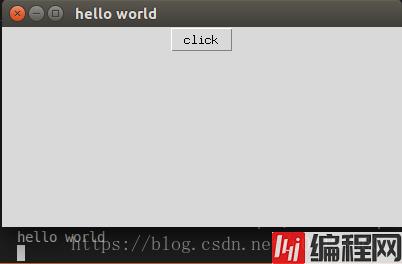
import tkinter
def on_click():
print('hello world')
top=tkinter.Tk(className='hello world')
#定义窗体的大小,是400X200像素
top.geometry('400x200')
#加上按钮
button = tkinter.Button(top)
button['text'] = 'click'
#添加按钮操作
button['command'] = on_click
button.pack()
#进入消息循环体
top.mainloop()
#!/usr/bin/python3
#-*-coding: UTF-8 -*-
from tkinter import *   #引入Tkinter工具包
def hello():
    print('hello world!')

win = Tk()  #定义一个窗体
win.title('Hello World')    #定义窗体标题
win.geometry('400x200')     #定义窗体的大小,是400X200像素

btn = Button(win, text='Click me', command=hello)
#注意这个地方,不要写成hello(),如果是hello()的话,
#会在mainloop中调用hello函数,
# 而不是单击button按钮时出发事件
btn.pack(expand=YES, fill=BOTH) #将按钮pack,充满整个窗体(只有pack的组件实例才能显示)

mainloop() #进入主循环,程序运行 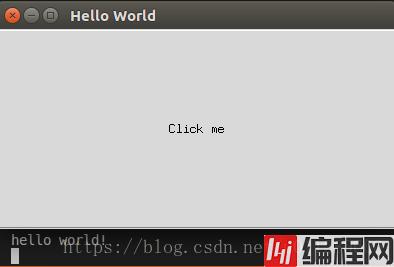
#!/usr/bin/python3
#-*-coding: UTF-8 -*-
import tkinter
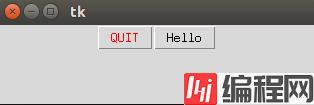
class App:
def __init__(self, master):
#构造函数里传入一个父组件(master),创建一个Frame组件并显示
frame = tkinter.Frame(master)
frame.pack()
#创建两个button,并作为frame的一部分
self.button = tkinter.Button(frame, text="QUIT", fg="red", command=frame.quit)
self.button.pack(side=tkinter.LEFT) #此处side为LEFT表示将其放置 到frame剩余空间的最左方
self.hi_there = tkinter.Button(frame, text="Hello", command=self.say_hi)
self.hi_there.pack(side=tkinter.LEFT)
def say_hi(self):
print ("hi there, this is a class example!" )
win = tkinter.Tk()
app = App(win)
win.mainloop()
#!/usr/bin/python3
#-*- encoding=UTF-8 -*-
import tkinter as tk
root = tk.Tk()

def hello():
    print('hello')

def about():
    print('我是开发者')

menubar = tk.Menu(root)

#创建下拉菜单File,然后将其加入到顶级的菜单栏中
filemenu = tk.Menu(menubar,tearoff=0)
filemenu.add_command(label="Open", command=hello)
filemenu.add_command(label="Save", command=hello)
filemenu.add_separator()
filemenu.add_command(label="Exit", command=root.quit)
menubar.add_cascade(label="File", menu=filemenu)

#创建另一个下拉菜单Edit
editmenu = tk.Menu(menubar, tearoff=0)
editmenu.add_command(label="Cut", command=hello)
editmenu.add_command(label="Copy", command=hello)
editmenu.add_command(label="Paste", command=hello)
menubar.add_cascade(label="Edit",menu=editmenu)
#创建下拉菜单Help
helpmenu = tk.Menu(menubar, tearoff=0)
helpmenu.add_command(label="About", command=about)
menubar.add_cascade(label="Help", menu=helpmenu)

#显示菜单
root.config(menu=menubar)

tk.mainloop() 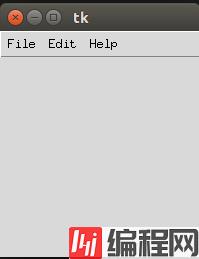
#!/usr/bin/python3
#-*- encoding=UTF-8 -*-
import tkinter as tk
root = tk.Tk()
def hello():
print('hello')
# def about():
# print('我是开发者')
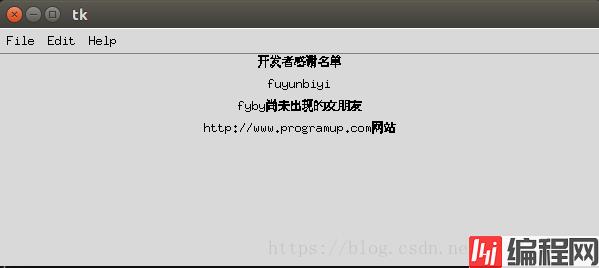
def about():
w = tk.Label(root,text="开发者感谢名单\n\nfuyunbiyi\n\nfyby尚未出现的女朋友\n\nHttp://www.programup.com网站")
w.pack(side=tk.TOP)
menubar = tk.Menu(root)
#创建下拉菜单File,然后将其加入到顶级的菜单栏中
filemenu = tk.Menu(menubar,tearoff=0)
filemenu.add_command(label="Open", command=hello)
filemenu.add_command(label="Save", command=hello)
filemenu.add_separator()
filemenu.add_command(label="Exit", command=root.quit)
menubar.add_cascade(label="File", menu=filemenu)
#创建另一个下拉菜单Edit
editmenu = tk.Menu(menubar, tearoff=0)
editmenu.add_command(label="Cut", command=hello)
editmenu.add_command(label="Copy", command=hello)
editmenu.add_command(label="Paste", command=hello)
menubar.add_cascade(label="Edit",menu=editmenu)
#创建下拉菜单Help
helpmenu = tk.Menu(menubar, tearoff=0)
helpmenu.add_command(label="About", command=about)
menubar.add_cascade(label="Help", menu=helpmenu)
#显示菜单
root.config(menu=menubar)
tk.mainloop()
#!/usr/bin/python3
#-*- encoding=UTF-8 -*-
import tkinter as tk
root = tk.Tk()

#创建三个 Label 分别添加到root窗体中
#Label是一种用来显示文字或者图片的组件
tk.Label(root,text = 'pack1',bg = 'red').pack()
tk.Label(root, text = 'pack2', bg = 'blue').pack()
tk.Label(root, text = 'pack3', bg = 'green').pack()

root.mainloop()
| 属性名 | 属性简析 | 取值 | 取值说明 |
|---|---|---|---|
| fill | 设置组件是否向水平或垂直方向填充 | X、Y、BOTH 和NONE | fill = X(水平方向填充)fill = Y(垂直方向填充)fill = BOTH(水平和垂直)NONE 不填充 |
| expand | 设置组件是否展开,当值为YES时,side选项无效。组件显示在父容器中心位置;若fill选项为BOTH,则填充父组件的剩余空间。默认为不展开 | YES 、NO(1、0) | expand=YES expand=NO |
| side | 设置组件的对齐方式 | LEFT、TOP、RIGHT、BOTTOM | 值为左、上、右、下 |
| ipadx、ipady | 设置x方向(或者y方向)内部间隙(子组件之间的间隔) | 可设置数值,默认是0 | 非负整数,单位为像素 |
| padx、pady | 设置x方向(或者y方向)外部间隙(与之并列的组件之间的间隔) | 可设置数值,默认是0 | 非负整数,单位为像素 |
| anchor | 锚选项,当可用空间大于所需求的尺寸时,决定组件被放置于容器的何处 | N、E、S、W、NW、NE、SW、SE、CENTER(默认值为CENTER) | 表示八个方向以及中心 |
from tkinter import *    #注意模块导入方式,否则代码会有差别

class App:
    def __init__(self, master):
        #使用Frame增加一层容器
        fm1 = Frame(master)
        #Button是一种按钮组件,与Label类似,只是多出了响应点击的功能
        Button(fm1, text='Top').pack(side=TOP, anchor=W, fill=X, expand=YES)
        Button(fm1, text='Center').pack(side=TOP, anchor=W, fill=X, expand=YES)
        Button(fm1, text='Bottom').pack(side=TOP, anchor=W, fill=X, expand=YES)
        fm1.pack(side=LEFT, fill=BOTH, expand=YES)

        fm2 = Frame(master)
        Button(fm2, text='Left').pack(side=LEFT)
        Button(fm2, text='This is the Center button').pack(side=LEFT)
        Button(fm2, text='Right').pack(side=LEFT)
        fm2.pack(side=LEFT, padx=10)


root = Tk()
root.title("Pack - Example")
display = App(root)
root.mainloop()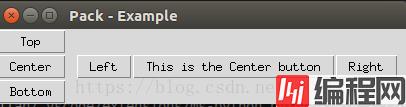
import tkinter as tk

root = tk.Tk()

label1 = tk.Label(root, text = "Height:")
label1.grid(row = 0, column = 0)
label2 = tk.Label(root, text = "Width:")
label2.grid(row = 1, column = 0)

entry1 = tk.Entry(root)
entry1.grid(row = 0, column = 1)
entry2 = tk.Entry(root)
entry2.grid(row = 1, column = 1)

checkbutton = tk.Checkbutton(root, text = "Preserve aspect")
checkbutton.grid(row = 2, column = 0, rowspan = 1, columnspan = 2, sticky=tk.W)#sticky设置控件的对其方位,这里设置为靠西(左西右东)

img = tk.PhotoImage(file = "11.png")
imageview = tk.Label(root, image= img)
imageview.grid(row = 0, column = 2, rowspan = 2, columnspan = 2)

button1 = tk.Button(root, text = "Zoom in")
button1.grid(row = 2, column = 2)
button1 = tk.Button(root, text = "Zoom out")
button1.grid(row = 2, column = 3)

root.mainloop()

参考一:https://www.cnblogs.com/monsteryang/p/6558904.html
参考二:https://blog.csdn.net/yingshukun/article/details/53983812
参考三:https://blog.csdn.net/C_Creator/article/details/52383334
--结束END--
本文标题: python3 GUI
本文链接: https://www.lsjlt.com/news/190290.html(转载时请注明来源链接)
有问题或投稿请发送至: 邮箱/279061341@qq.com QQ/279061341
下载Word文档到电脑,方便收藏和打印~
2024-03-01
2024-03-01
2024-03-01
2024-02-29
2024-02-29
2024-02-29
2024-02-29
2024-02-29
2024-02-29
2024-02-29
回答
回答
回答
回答
回答
回答
回答
回答
回答
回答


官方手机版

微信公众号

商务合作


0