1、请描述一次完整的Http请求处理过程;2、httpd所支持的处理模型有哪些,他们的分别使用于哪些环境。3、源码编译安装LAMP环境(基于Wordpress程序),并写出详细的安装、配置、测试过程。4、建
1、请描述一次完整的Http请求处理过程;
2、httpd所支持的处理模型有哪些,他们的分别使用于哪些环境。
3、源码编译安装LAMP环境(基于Wordpress程序),并写出详细的安装、配置、测试过程。
4、建立httpd服务器(基于编译的方式进行),要求:
提供两个基于名称的虚拟主机:
(a)www1.stuX.com,页面文件目录为/WEB/vhosts/www1;错误日志为/var/log/httpd/www1.err,访问日志为/var/log/httpd/www1.access;
(b)www2.stuX.com,页面文件目录为/web/vhosts/www2;错误日志为/var/log/httpd/www2.err,访问日志为/var/log/httpd/www2.access;
(c)为两个虚拟主机建立各自的主页文件index.html,内容分别为其对应的主机名;
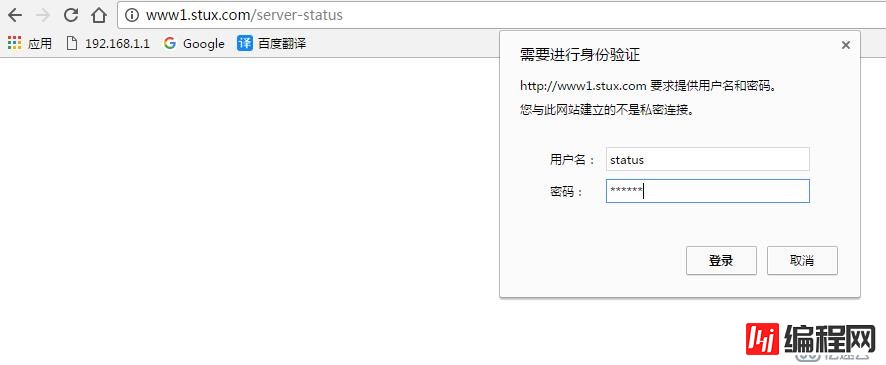
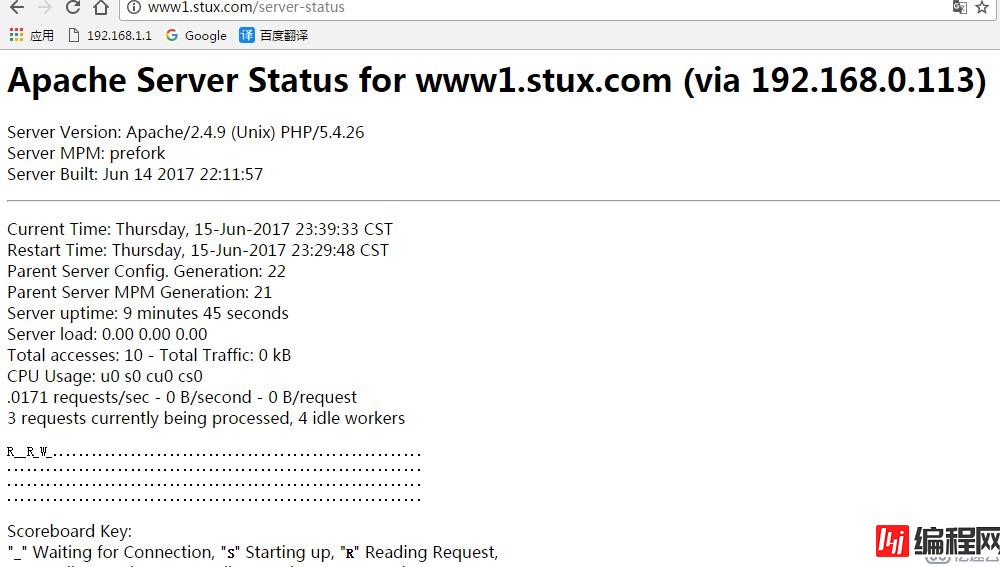
(d)通过www1.stuX.com/server-status输出httpd工作状态相关信息,且只允许提供帐号密码才能访问(status:status);
5、为第4题中的第2个虚拟主机提供https服务,使得用户可以通过https安全的访问此web站点;
(1)要求使用证书认证,证书中要求使用的国家(CN)、州(HA)、城市(ZZ)和组织(MageEdu);
(2)设置部门为Ops,主机名为www2.stuX.com,邮件为admin@stuX.com;
6、在LAMP架构中,请分别以PHP编译成httpd模块形式和php以fpm工作为独立守护进程的方式来支持httpd,列出详细的过程。
1.一次完整的http请求处理过程:
(1)建立或处理连接:接收请求或拒绝请求;
(2)接收请求:接收来自于网络上的主机请求报文中对某特定资源的一次请求的过程;
(3)处理请求:对请求报文进行解析,获取客户端请求的资源及请求方法等相关信息;
(4)访问资源:获取请求报文中请求的资源;
(5)构建响应报文:
(6)发送响应报文:
(7)记录日志:
2.httpd所支持的处理模型有哪些,他们的分别使用于哪些环境。
prefork:多进程模型,每个进程响应一个请求;
一个主进程:负责生成子进程及回收子进程;负责创建套接字;负责接收请求,并将其派发给某子进程进行处理;
n个子进程:每个子进程处理一个请求;
工作模型:会预先生成几个空闲进程,随时等待用于响应用户请求;最大空闲和最小空闲
一个主进程:负责生成子进程;负责创建套接字;负责接收请求,并将其派发给某子进程进行处理;
多个子进程:每个子进程负责生成多个线程;
每个线程:负责响应用户请求;
并发响应数量:m*n
m:子进程数量
n:每个子进程所能创建的最大线程数量;
event:事件驱动模型,多进程模型,每个进程响应多个请求;
一个主进程 :负责生成子进程;负责创建套接字;负责接收请求,并将其派发给某子进程进行处理;
子进程:基于事件驱动机制直接响应多个请求;
3.源码编译安装LAMP环境(基于wordpress程序),并写出详细的安装、配置、测试过程。
以Centos6.5环境安装httpd2.4.9,php5.4.26,通用二进制mariadb5.5.36,具体安装如下:
(1).编译安装httpd2.4.9
安装httpd-2.4,依赖于apr-1.4+,apr-util-1.4+, [apr-iconv], apr: apacheportable runtime
首先安装开发环境包组:DevelopmentTools, Server PlatfORM Development 开发程序包:pcre-devel
[root@localhost~]# yum groupinstall 服务器平台开发 开发工具
[root@localhostdylan]# tar -xjvf apr-1.5.0.tar.bz2
[root@localhostdylan]# cd apr-1.5.0
[root@localhostapr-1.5.0]# ./configure --prefix=/usr/local/apr
[root@localhostapr-1.5.0]# make && make install ###安装apr-1.5.0
[root@localhostdylan]# tar -xjvf apr-util-1.5.3.tar.bz2
[root@localhostdylan]# cd apr-util-1.5.3
[root@localhostapr-util-1.5.3]# ./configure --prefix=/usr/local/apr-util --with-apr=/usr/local/apr
[root@localhostapr-util-1.5.3]# make && make install ###安装apr-util-1.5.3
###解压httpd
[root@localhostdylan]# tar -xjvf httpd-2.4.9.tar.bz2
[root@localhostdylan]# cd httpd-2.4.9
###安装必备包
[root@localhosthttpd-2.4.9]# yum install openssl openssl-devle pcre pcre-devel -y
[root@localhosthttpd-2.4.9]# ./configure --prefix=/usr/local/apache24--sysconfdir=/etc/httpd24 --enable-so--enable-ssl --enable-cgi --enable-rewrite --with-zlib --with-pcre--with-apr=/usr/local/apr --with-apr-util=/usr/local/apr-util--enable-modules=most --enable-mpms-shared=all --with-mpm=prefork
[root@localhosthttpd-2.4.9]# make && make install ###安装httpd-2.4.9
###编译安装完成后把apachectl命令路径加入PATH中
[root@localhost/]# vim /etc/profile.d/httpd.sh
exportPATH=/usr/local/apache24/bin:$PATH ###添加环境变量
(2).通用二进制格式安装mariadb-5.5.36-linux-x86_64.tar.gz
首先准备数据目录:
[root@localhost/]# mkdir -pv /mydata/data
[root@localhost/]# groupadd -r -g 306 Mysql ###添加mysql组
[root@localhost/]# useradd -r -g 306 -u 306 mysql ###添加mysql用户
[root@localhost/]# chown -R mysql.mysql /mydata/data/
安装配置
[root@localhost/]# tar xf mariadb-5.5.36-linux-x86_64.tar.gz -C /usr/local/ ###解压至/usr/local目录
[root@localhost/]# cd /usr/local/
[root@localhostlocal]# ln -sv mariadb-5.5.36-linux-x86_64/ mysql ###链接至mysql目录
[root@localhostlocal]# cd /usr/local/mysql/
[root@localhostmysql]# chown -R root:mysql .
define('DB_NAME','wpdb');
define('DB_USER','wp');
define('DB_PASSWORD','wordpress');
define('DB_HOST','192.168.0.113');
[root@localhostwordpress]# apachectl restart
打开页面显示
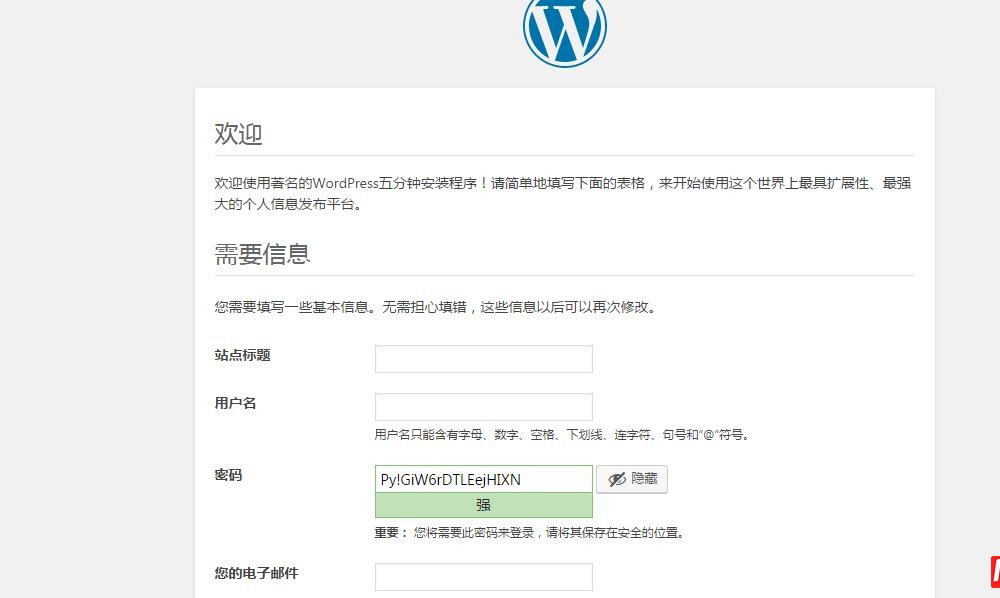
填入信息后显示
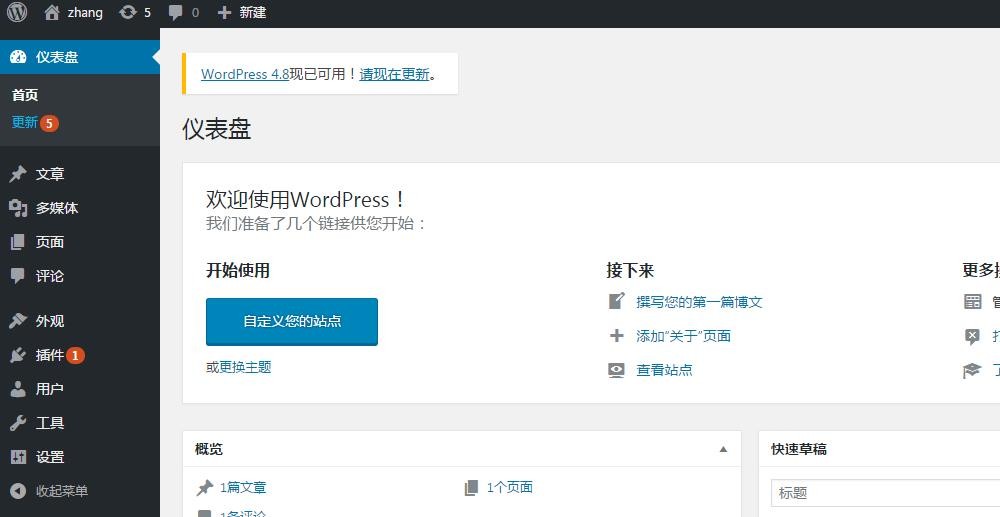
至此,安装完成。
4、建立httpd服务器(基于编译的方式进行),要求: 提供两个基于名称的虚拟主机:
(a)www1.stuX.com,页面文件目录为/web/vhosts/www1;错误日志为/var/log/httpd/www1.err,访问日志为/var/log/httpd/www1.access;
(b)www2.stuX.com,页面文件目录为/web/vhosts/www2;错误日志为/var/log/httpd/www2.err,访问日志为/var/log/httpd/www2.access;
(c)为两个虚拟主机建立各自的主页文件index.html,内容分别为其对应的主机名;
(d)通过www1.stuX.com/server-status输出httpd工作状态相关信息,且只允许提供帐号密码才能访问(status:status);
[root@localhost ~]# mkdir -pv/web/vhosts/{www1,www2} ###创建文件目录
[root@localhost ~]# mkdir -pv/var/log/httpd
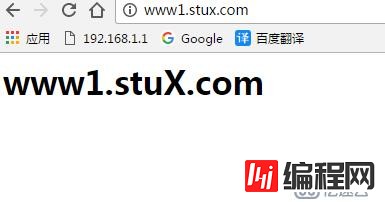
[root@localhost ~]# echo"<h2>www1.stuX.com</h2>" > /web/vhosts/www1/index.html ###主页文件内容
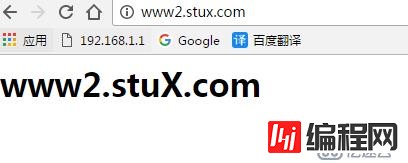
[root@localhost ~]# echo"<h2>www2.stuX.com</h2>" > /web/vhosts/www2/index.html
[root@localhost ~]# vim/etc/httpd24/httpd.conf
#DocumentRoot"/usr/local/apache24/htdocs" ###注释中心主机
Include /etc/httpd24/extra/vhost.conf ###添加配置文件
[root@localhost ~]# vim/etc/httpd24/extra/vhost.conf ###配置虚拟主机
<VirtualHost 192.168.0.113:80>
ServerNamewww1.stux.com
DocumentRoot"/web/vhosts/www1"
ErrorLog"/var/log/httpd/www1.err"
CustomLog"/var/log/httpd/www1.access" combined
<Directory"/web/vhosts/www1">
OptionsNone
AllowOverrideNone
Requireall granted
</Directory>
<Location/server-status>
SetHandlerserver-status
AuthTypeBasic
AuthName"Enter username and password"
AuthUserFile"/etc/httpd24/.htpasswd"
Requireuser status
</Location>
</VirtualHost>
<VirtualHost 192.168.0.113:80>
ServerNamewww2.stux.com
DocumentRoot"/web/vhosts/www2"
ErrorLog"/var/log/httpd/www2.err"
CustomLog"/var/log/httpd/www2.access" combined
<Directory"/web/vhosts/www2">
OptionsNone
AllowOverrideNone
Requireall granted
</Directory>
</VirtualHost>
[root@localhost ~]# htpasswd -c -m/etc/httpd24/.htpasswd status ###生成认证文件,第一次加-c
New password:
Re-type new password:
Adding password for user status
[root@localhost ~]# httpd –t ###测试配置文件
Syntax OK
[root@localhost ~]# apachectl restart ###重启服务
测试:
需配置hosts文件 添加192.168.0.113 www1.stux.com
192.168.0.113 www2.stux.com
测试status
总结:编译安装的2.4虚拟主机配置文件与2.2有所区别
对于基于IP的访问控制做了修改,不再支持使用order, allow, deny这些机制,而是统一使用require进行
基于主机名的虚拟主机不再需要NameVirtualHost指令
注意:任意目录下的页面只有显式授权才能被访问;
5、为第4题中的第2个虚拟主机提供https服务,使得用户可以通过https安全的访问此web站点;
(1)要求使用证书认证,证书中要求使用的国家(CN)、州(HA)、城市(ZZ)和组织(MageEdu);
(2)设置部门为Ops,主机名为www2.stuX.com,邮件为admin@stuX.com;
###测试用,CA与httpd位于同一主机
###首先,创建私有CA,在服务器创建证书签署请求以及CA签证
[root@localhost ~]# rpm -q openssl
openssl-1.0.1e-57.el6.x86_64
[root@localhost ~]# (umask 077;opensslgenrsa -out /etc/pki/CA/private/cakey.pem 4096) ###创建私钥
Generating RSA private key, 4096 bit longmodulus
..........................................................................................
...................................................................................................................++...++
e is 65537 (0x10001)
[root@localhost ~]# openssl req -new -x509-key /etc/pki/CA/private/cakey.pem -out /etc/pk ###生成自签证书
i/CA/cacert.pem -days 3650You are about tobe asked to enter information that will be incorporated
into your certificate request.
What you are about to enter is what iscalled a Distinguished Name or a DN.
There are quite a few fields but you canleave some blank
For some fields there will be a defaultvalue,
If you enter '.', the field will be leftblank.
-----
Country Name (2 letter code) [XX]:CN
State or Province Name (full name) []:HA
Locality Name (eg, city) [Default City]:ZZ
Organization Name (eg, company) [DefaultCompany Ltd]:MageEdu
Organizational Unit Name (eg, section)[]:Ops
Common Name (eg, your name or your server'shostname) []:ca.stuX.com
Email Address []:admin@stuX.com
[root@localhost ~]# touch/etc/pki/CA/index.txt ###为CA提供辅助文件
[root@localhost ~]# echo 01>/etc/pki/CA/serial
[root@localhost ~]# mkdir /etc/httpd24/ssl
[root@localhost ~]# cd /etc/httpd24/ssl/
[root@localhost ssl]# (umask 077;opensslgenrsa -out /etc/httpd24/ssl/httpd.key 2048) ###httpd主机生成私钥
Generating RSA private key, 2048 bit longmodulus
.........+++
.................+++
e is 65537 (0x10001)
###httpd生成证书签署请求
[root@localhost ssl]# openssl req -new -key/etc/httpd24/ssl/httpd.key -out /etc/httpd24/ssl/httpd.csr -days 365
You are about to be asked to enterinformation that will be incorporated
into your certificate request.
What you are about to enter is what iscalled a Distinguished Name or a DN.
There are quite a few fields but you canleave some blank
For some fields there will be a defaultvalue,
If you enter '.', the field will be leftblank.
-----
Country Name (2 letter code) [XX]:CN
State or Province Name (full name) []:HA
Locality Name (eg, city) [Default City]:ZZ
Organization Name (eg, company) [DefaultCompany Ltd]:MageEdu
Organizational Unit Name (eg, section)[]:Ops
Common Name (eg, your name or your server'shostname) []:www2.stuX.com
Email Address []:admin@stuX.com
Please enter the following 'extra'attributes
to be sent with your certificate request
A challenge password []:
An optional company name []:
###因同属一台主机测试,故直接签署证书
[root@localhost ssl]# openssl ca -in/etc/httpd24/ssl/httpd.csr -out /etc/pki/CA/certs/httpd.crt -days 365UsinGConfiguration from /etc/pki/tls/openssl.cnf
Check that the request matches thesignature
Signature ok
Certificate Details:
Serial Number: 1 (0x1)
Validity
Not Before: Jun 26 08:04:53 2017 GMT
Not After : Jun 26 08:04:53 2018 GMT
Subject:
countryName = CN
stateOrProvinceName = HA
organizationName =MageEdu
organizationalUnitName = Ops
commonName =www2.stuX.com
emailAddress =admin@stuX.com
X509v3 extensions:
X509v3 Basic Constraints:
CA:FALSE
Netscape Comment:
OpenSSL Generated Certificate
X509v3 Subject Key Identifier:
9B:20:A6:09:86:E1:F2:05:94:D7:ED:33:57:D2:A1:FE:95:C9:3F:47
X509v3 Authority Key Identifier:
keyid:85:26:25:F4:82:7C:86:25:B1:73:B0:C5:57:24:41:86:81:2A:24:FA
Certificate is to be certified until Jun 2608:04:53 2018 GMT (365 days)
Sign the certificate? [y/n]:y
1 out of 1 certificate requests certified,commit? [y/n]y
Write out database with 1 new entries
Data Base Updated
[root@localhost ssl]# cp/etc/pki/CA/certs/httpd.crt /etc/httpd24/ssl/ ###将证书发给httpd
###配置httpd支持使用ssl及使用的证书
[root@localhost ssl]# vim/etc/httpd24/httpd.conf ###编辑httpd配置文件
Include /etc/httpd24/extra/httpd-ssl.conf ###启用ssl配置文件,去掉#
LoadModule ssl_module modules/mod_ssl.so ###启用ssl模快,去掉#
[root@localhost ssl]# vim/etc/httpd24/extra/httpd-ssl.conf ###编辑ssl配置文件
<VirtualHost _default_:443>
DocumentRoot "/web/vhosts/www2"
ServerName www2.stuX.com
ServerAdmin you@example.com
ErrorLog"/var/log/httpd/www2.ssl.err"
SSLEngine on
SSLCertificateFile"/etc/httpd24/ssl/httpd.crt" ###证书路径
SSLCertificateKeyFile"/etc/httpd24/ssl/httpd.key" ###私钥路径
<Directory"/web/vhosts/www2">
OPtions None
AllowOverride None
Require all granted
</Directory>
</VirtualHost>
TransferLog"/var/log/httpd/www2.ssl.access"
[root@localhost ssl]# httpd -t ###测试出现错误
AH00526: Syntax error on line 73 of/etc/httpd24/extra/httpd-ssl.conf:
SSLSessionCache: 'shmcb' session cache notsupported (known names: ). Maybe you need to lo
ad the appropriate socache module(mod_socache_shmcb?).
[root@localhost ssl]# vim/etc/httpd24/httpd.conf
LoadModule socache_shmcb_modulemodules/mod_socache_shmcb.so ###启用此模块,去掉#
[root@localhost ssl]# httpd -t
Syntax OK
[root@localhost ssl]# apachectl restart
测试
[root@localhost ~]# vim /etc/host ###编辑hosts文件添加httpd主机Ip
192.168.0.113 www2.stuX.com
[root@localhost ~]# openssl s_client-connect www2.stuX.com:443
6、在LAMP架构中,请分别以php编译成httpd模块形式和php以fpm工作为独立守护进程的方式来支持httpd,列出详细的过程。(下一篇博客详细介绍)
--结束END--
本文标题: 源码编译安装LAMP环境
本文链接: https://www.lsjlt.com/news/39020.html(转载时请注明来源链接)
有问题或投稿请发送至: 邮箱/279061341@qq.com QQ/279061341
下载Word文档到电脑,方便收藏和打印~
2024-04-29
2024-04-29
2024-04-29
2024-04-29
2024-04-28
2024-04-28
2024-04-28
2024-04-28
2024-04-28
2024-04-28
回答
回答
回答
回答
回答
回答
回答
回答
回答
回答


官方手机版

微信公众号

商务合作


0