Python 官方文档:入门教程 => 点击学习
目录1.mybatis是什么2.整合2.1 导入依赖2.2 创建包和类2.3 在application.yaml配置mybatis3.使用注解版mybaits4.实战过程1.myba
MyBatis 是一款优秀的持久层框架,它支持自定义 sql、存储过程以及高级映射。MyBatis 免除了几乎所有的 JDBC 代码以及设置参数和获取结果集的工作。MyBatis 可以通过简单的 XML 或注解来配置和映射原始类型、接口和 Java POJO(Plain Old Java Objects,普通老式 Java 对象)为数据库中的记录。
两种方式:
2.0 前期工作:保证可以连接上数据库
导入依赖:
	<!--数据库启动器-->
   <dependency>
       <groupId>org.springframework.boot</groupId>
       <artifactId>spring-boot-starter-jdbc</artifactId>
   </dependency>

   <dependency>
       <groupId>Mysql</groupId>
       <artifactId>mysql-connector-java</artifactId>
   </dependency>
spring:
datasource:
driver-class-name: com.mysql.cj.jdbc.Driver
username: root
passWord: xxx
url: jdbc:mysql://localhost:3306/mybatis
springboot中默认使用hikari连接池,号称最快的连接池。连接池还有DBCP,c3p0,druid…
<!--引入 mybatis-spring-boot-starter 的依赖-->
  <dependency>
      <groupId>org.mybatis.spring.boot</groupId>
      <artifactId>mybatis-spring-boot-starter</artifactId>
      <version>2.2.0</version>
  </dependency>
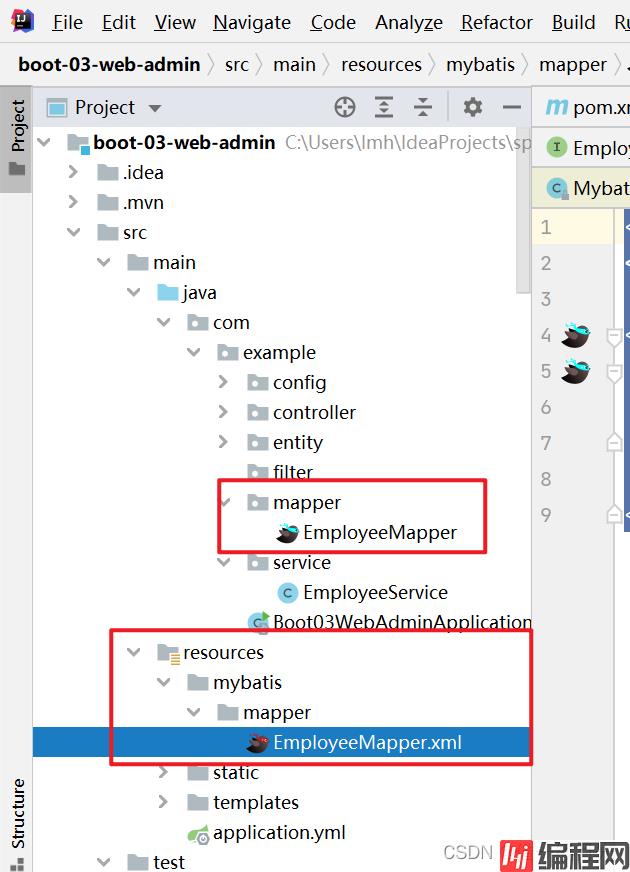
mapper层:
@Mapper
public interface EmployeeMapper {
    public Employee getEmpById(Integer id);
}
mapper层对应的xm文件:
<?xml version="1.0" encoding="UTF-8"?>
<!DOCTYPE mapper PUBLIC "-//mybatis.org//DTD Mapper 3.0//EN"
        "Http://mybatis.org/dtd/mybatis-3-mapper.dtd">
<mapper namespace="com.example.mapper.EmployeeMapper">
    <select id="getEmpById" resultType="com.example.entity.Employee">
        select * from employee where id = #{id}
    </select>
</mapper>
mybatis:
mapper-locations: classpath:mybatis/mapper/*.xml # 找到mapper层对应的xml文件
config-location: mybatis-config.xml # mybatis配置文件,resource目录下
mybaits的属性设置参考文档:https://mybatis.net.cn/configuration.html#settings
在mapper接口的方法上,使用注解增删改查@Update()、 @Insert()、 @Select()、@Delete()
@Insert("insert into employee (name,age,position) values(#{name},{age},#{position})")
void insert(Employee employee);
@Select("select * from employee where id = #{id}")
void selectById(Integerid);到此这篇关于springboot整合mybatis流程详解的文章就介绍到这了,更多相关springboot mybatis内容请搜索编程网以前的文章或继续浏览下面的相关文章希望大家以后多多支持编程网!
--结束END--
本文标题: springboot整合mybatis流程详解
本文链接: https://www.lsjlt.com/news/149238.html(转载时请注明来源链接)
有问题或投稿请发送至: 邮箱/279061341@qq.com QQ/279061341
下载Word文档到电脑,方便收藏和打印~
2024-03-01
2024-03-01
2024-03-01
2024-02-29
2024-02-29
2024-02-29
2024-02-29
2024-02-29
2024-02-29
2024-02-29
回答
回答
回答
回答
回答
回答
回答
回答
回答
回答


官方手机版

微信公众号

商务合作


0